Filepaths in Mac
How to save, locate, organize, move, and delete files on a Mac
This tutorial was created on Mac OS Ventura. Depending on your specific operating system, some options may appear differently on your machine, but the general processes should be similar if not the same.
Table of contents
Introduction
In this tutorial, you’ll learn how to:
- Use Spotlight
- Navigate Finder
- Create folders
- Save and copy files
- Move and manage multiple files
- Delete files
Smoothly operating and navigating your computer’s file storage system is a fundamental skill for anyone who uses computers. On Mac OS, the hierarchical (or “nested”) file system has three basic domains, Local, System, and User.
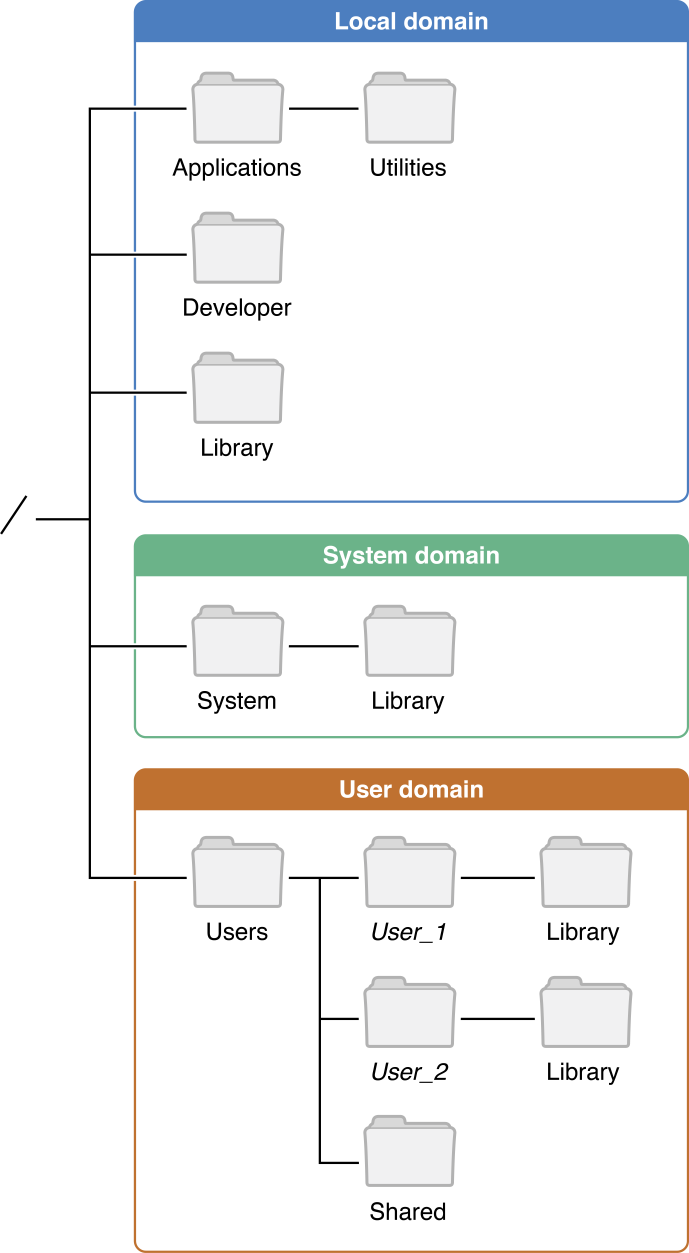
The term “file path” refers to the specific location of a file or folder within the computer’s directory. If you know a file or folder’s path, you can navigate to its location using Finder, or by searching its name. The forward slash “/” symbolizes the hard drive (“Macintosh HD”) which is the base or “root” directory on Mac OS. Absolute file paths begin with “/”, list all child directories, and terminate at the file or folder of interest. Relative file paths are written relative to their enclosing folder, and may begin further “down” in the directory. For example, the absolute path of “hello_world.txt” is
/Users/UMass/Documents/TextFiles2021/hello_world.txt
From “UMass”, the relative path would be:
Documents/TextFiles2021/hello_world.txt
With the exception of the Applications folder (in the Local Domain), most users should avoid manipulating any files in the “System” domain, and should only work within the “User” domain.
Using Spotlight
You may search all your files, applications, and folders directly by typing search terms into Spotlight. You may search for file types by typing the file extension in (e.g. .png, .docx, .xlsx., etc.), and all files with that type will be shown.
Similarly, searching for “Documents”, will return not only the folder(s) called “Documents”, but also any files containing the word “documents”. This can be useful for finding files where you know some of the contents, but not the file name itself. For example, if you had a word document that included in its body “Roses are red, violets are blue”, but the file was named “Untitled_document” and you were unaware of its location, you could search “Roses are red, violets are blue” and Spotlight will search through your computer, find any documents that include that exact text, and will show “Untitled_document”.
Spotlight also automatically searches the internet for your search term, and will show search results categorized by the type of file it is displaying. It is a powerful tool that’s worth becoming acquainted with.
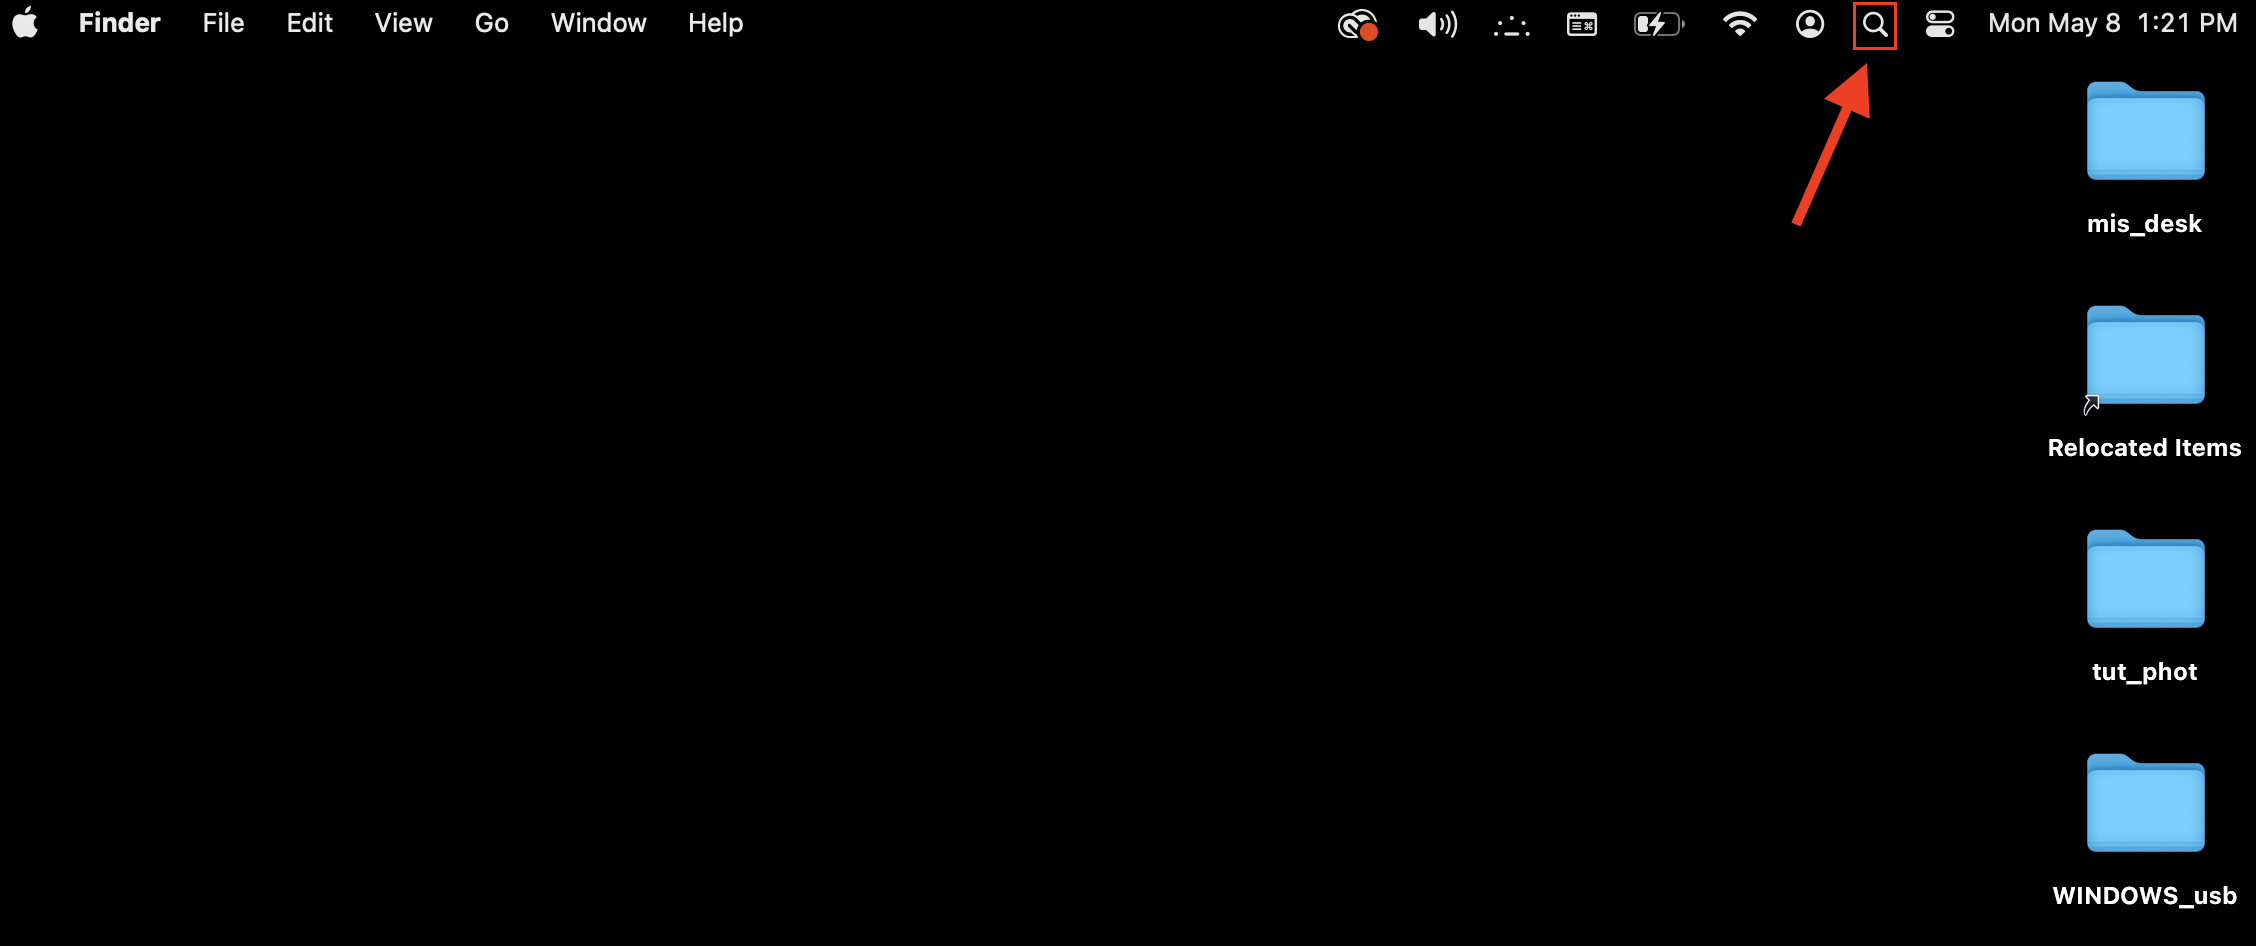
- Spotlight may be opened in one of three ways:
- Click the small magnifying glass icon near the upper right corner of the Menu Bar (pictured below).
- Hold the “Command” key, and press the space bar once, then release the “Command” key.
- Open any Finder window, and type into the search bar in the upper right corner of the window, this allows searching, but the results are returned within a Finder window, not a spotlight window. If using this option, the default search is a spotlight search of the entire computer, but the option will appear to instead search only the current directory (folder), which can be very useful when you know a files location, but don’t know its name. This option will not search the internet.
-
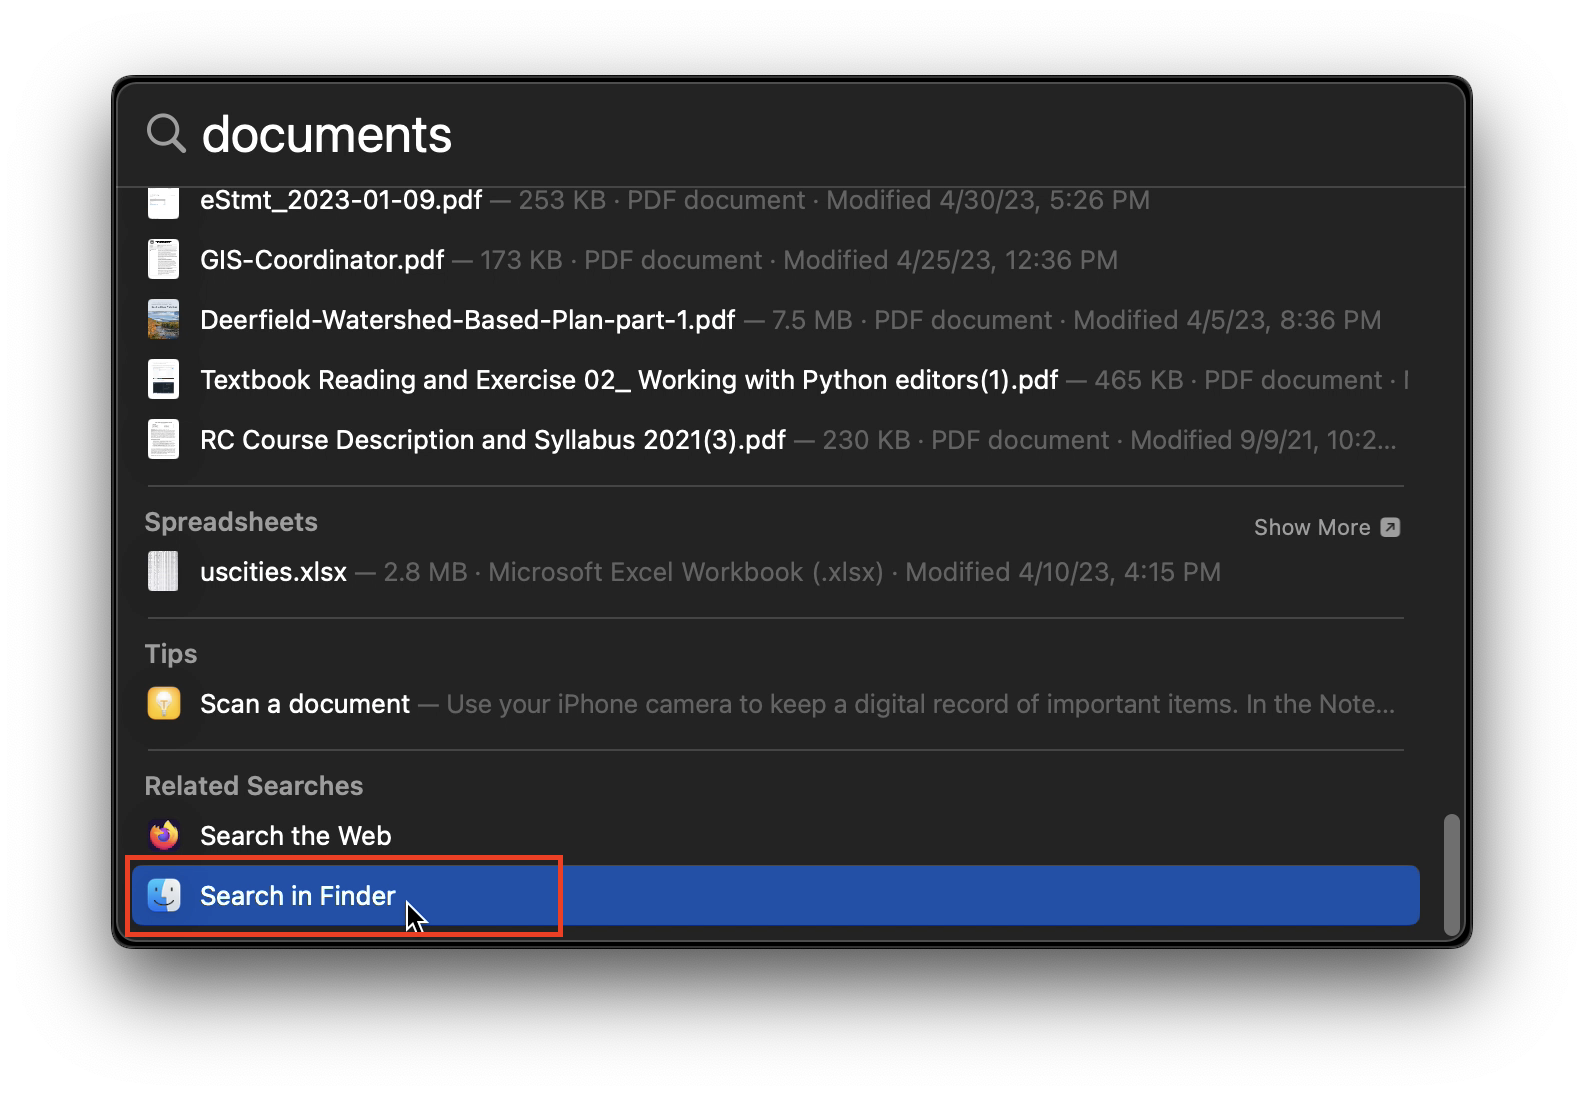
A new spotlight search bar should appear. Search “documents”.
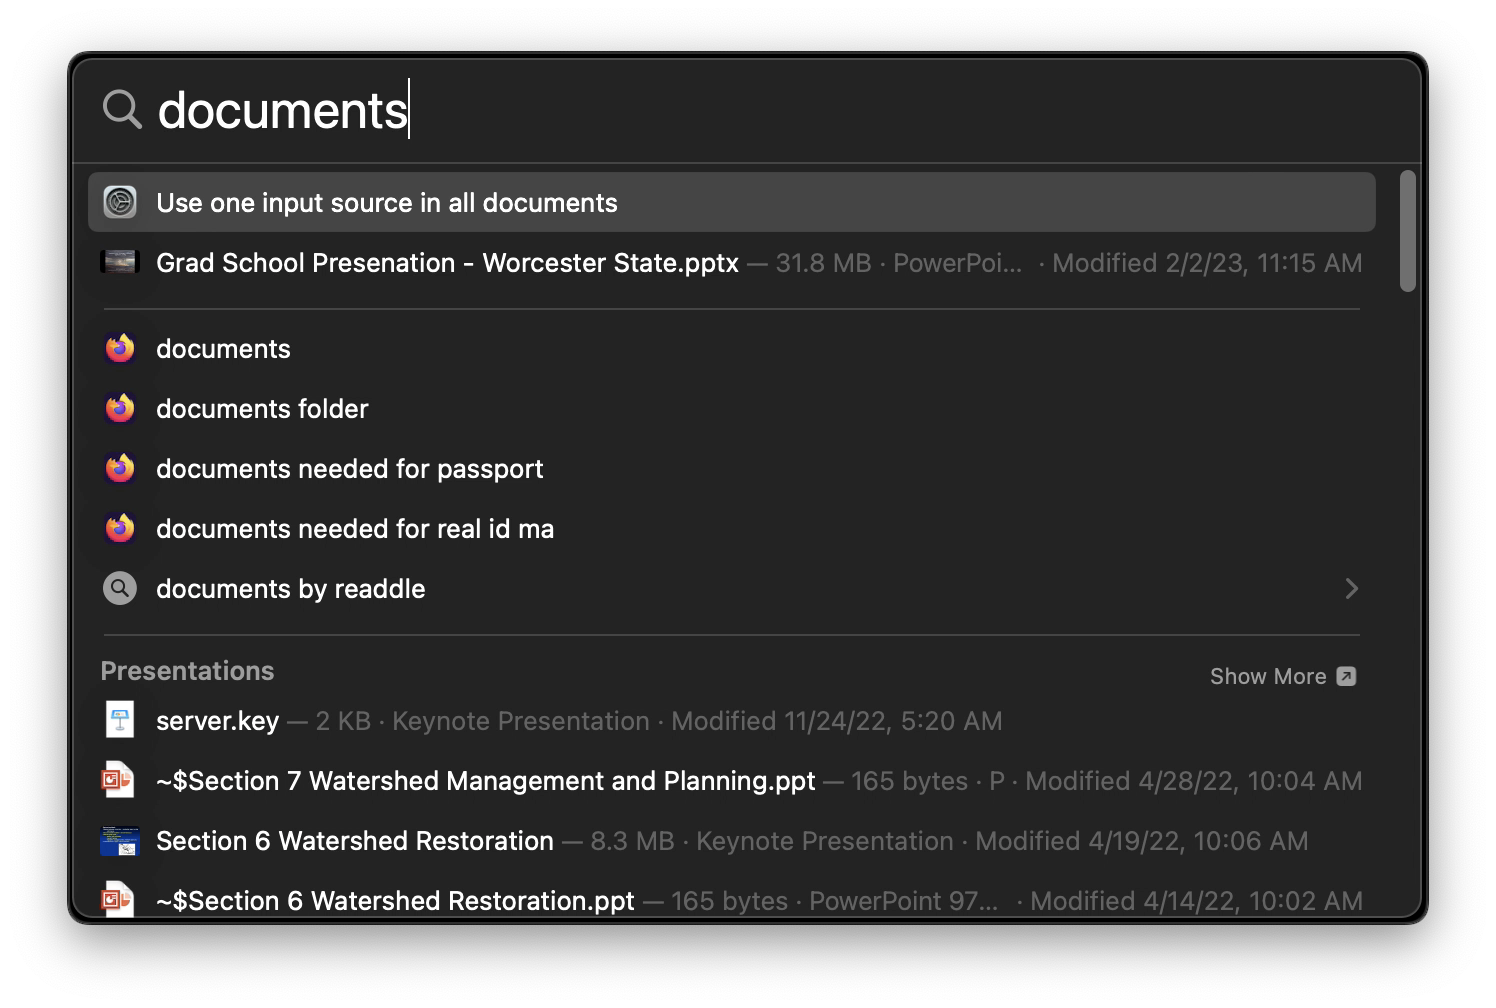
It may take a moment to index and return results, but spotlight should now show a “Documents” folder. If it does not appear near the top, you may need to scroll down to see it. Single-click on “Documents” to highlight the folder.
-
Scroll to the bottom of the spotlight window, and click “Search in Finder”.
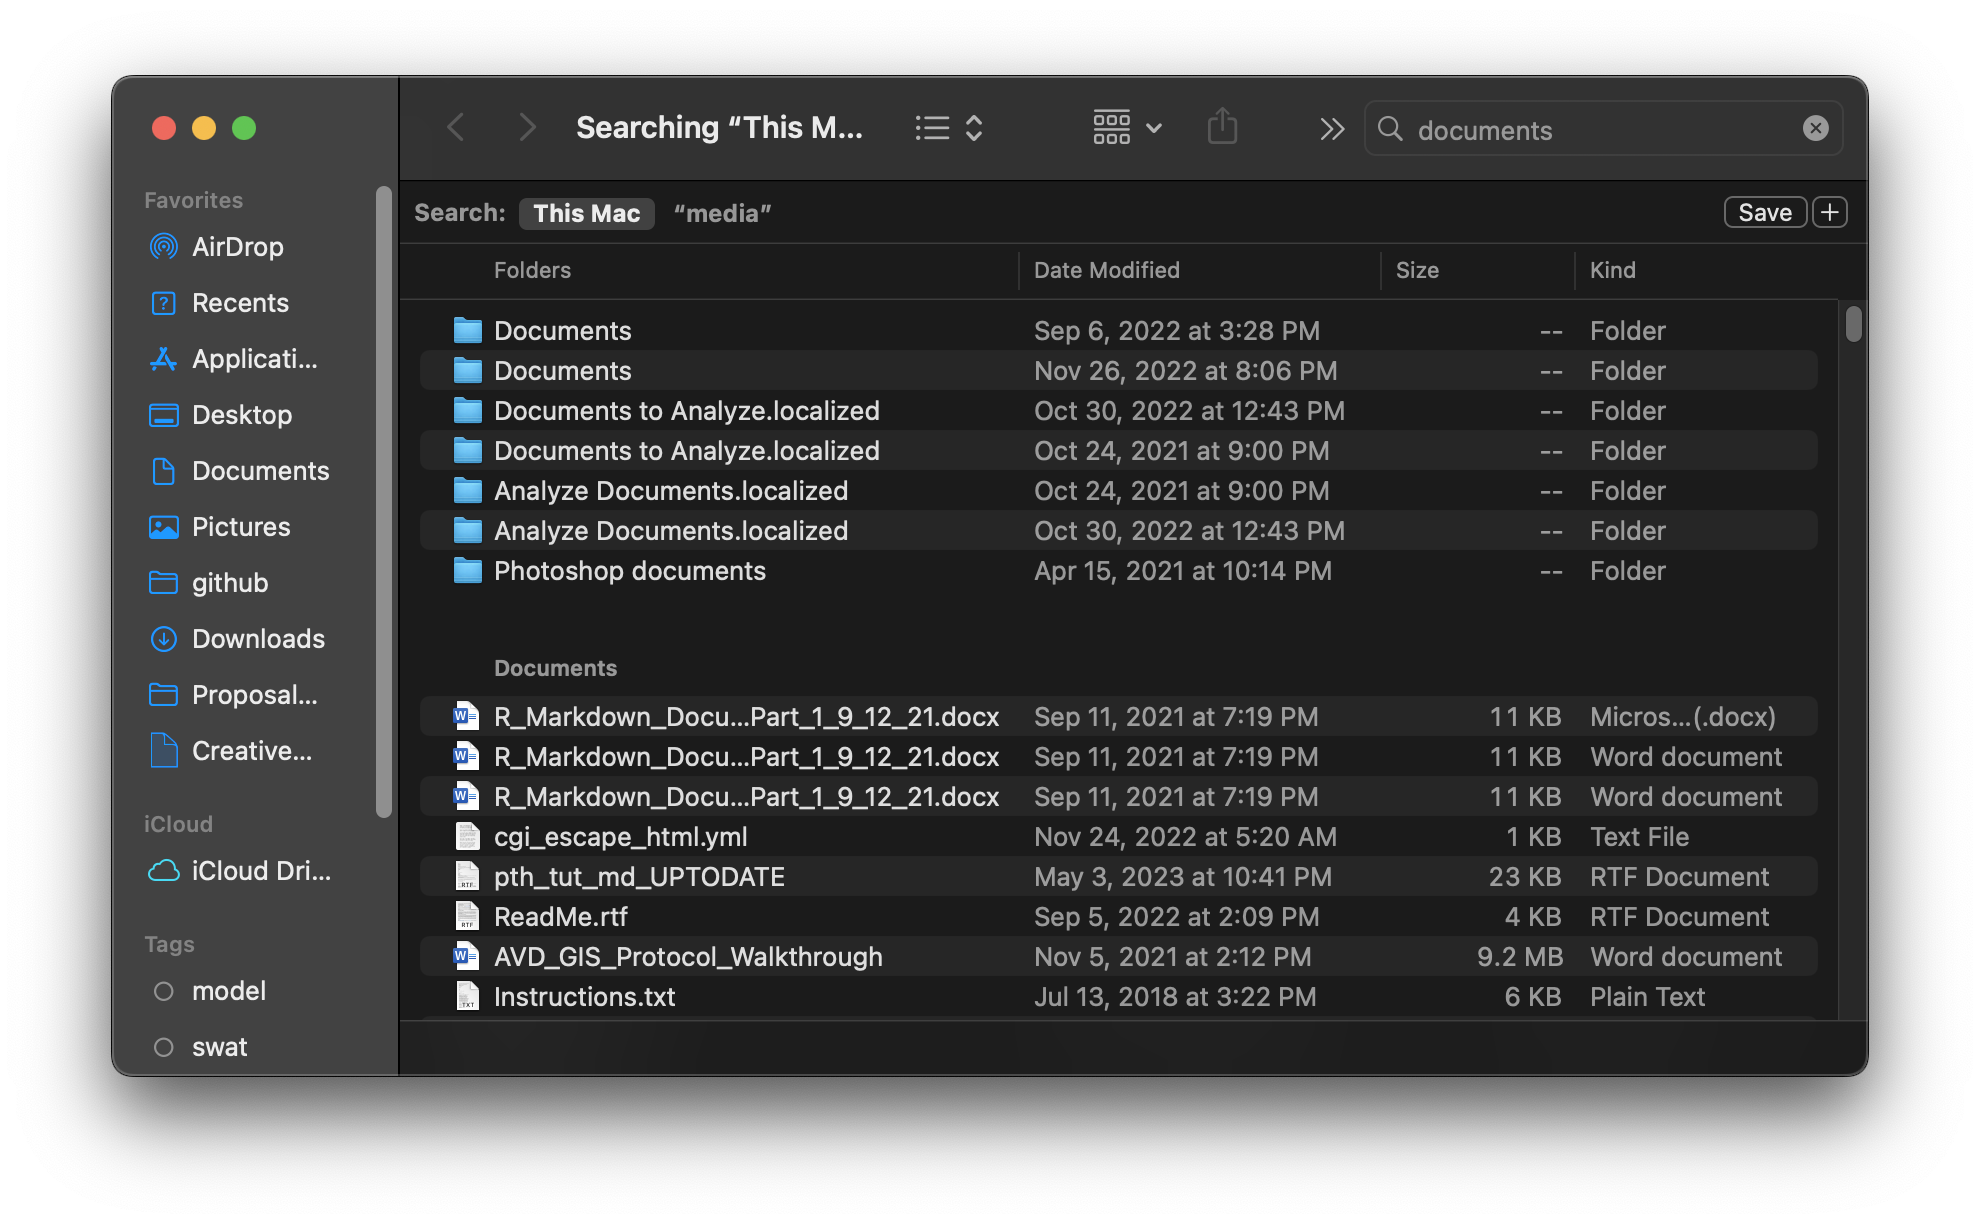
A new Finder window will appear, showing the results of your spotlight search.
-
If you want to know the file path, highlight the file of interest by clicking it, and if the Path bar is toggled on, you will see the file path appear at the bottom of the Finder window.
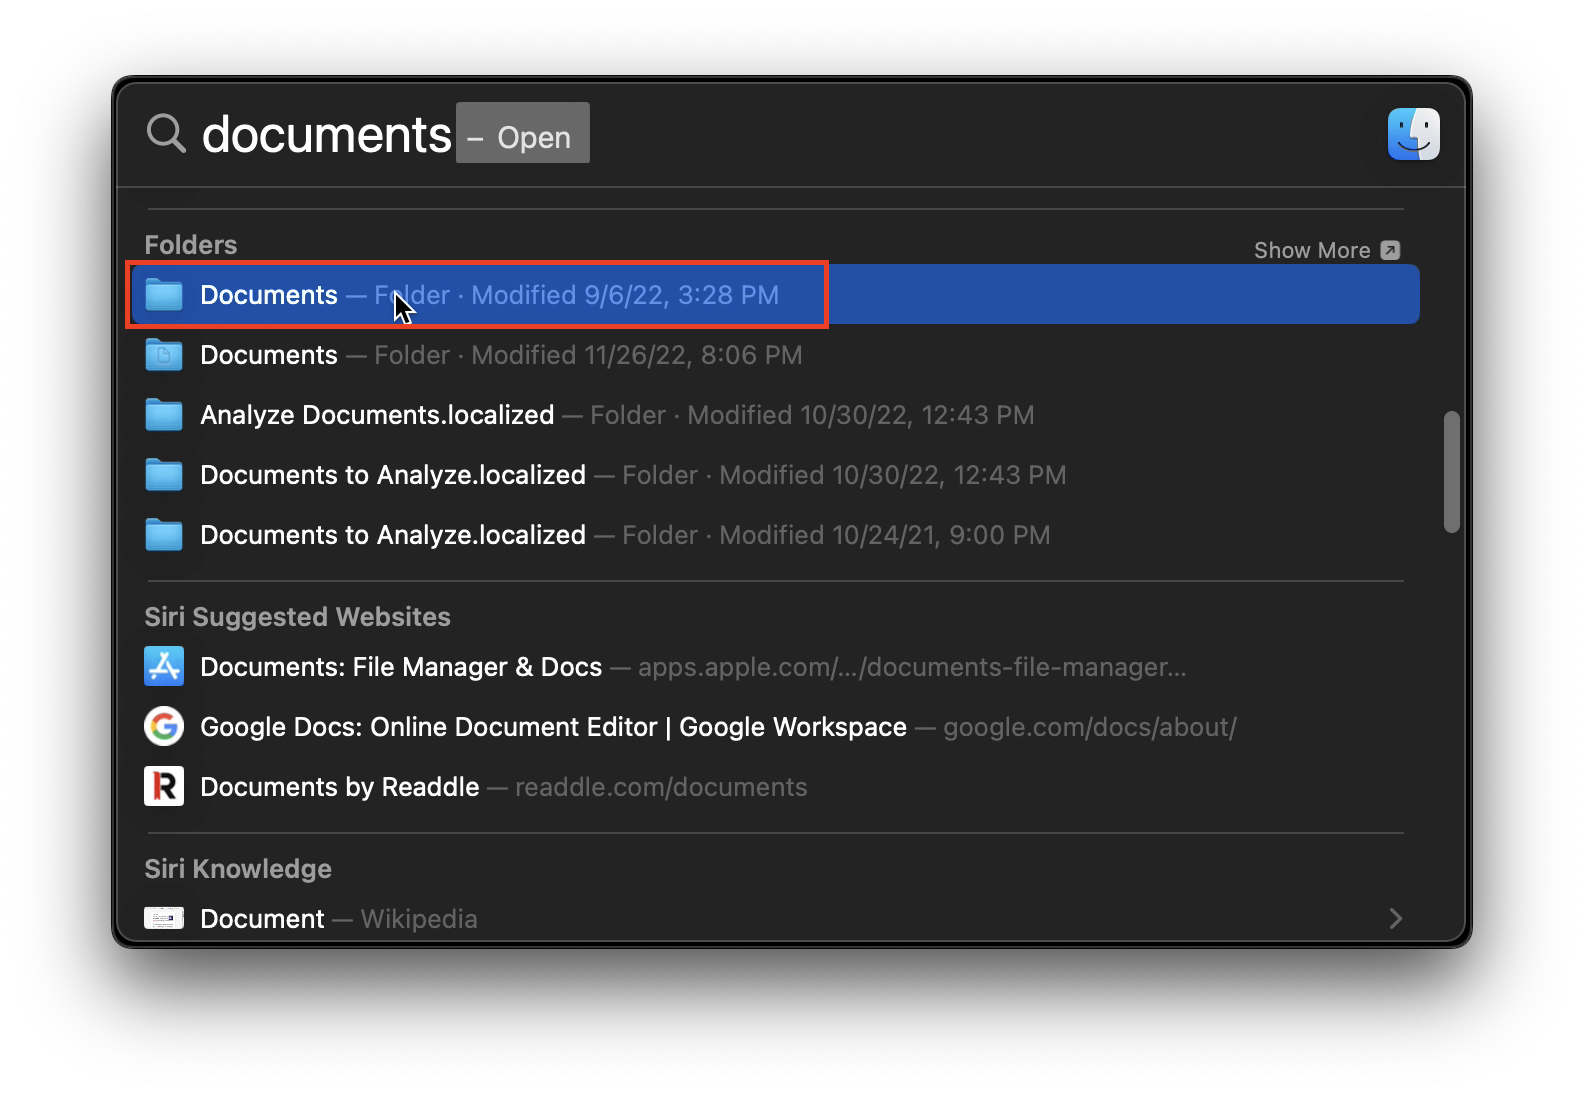
There are two User accounts on the machine used to create this tutorial, so the Spotlight search shows two “Documents” folders, once from each User. Single-clicking the folder will shows its path (shown in yellow), beginning at “Umass”.

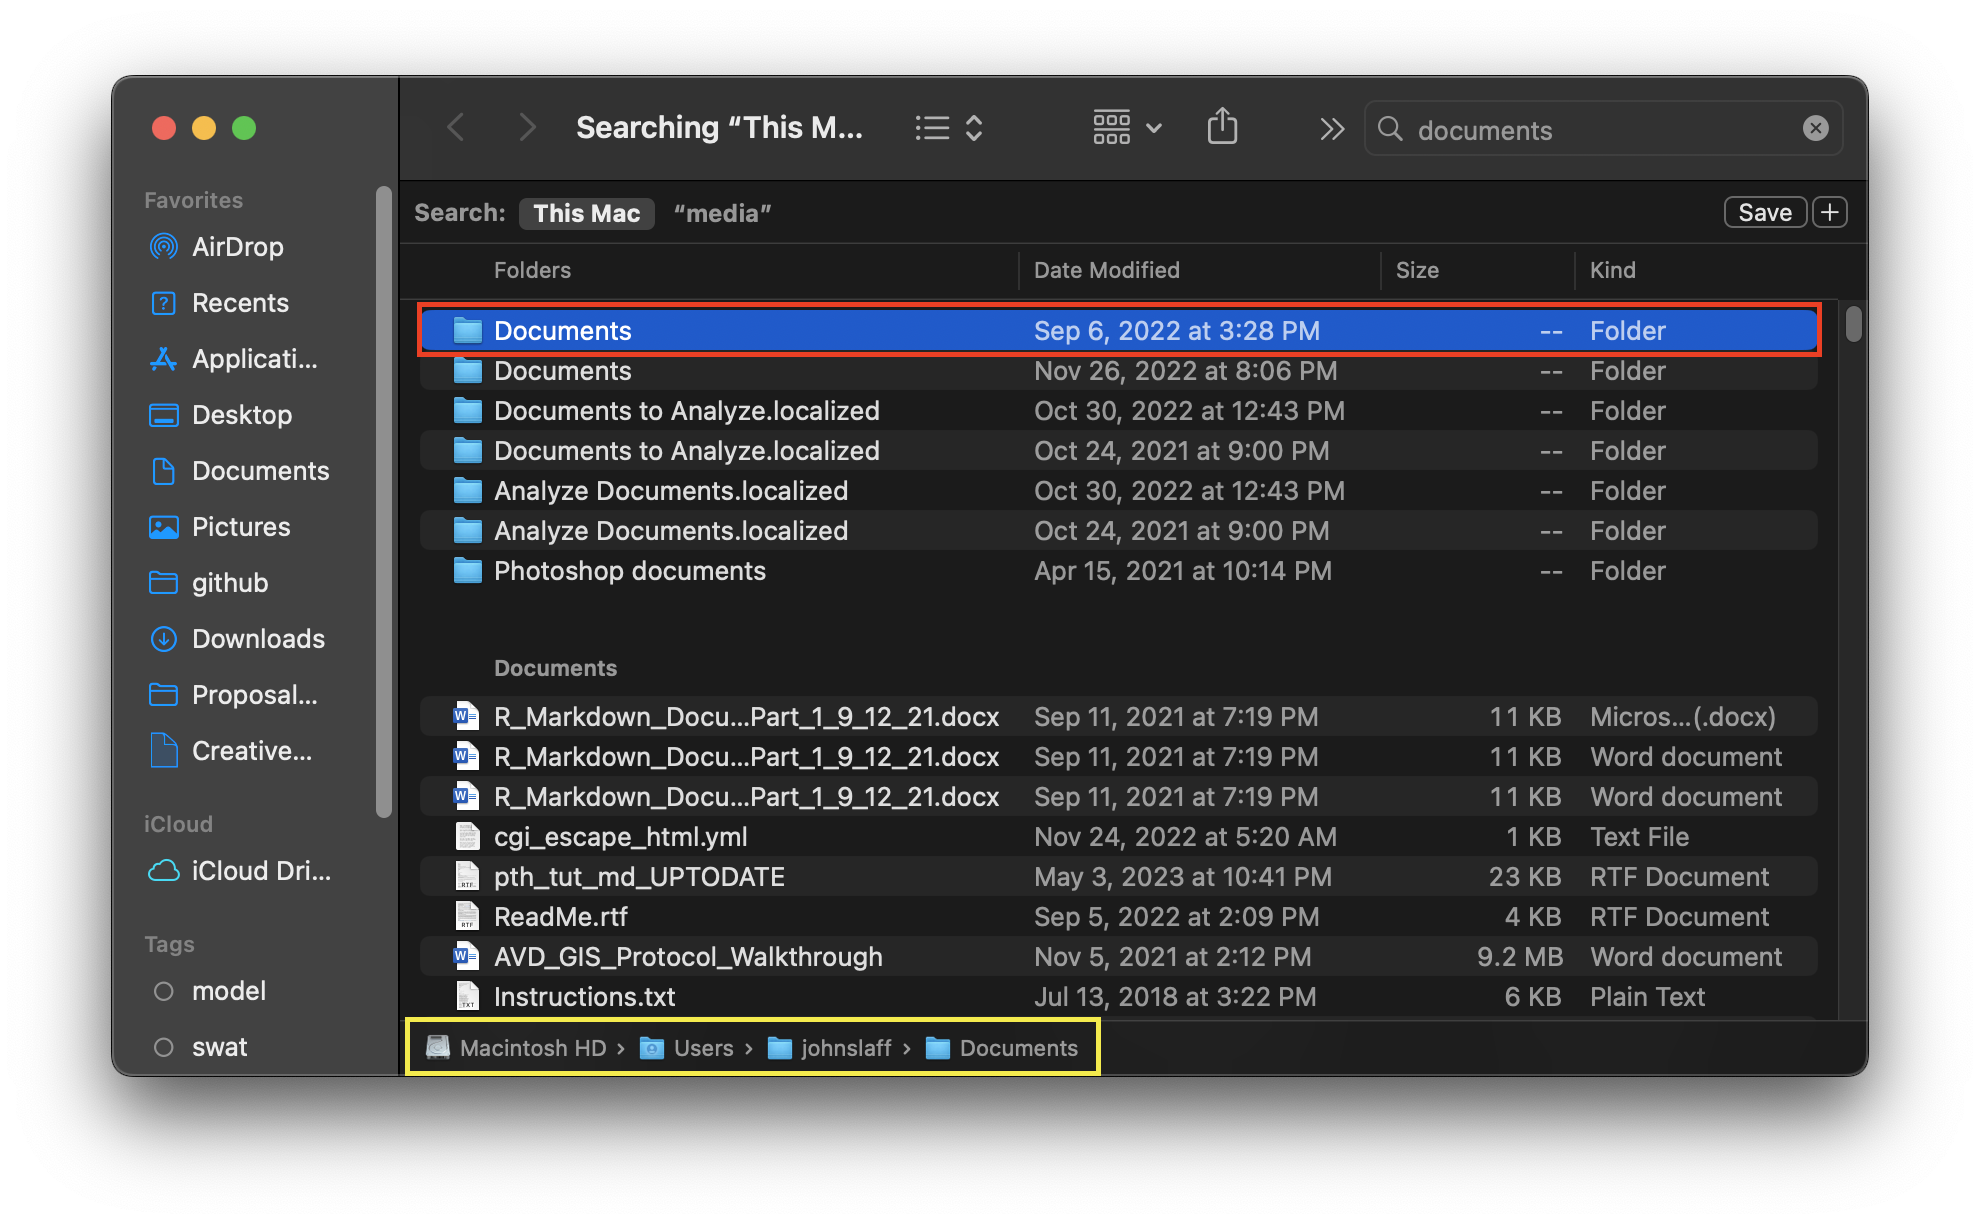
By single-clicking the other “Documents” folder, the file path (in yellow) changes to one that includes the user “johnslaff”, indicating that although this folder shares the same name as the previous “Documents folder”, it is located in a different User directory.
You’ve now searched and located an item using spotlight, congratulations!
Configuring Finder
To navigate through Mac’s file system, you will primarily rely on Finder. Finder has multiple view options, some of which can be customized further for efficient file management. This section presents the various view options available within Finder, and provides examples of when each view may be the most useful. Please note, all of the view options described below (and many more) can also be found under the “View” dropdown menu.
Change the View Options in Finder to make it easier to view files and navigate through folders. These view options are particularly helpful when large numbers of files and folders are present in a directory.
- Open the Finder application by clicking any blank area on the Desktop.
-
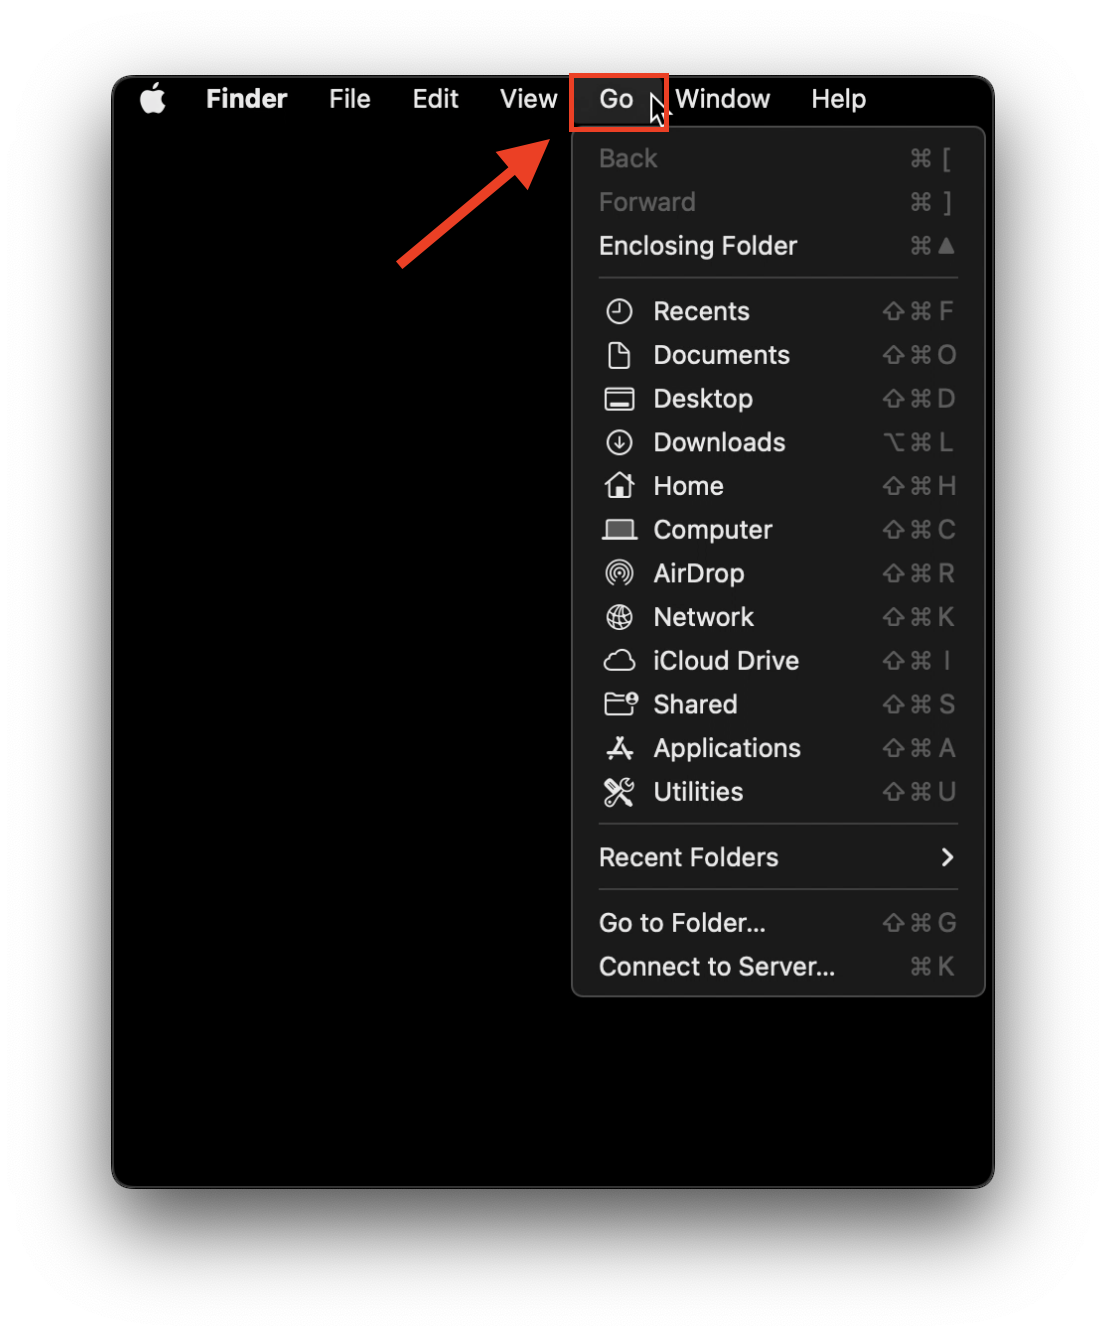
From the Menu bar, select Go.
-
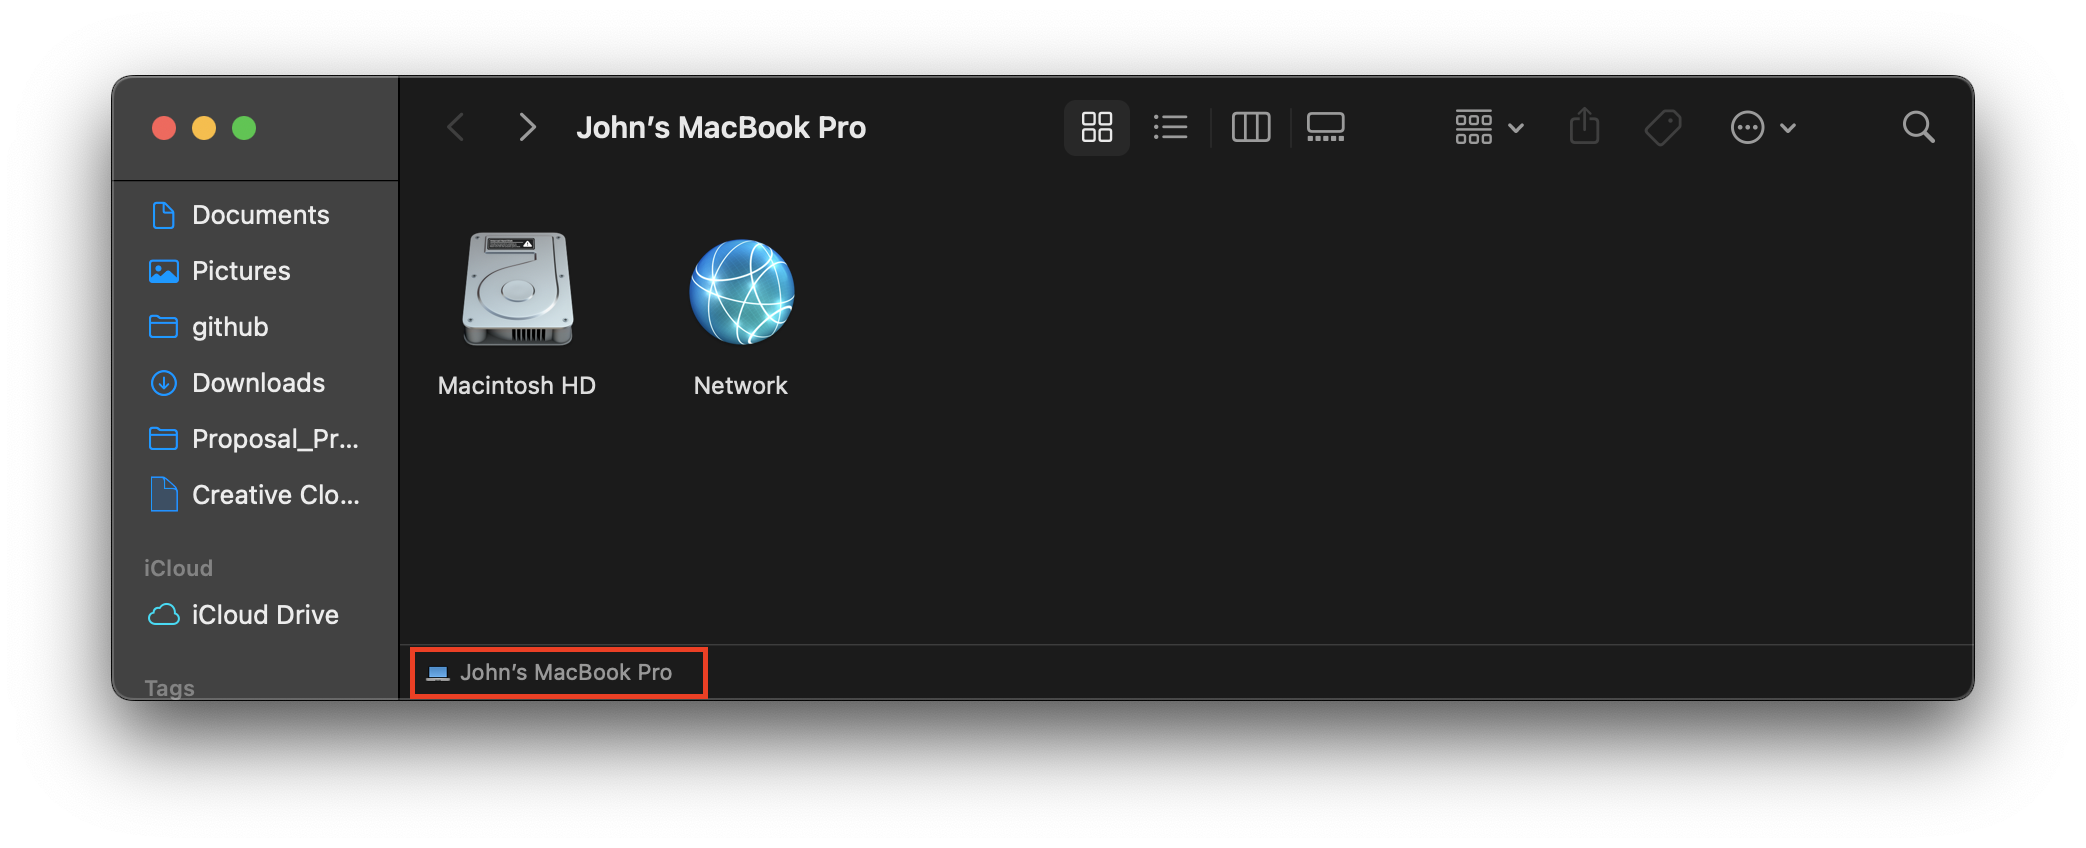
From the dropdown menu, select Computer.
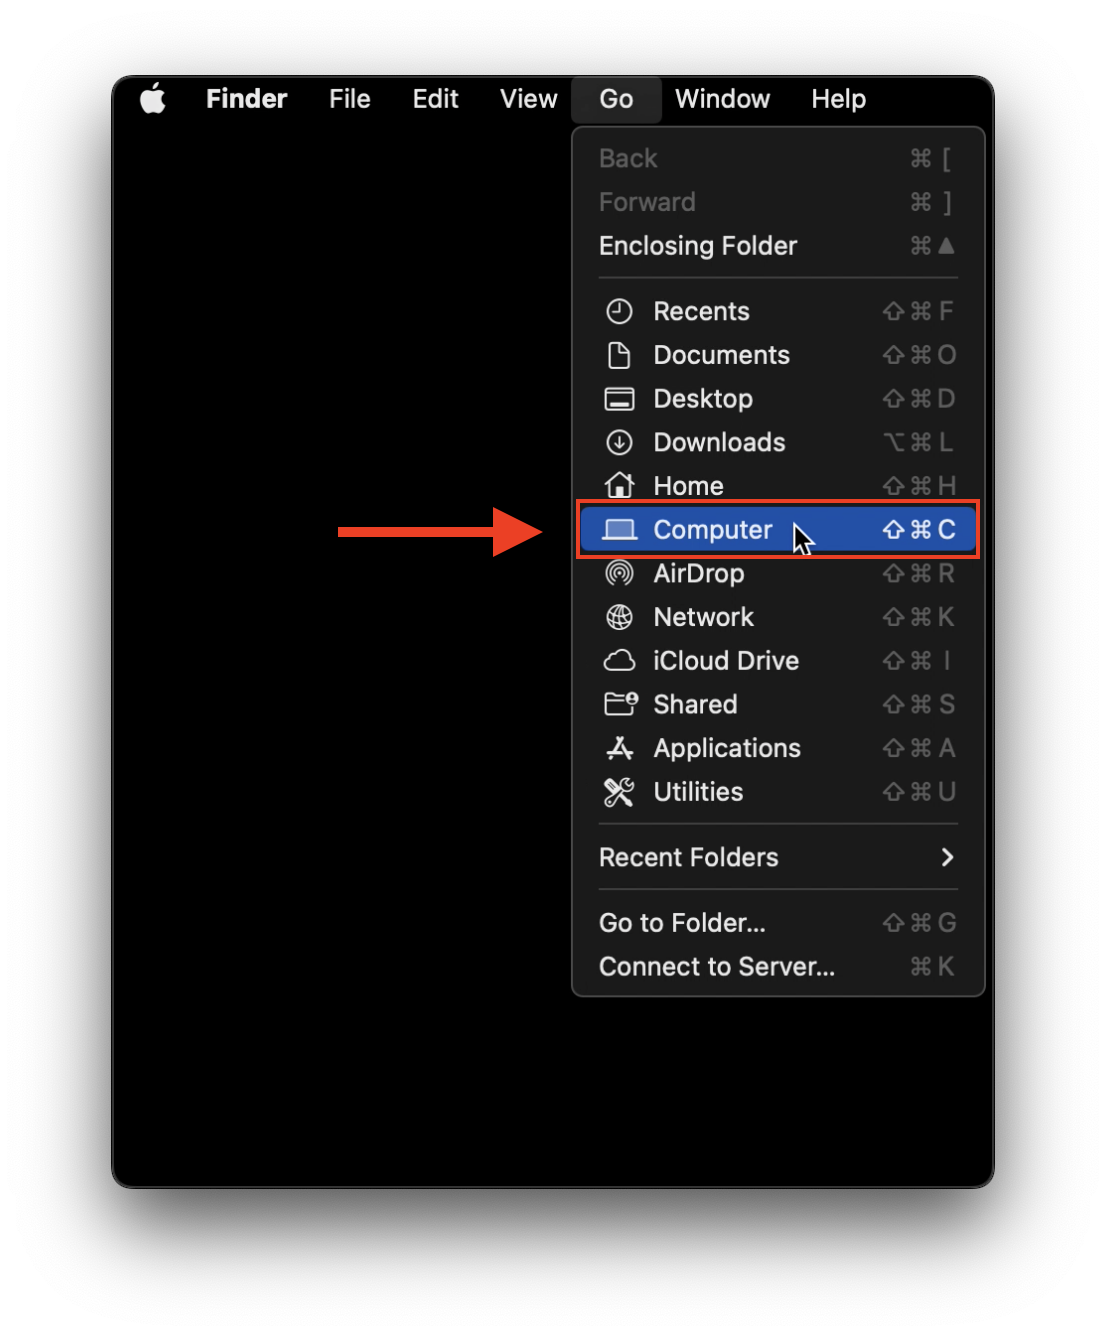
-
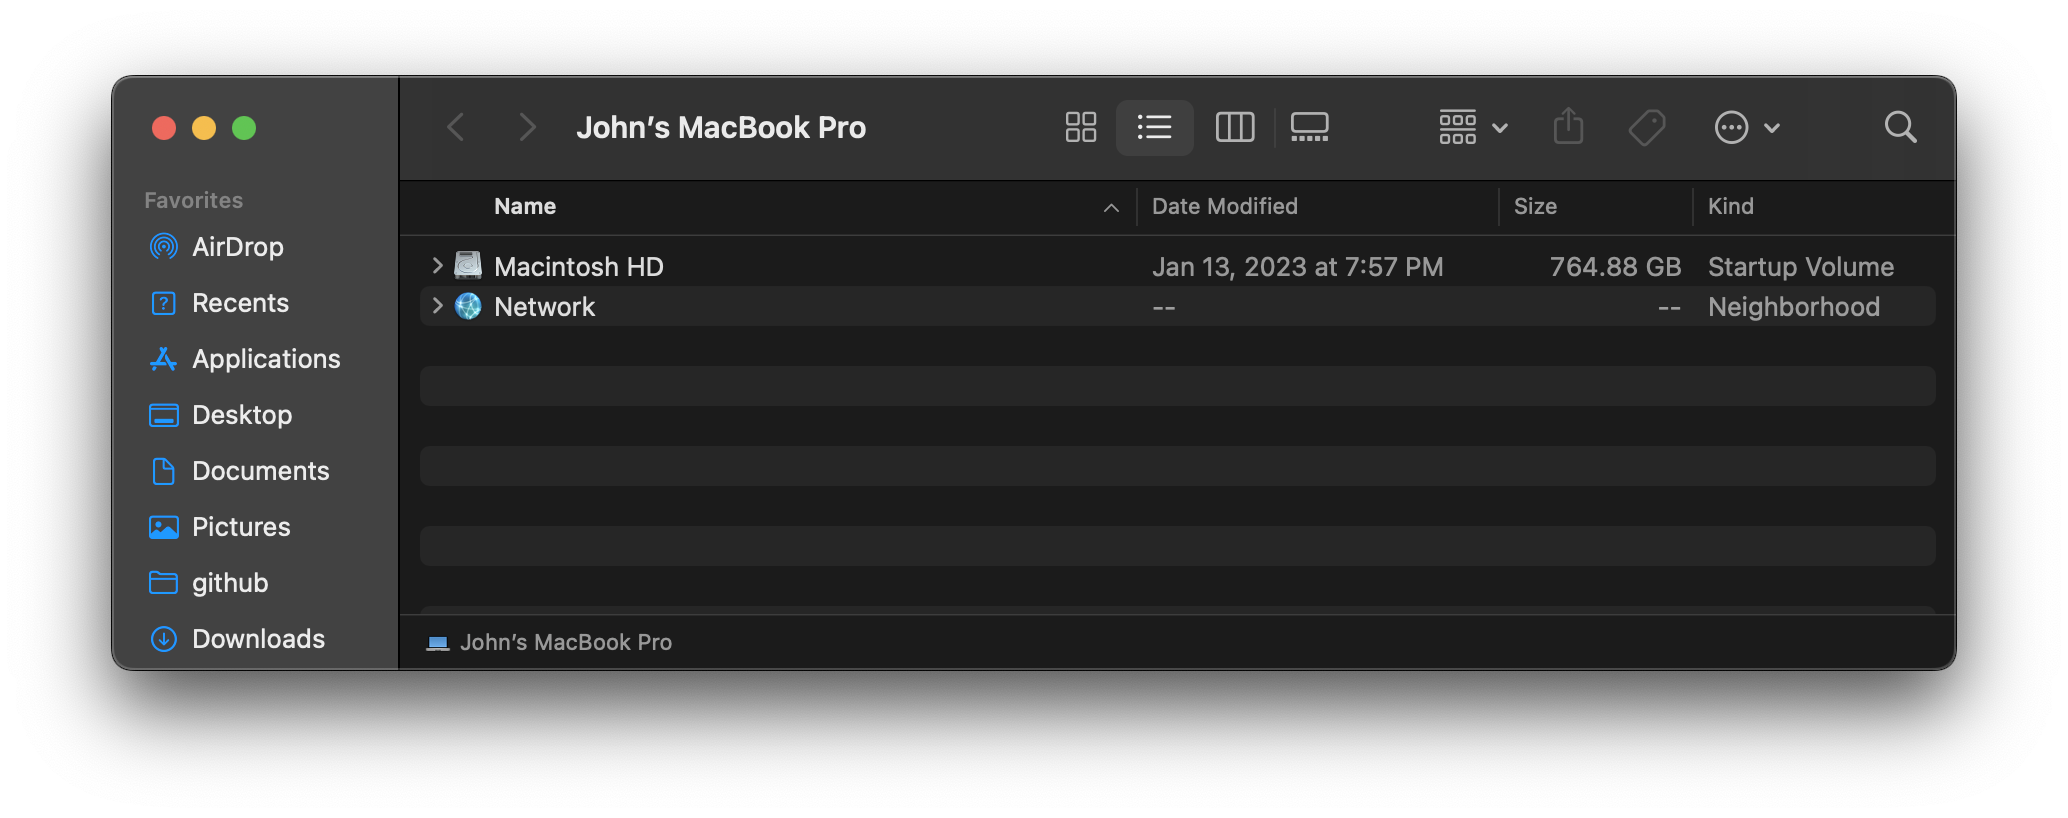
A new finder window will appear, showing entries for “Macintosh HD” and “Network”. Currently, the finder window is set to display items in “list” view, indicated by the three small horizontal lines that are highlighted at the top of the finder window.
List View
-
To toggle to “list” view, select the symbol with the three small horizontal lines. Notice that now, columns titled “Date Modified”, “Date”, and “Kind” have appeared. This is an excellent view option if you have many items in a folder and want to organize or view them with a little more detail. These view options are also available from the Finder Menu bar, under “View”
-
Once in List view, select “View” from the finder menu bar.

-
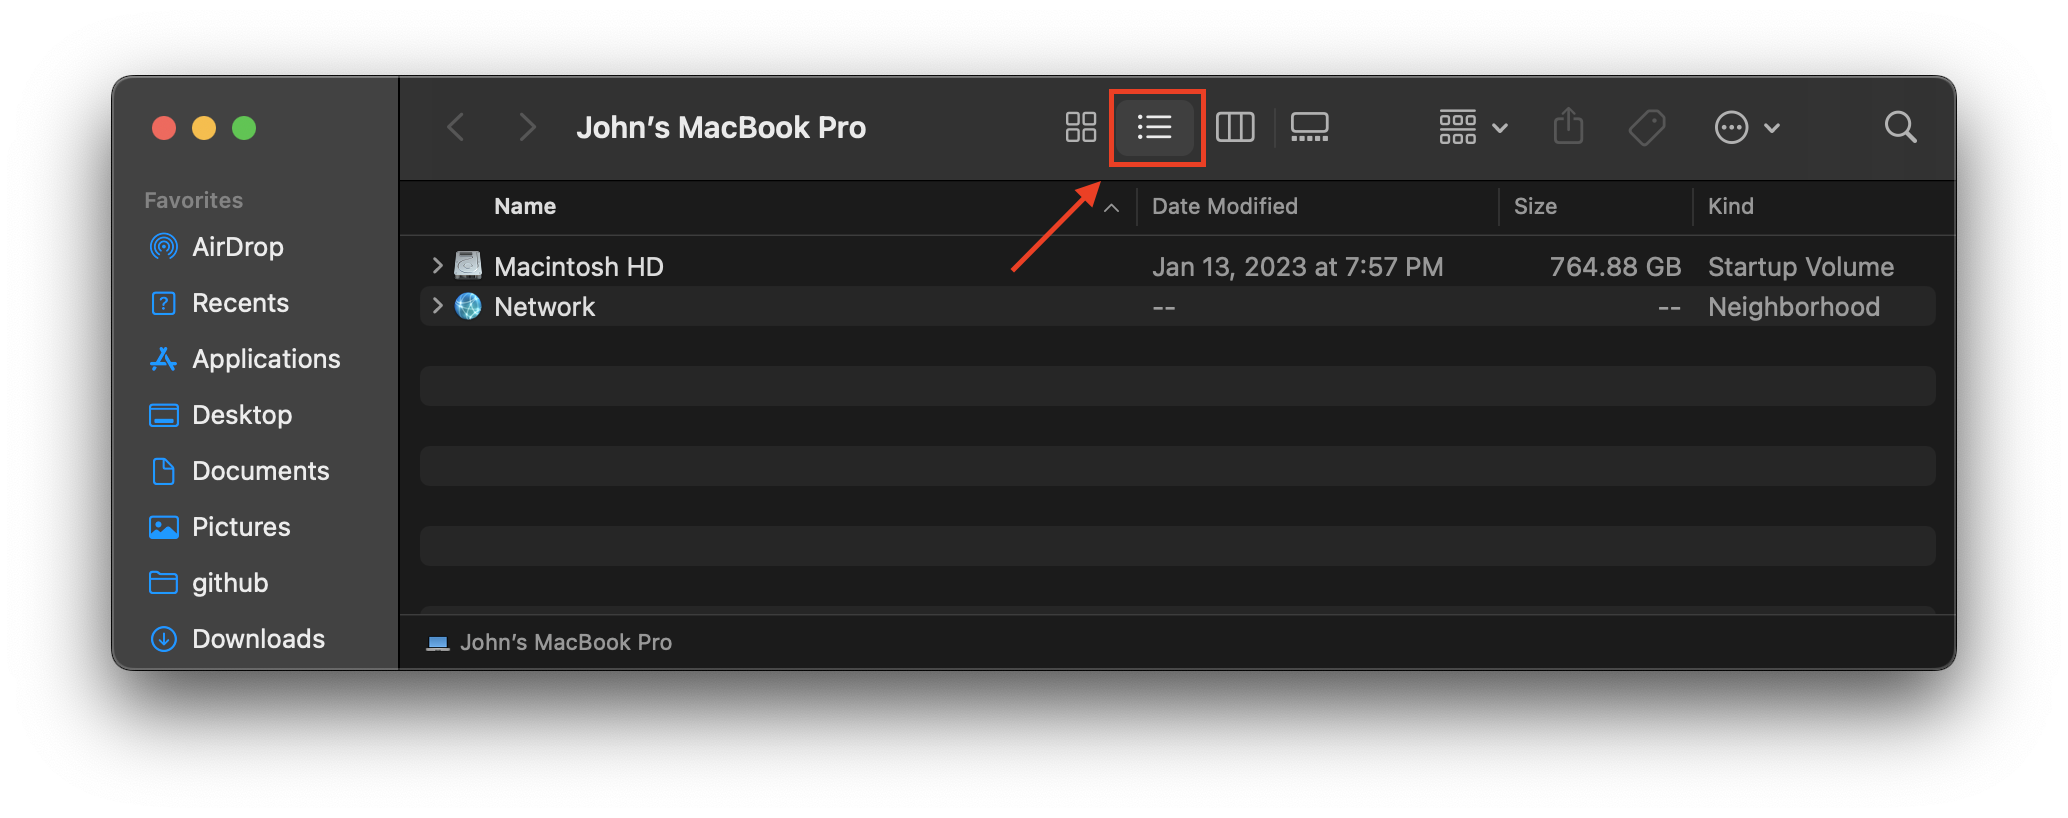
Select “Show View Options”

-
A dialog box should appear showing check-boxes to toggle specific attributes. Check Date Created, Size, and Date Modified.
-
In the window shown below, the items are organized by the date they were modified; the most recently-modified appearing at the top. This is indicated by the text “Date Modified” being highlighted. Double-clicking “Date Modified” will reverse the order. The same is true of all column headers.
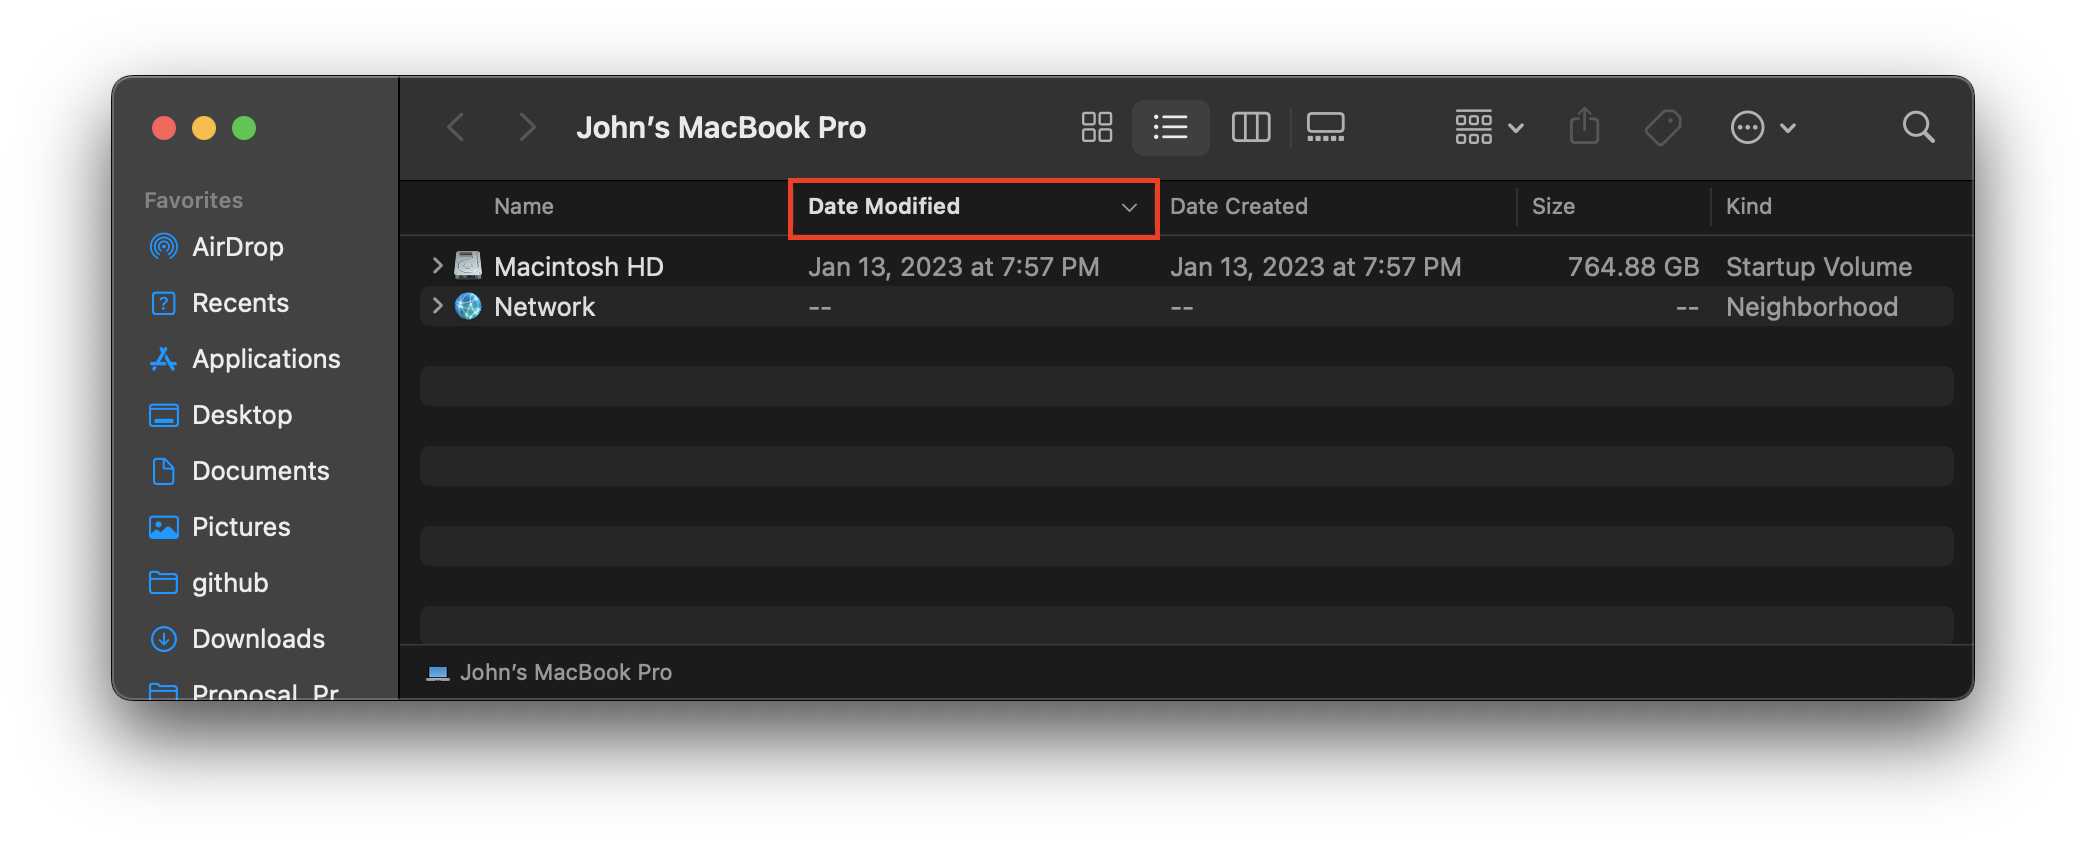
-
To organize files based on their size, click “Size”. Notice that only files have associated sizes. The folders contain files (that all have sizes), but finder only reports size for files, not folders. Note: to see the total size of a folder, right-click the folder, and select “Get Info” from the dropdown menu.
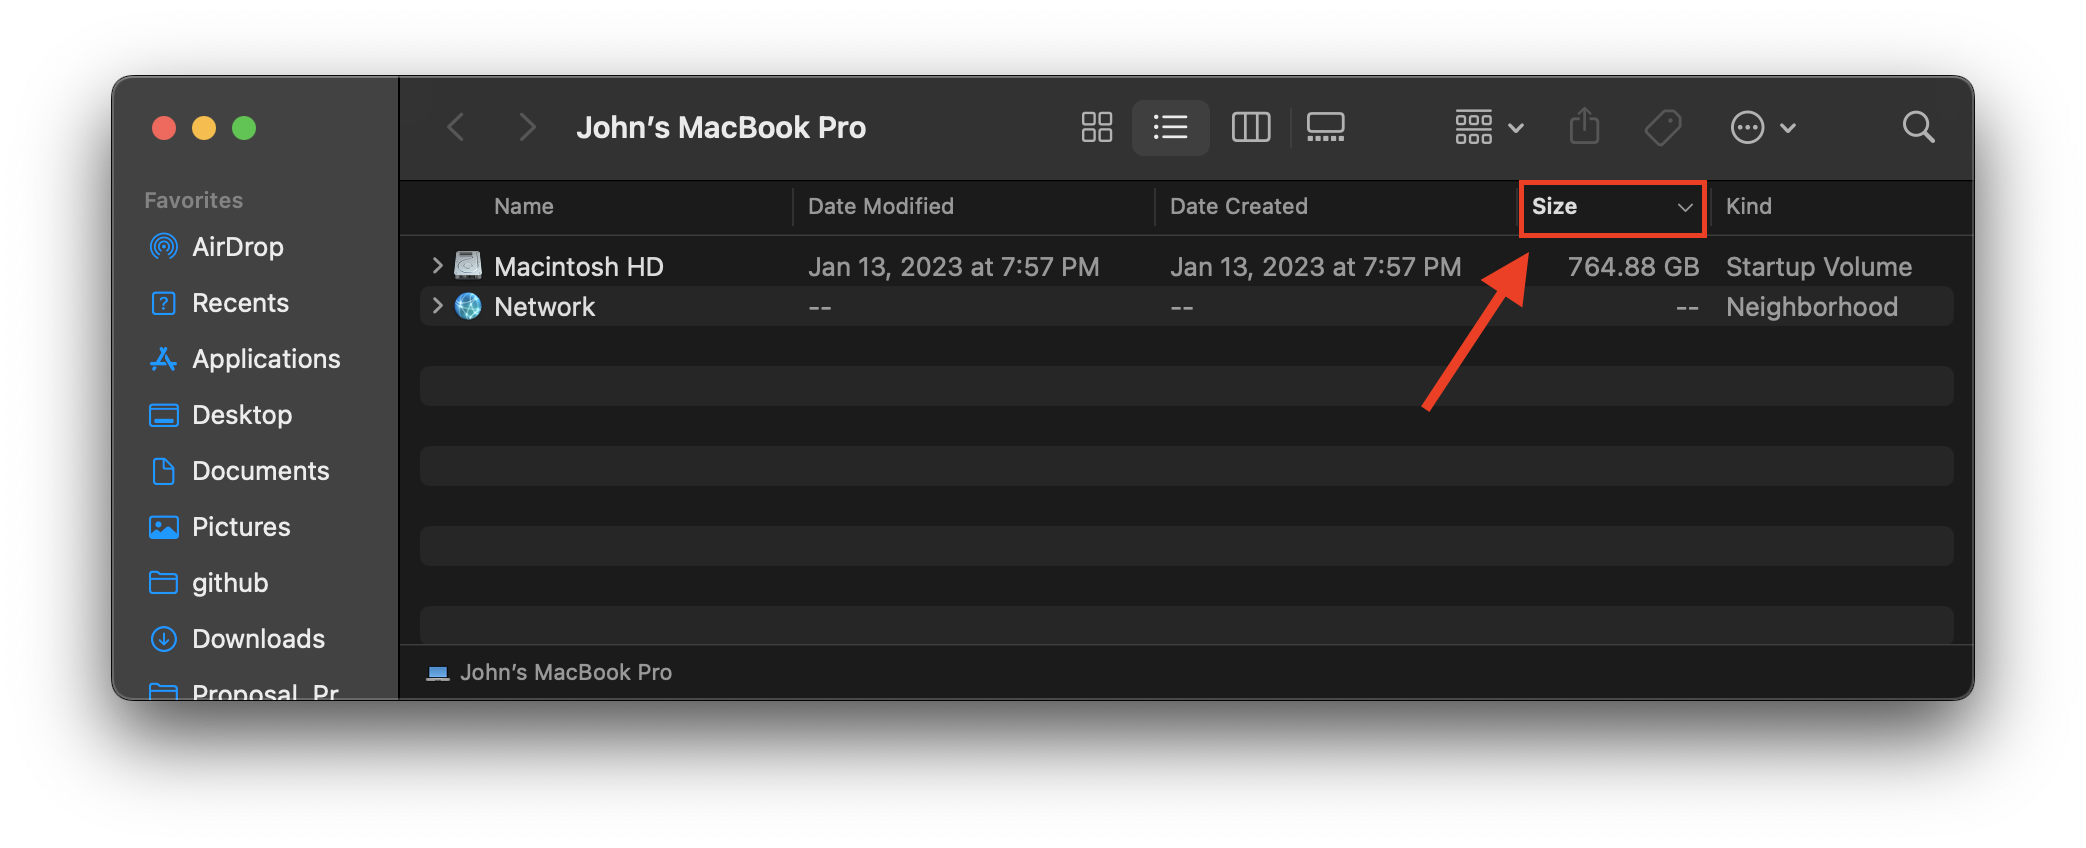
The folder items are now organized by their size. This can be especially helpful when cleaning out files to save space.
Column View
To toggle to “column” view, select the symbol with three vertical lines. This is an excellent view to use when navigating through Macs’ nested file structure. Once a directory is selected, users may navigate by clicking with their cursor, or by using their directional arrow keys.
<img src="media/5.png" alt="Finder window with Column view icon selected" >
Gallery View
A “gallery” view is also available, which shows a short summary of the file, and displays a large icon. To activate “Gallery” view, select the right-most symbol, which is a small rectangle with three dots beneath it. Afterwards, switch back to Icon view.
<img src="media/6.png" alt="Finder window with Gallery view selected" >
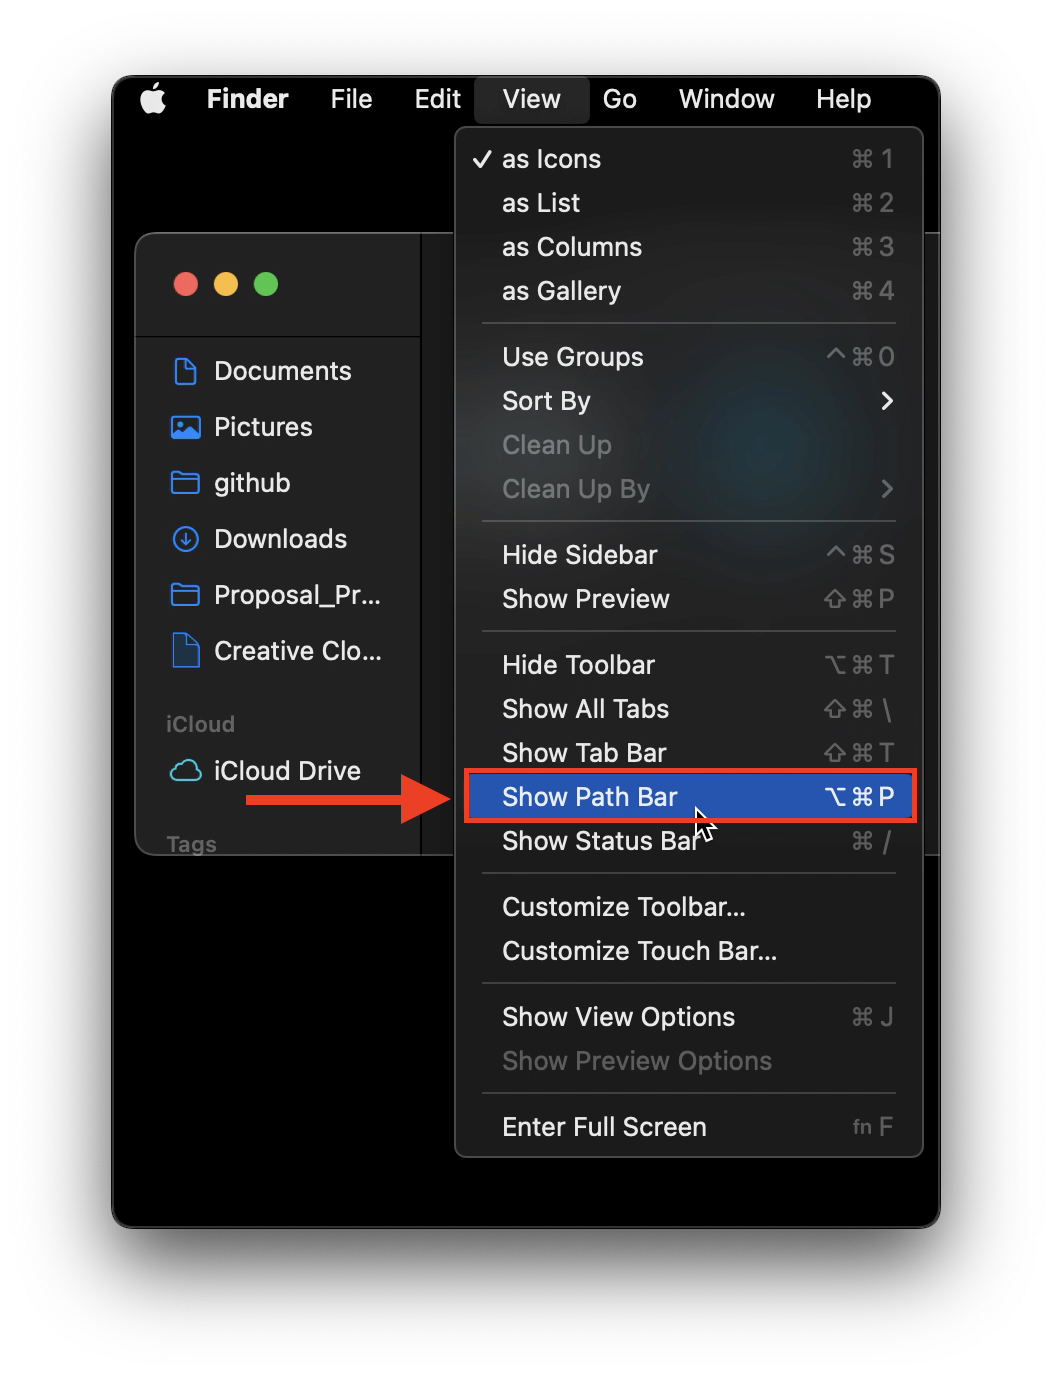
Toggling the Path Bar
-
At the bottom of the displayed Finder window, the absolute path of the current directory is shown.
-
To toggle this “Path Bar” on or off, select “View” from the finder menu bar.
-
From the dropdown menu, select “Hide/Show Path Bar”. Please toggle the path bar on for the duration of this tutorial. It can be useful to see full file paths while navigating through finder. This way, if you are ever in doubt of a file’s location, you will have quick access to its parent directories. Note: Clicking a folder in the file path bar navigates to that directory.
Exploring the Directory Structure
This section presents Mac OS system domains, describes their role and position in the directory structure, and provides tips on how and when to use these folders.
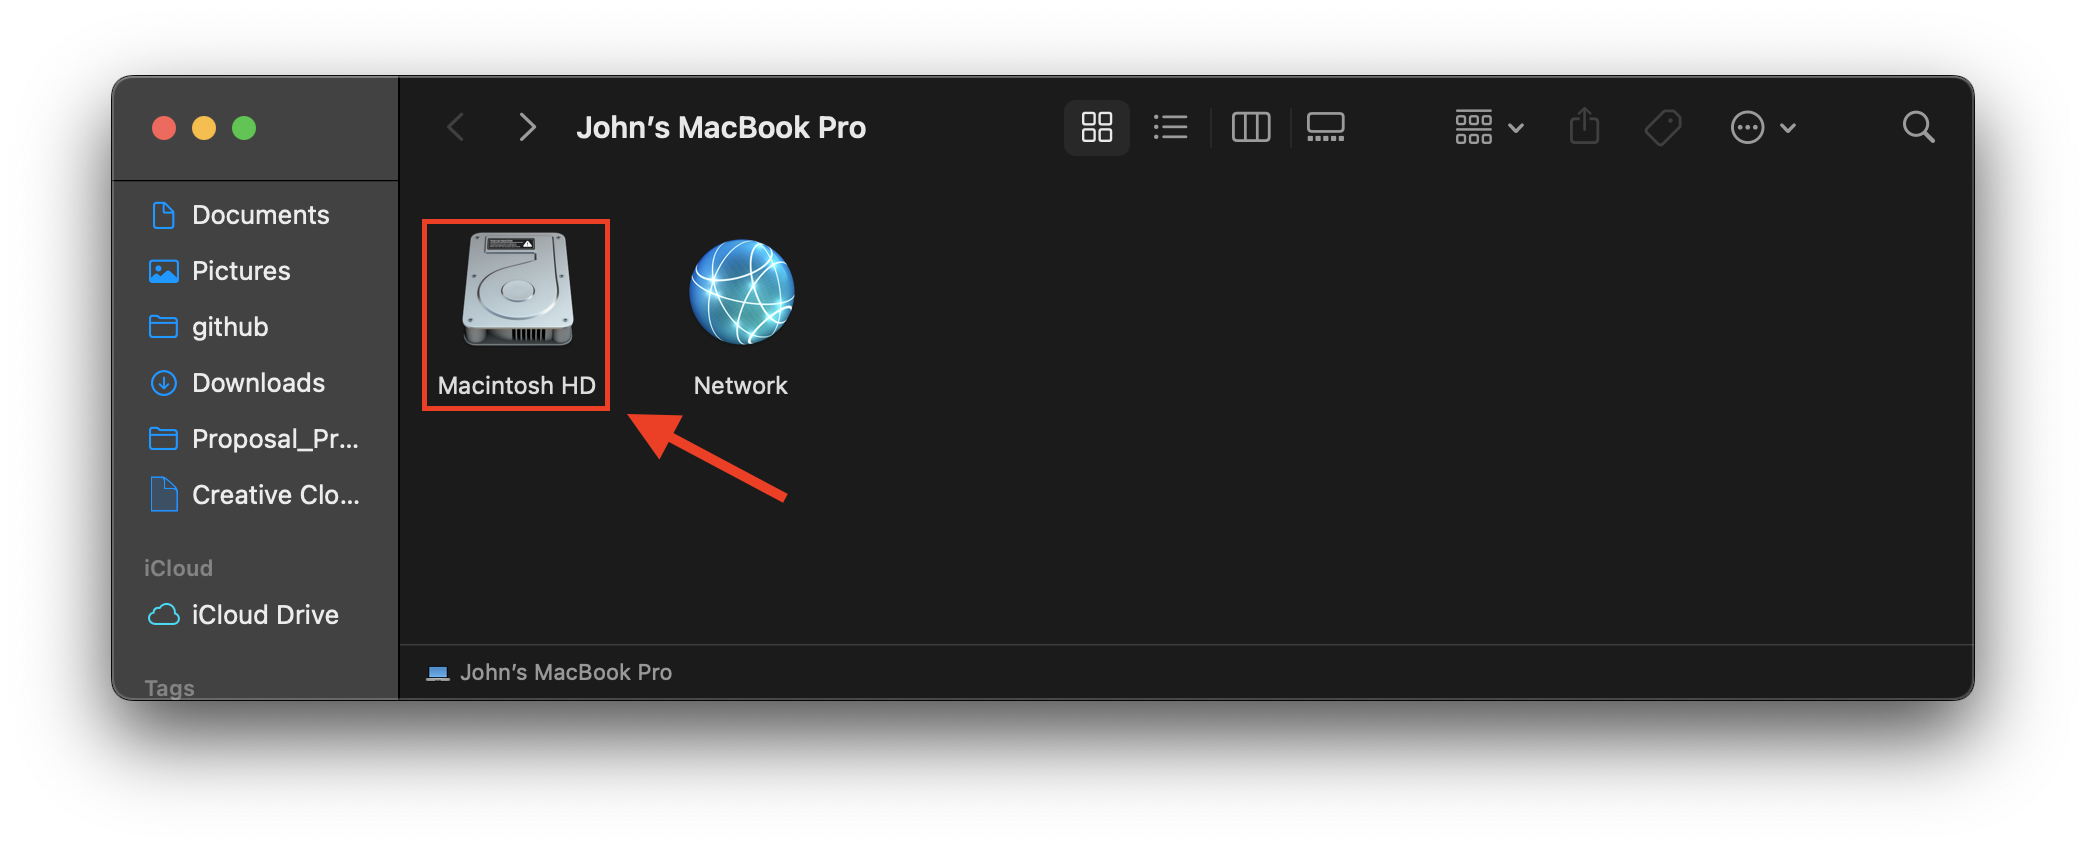
Macintosh HD (Hard Drive) “/”
-
Double-click “Macintosh HD”.
-
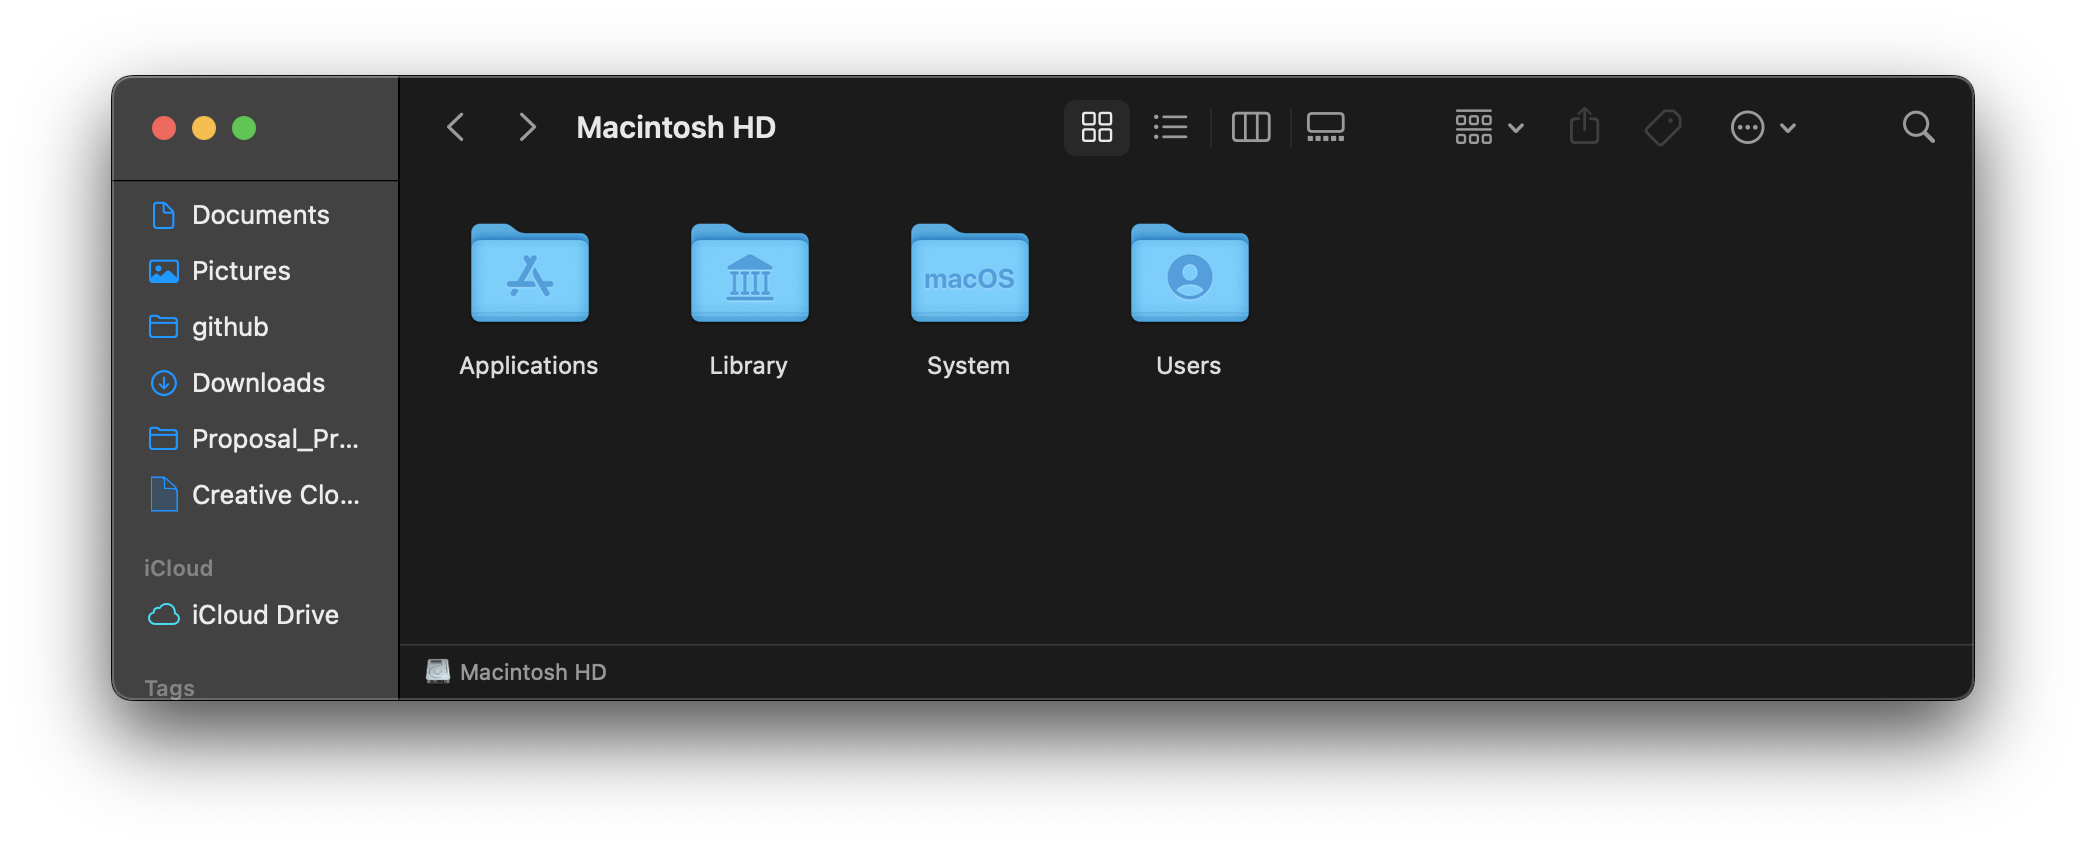
This is the “root” (or base) directory, symbolized by “/” in all absolute file paths. All files contained on your computer are held in this location. They are in one of four locations, “Applications”, “Library”, “System”, or “Users”
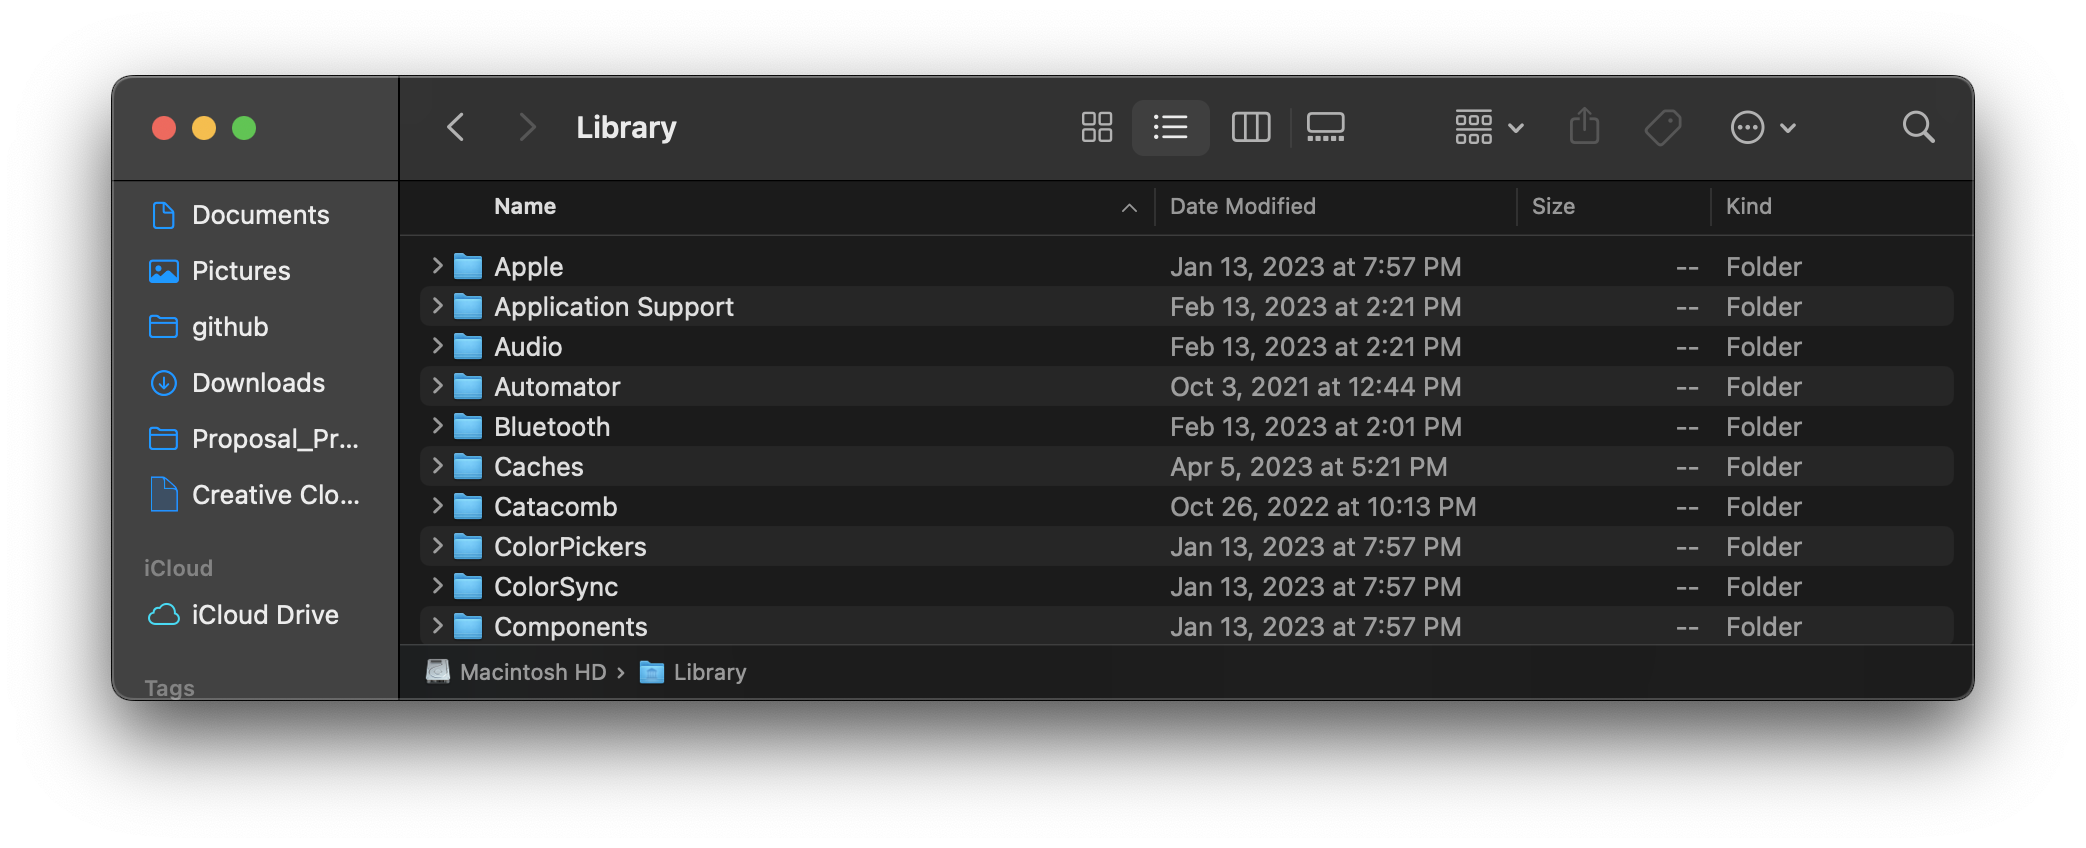
Library
-
Double-click the Library folder, but do not make any changes to this folder.
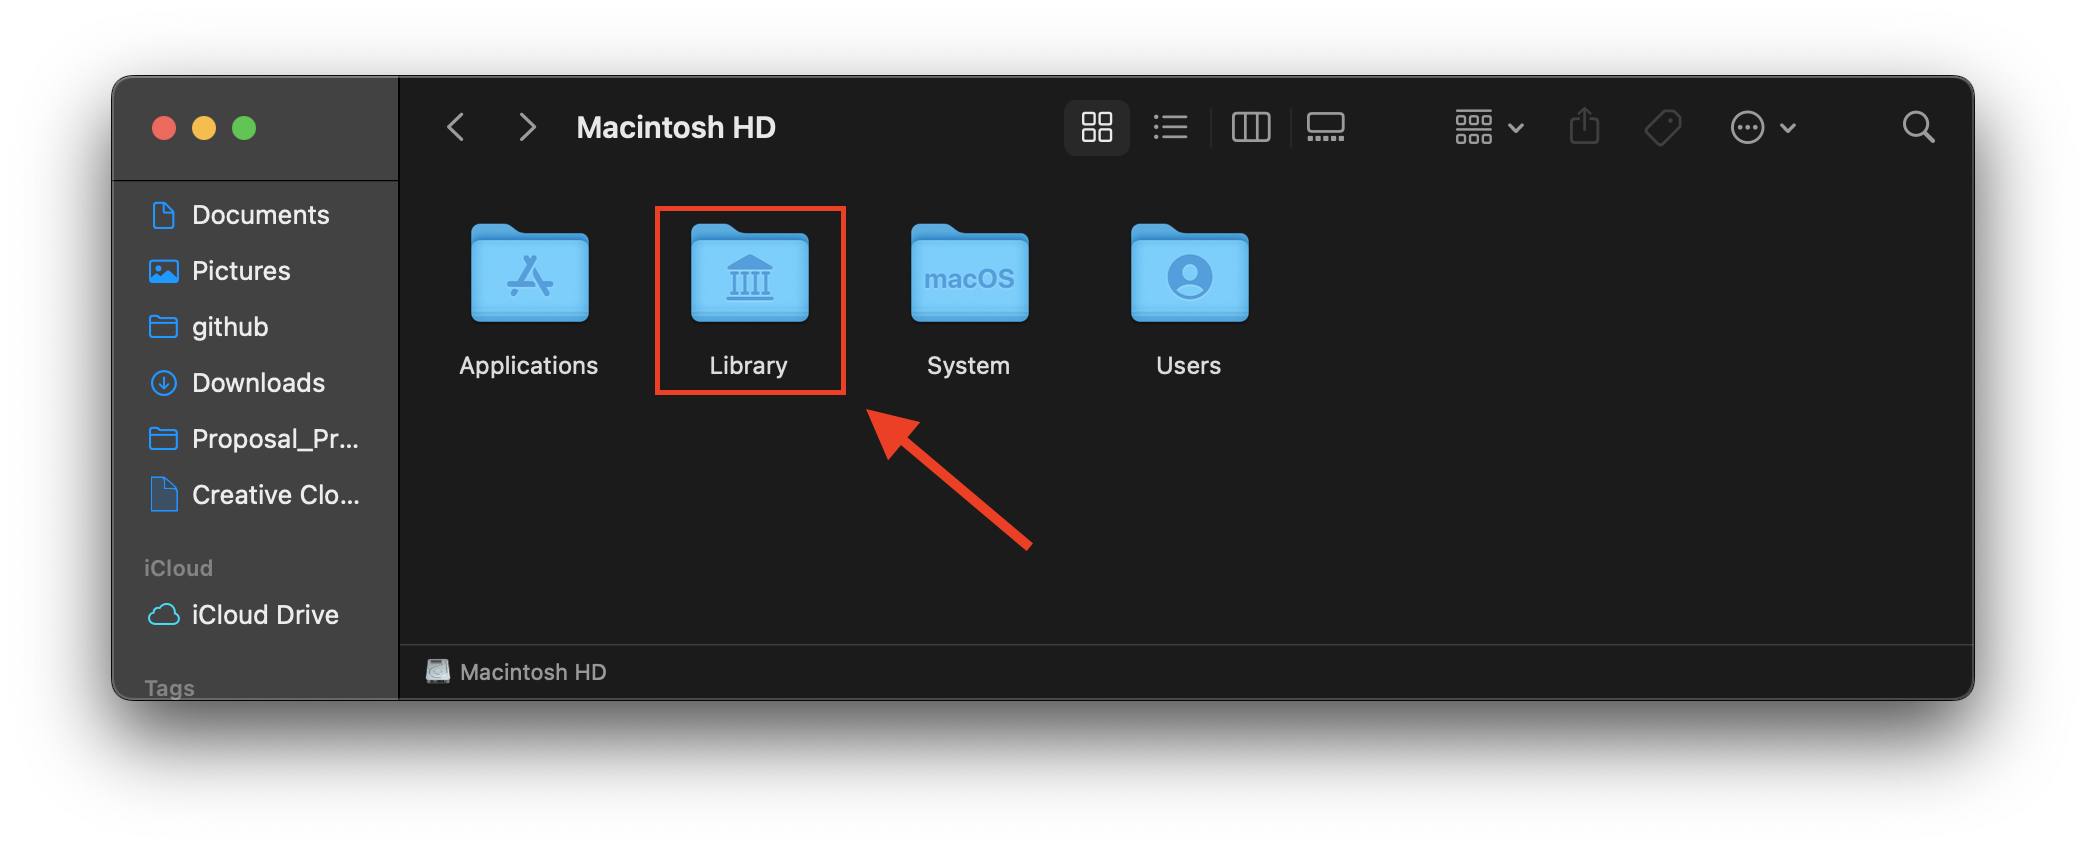
IMPORTANT NOTE Unless you are advised by an Apple representative, or someone with a high level of technical knowledge, never add, delete, manipulate or change any files in this location. The files contained in the Library directory are used for basic processing tasks, and changing anything in this folder (including adding folders), could disrupt your computer, or stop it from working entirely.
-
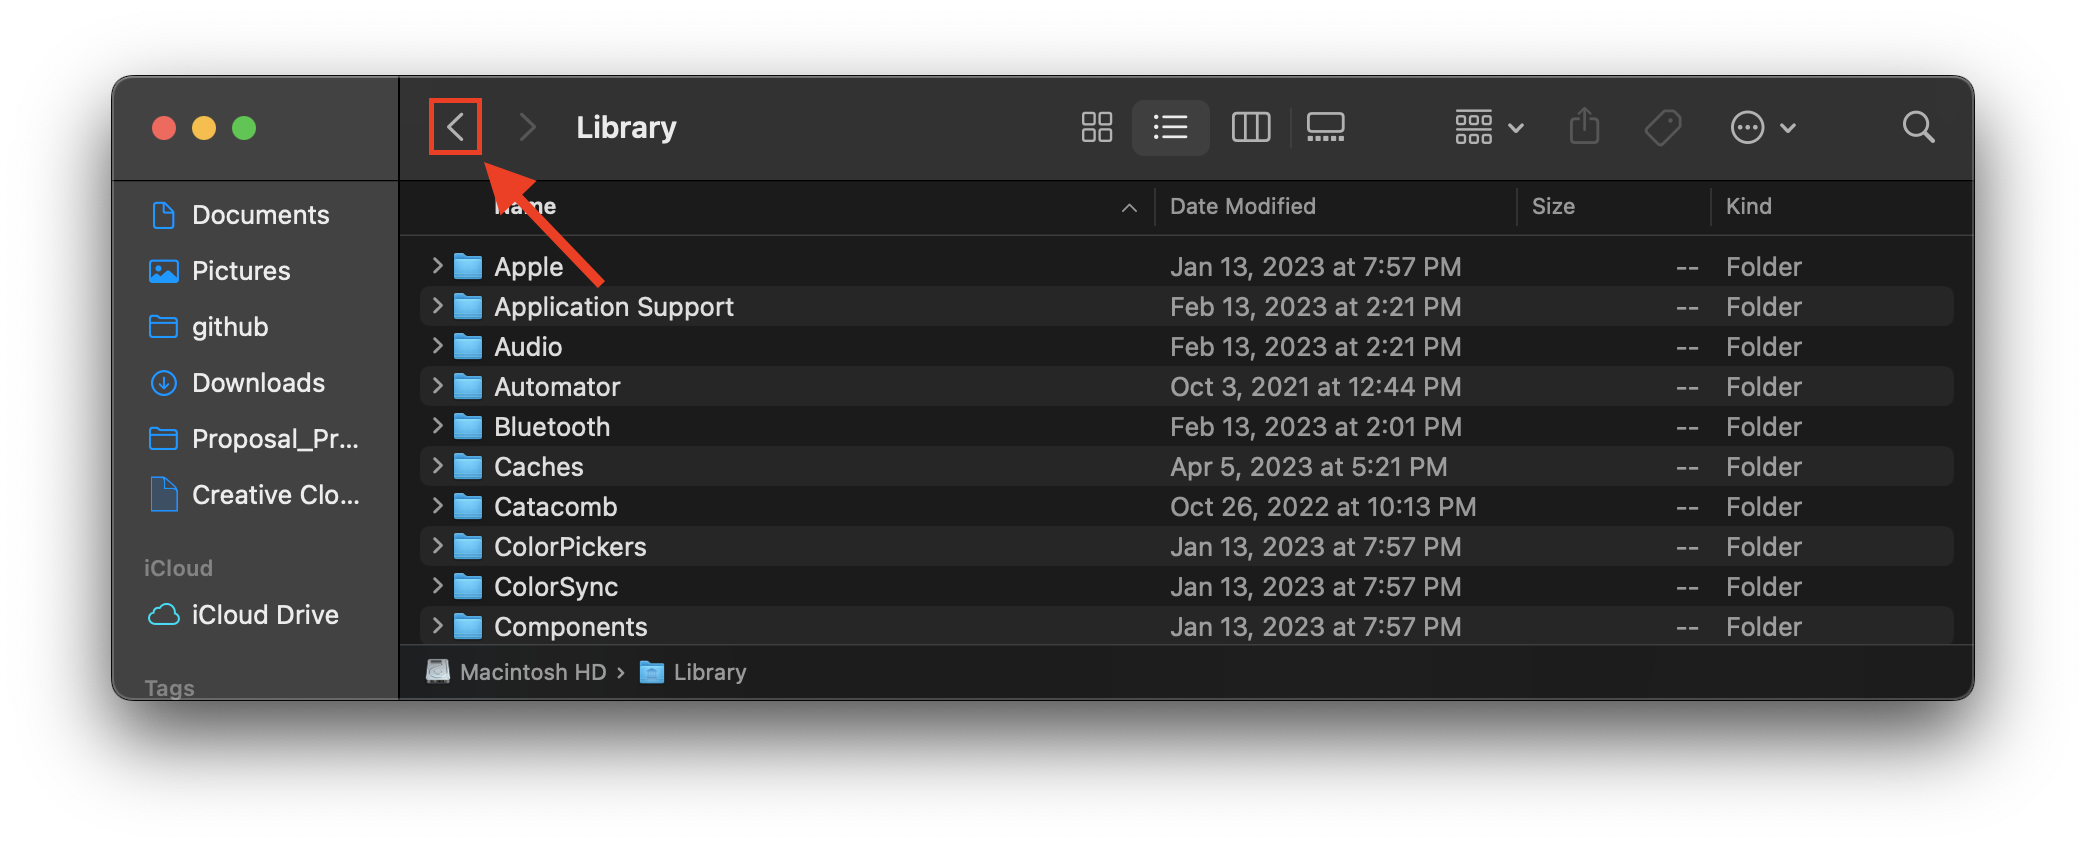
In the upper left corner of the finder window, select the left arrow to navigate “backwards”, to the directory we were last in, called “Macintosh HD”. These arrows allow users to toggle between the two most recently-viewed directories.
Applications
-
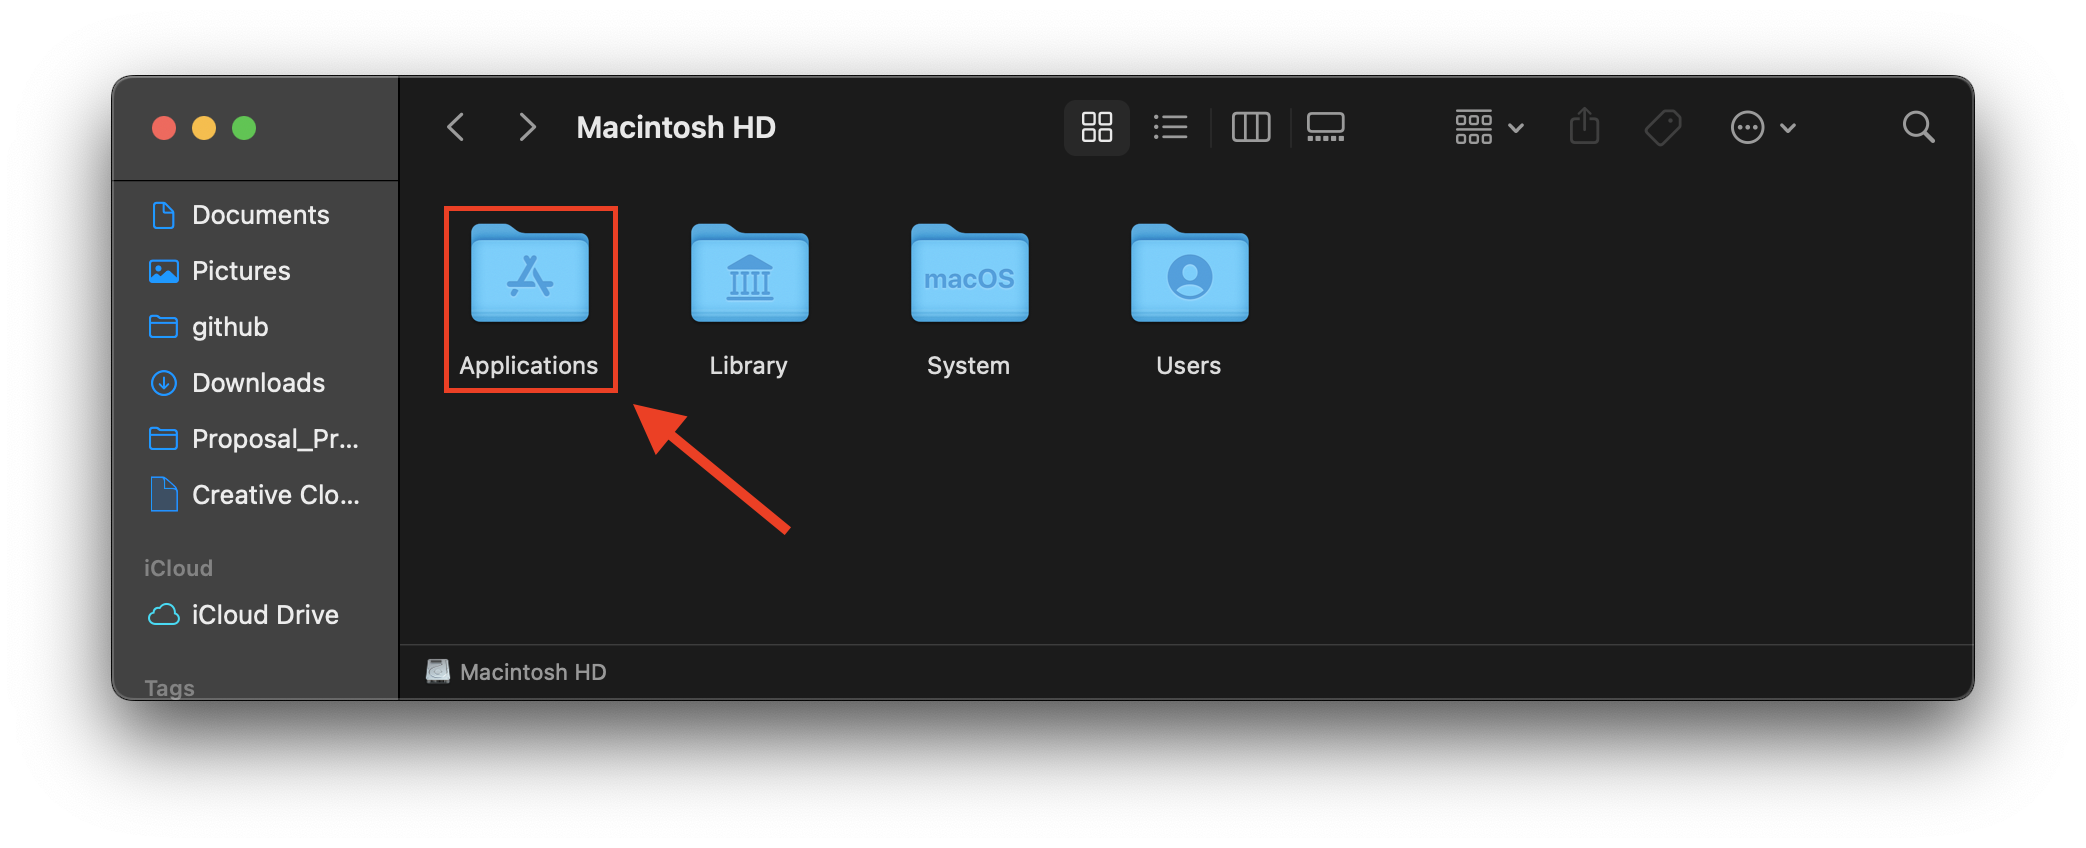
From “Macintosh HD” Double-click the “Applications” folder.
-
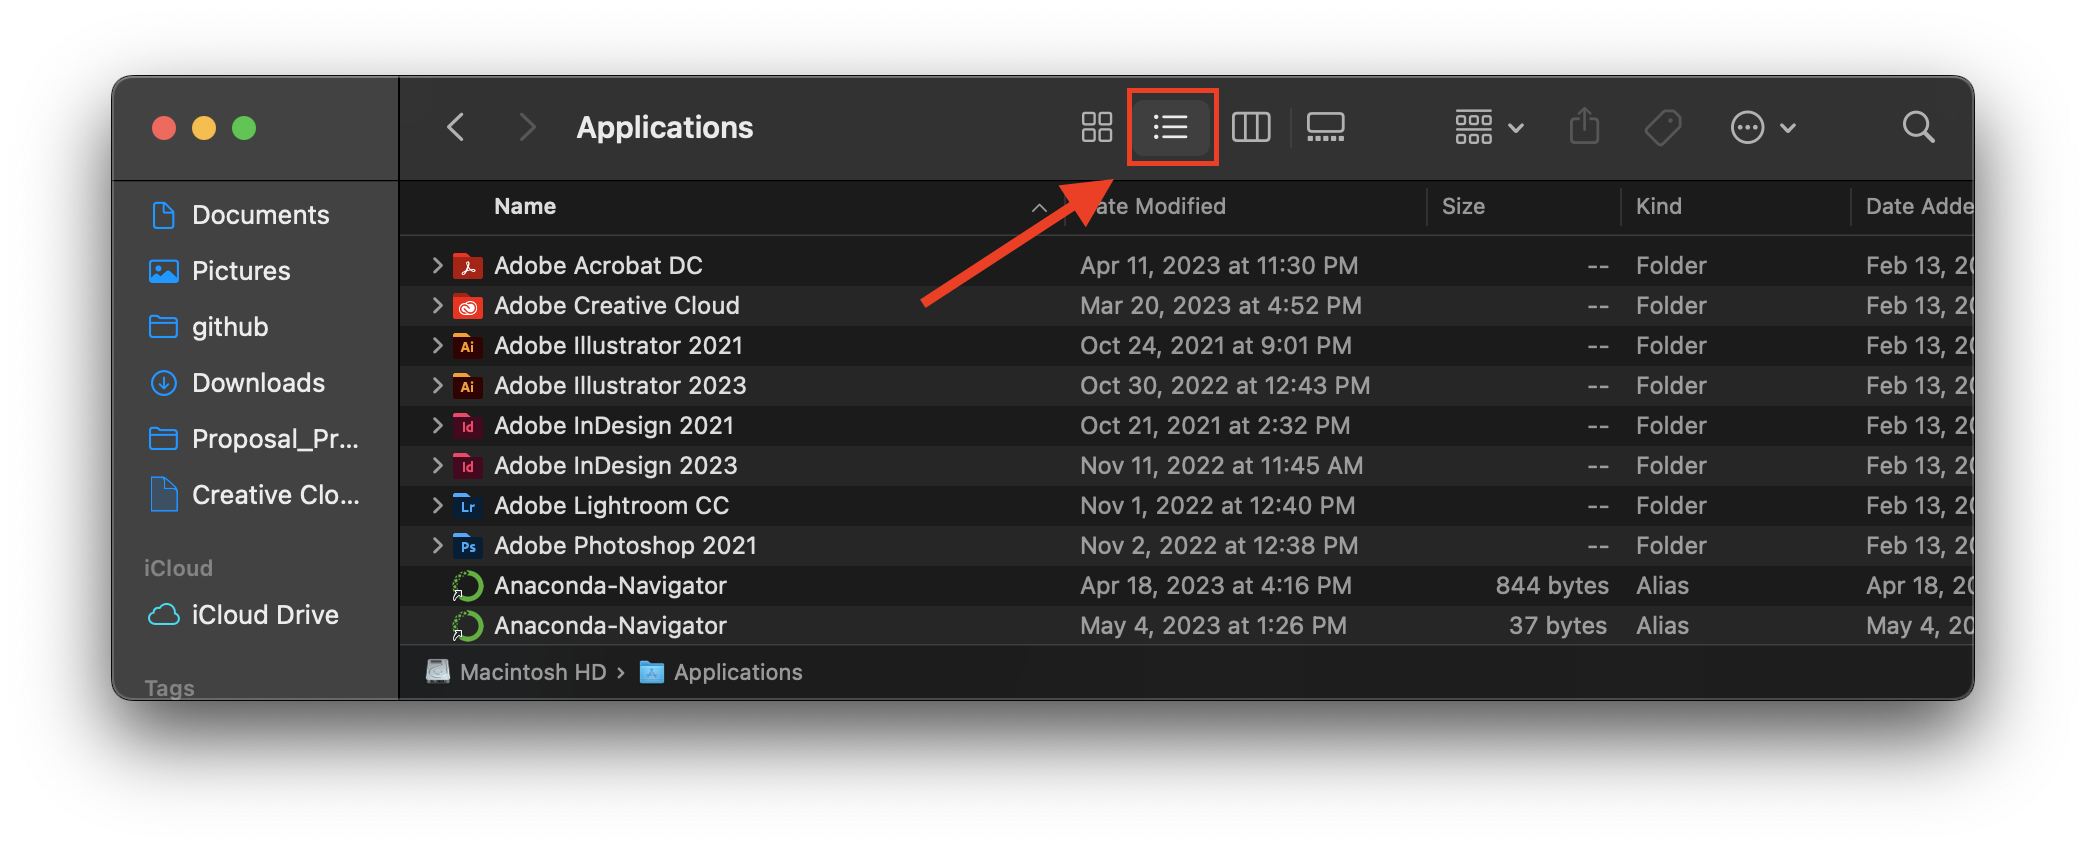
Select “List” view to show item details. This is the default save/installation location for any applications that are installed on your machine. If you download an app from the app store, and install is using default settings, you will be able to run the application by locating it in this directory and double-clicking it. “Downloads” is the default save location for most software downloaded through an internet browser, and “Applications” is the default installation location.
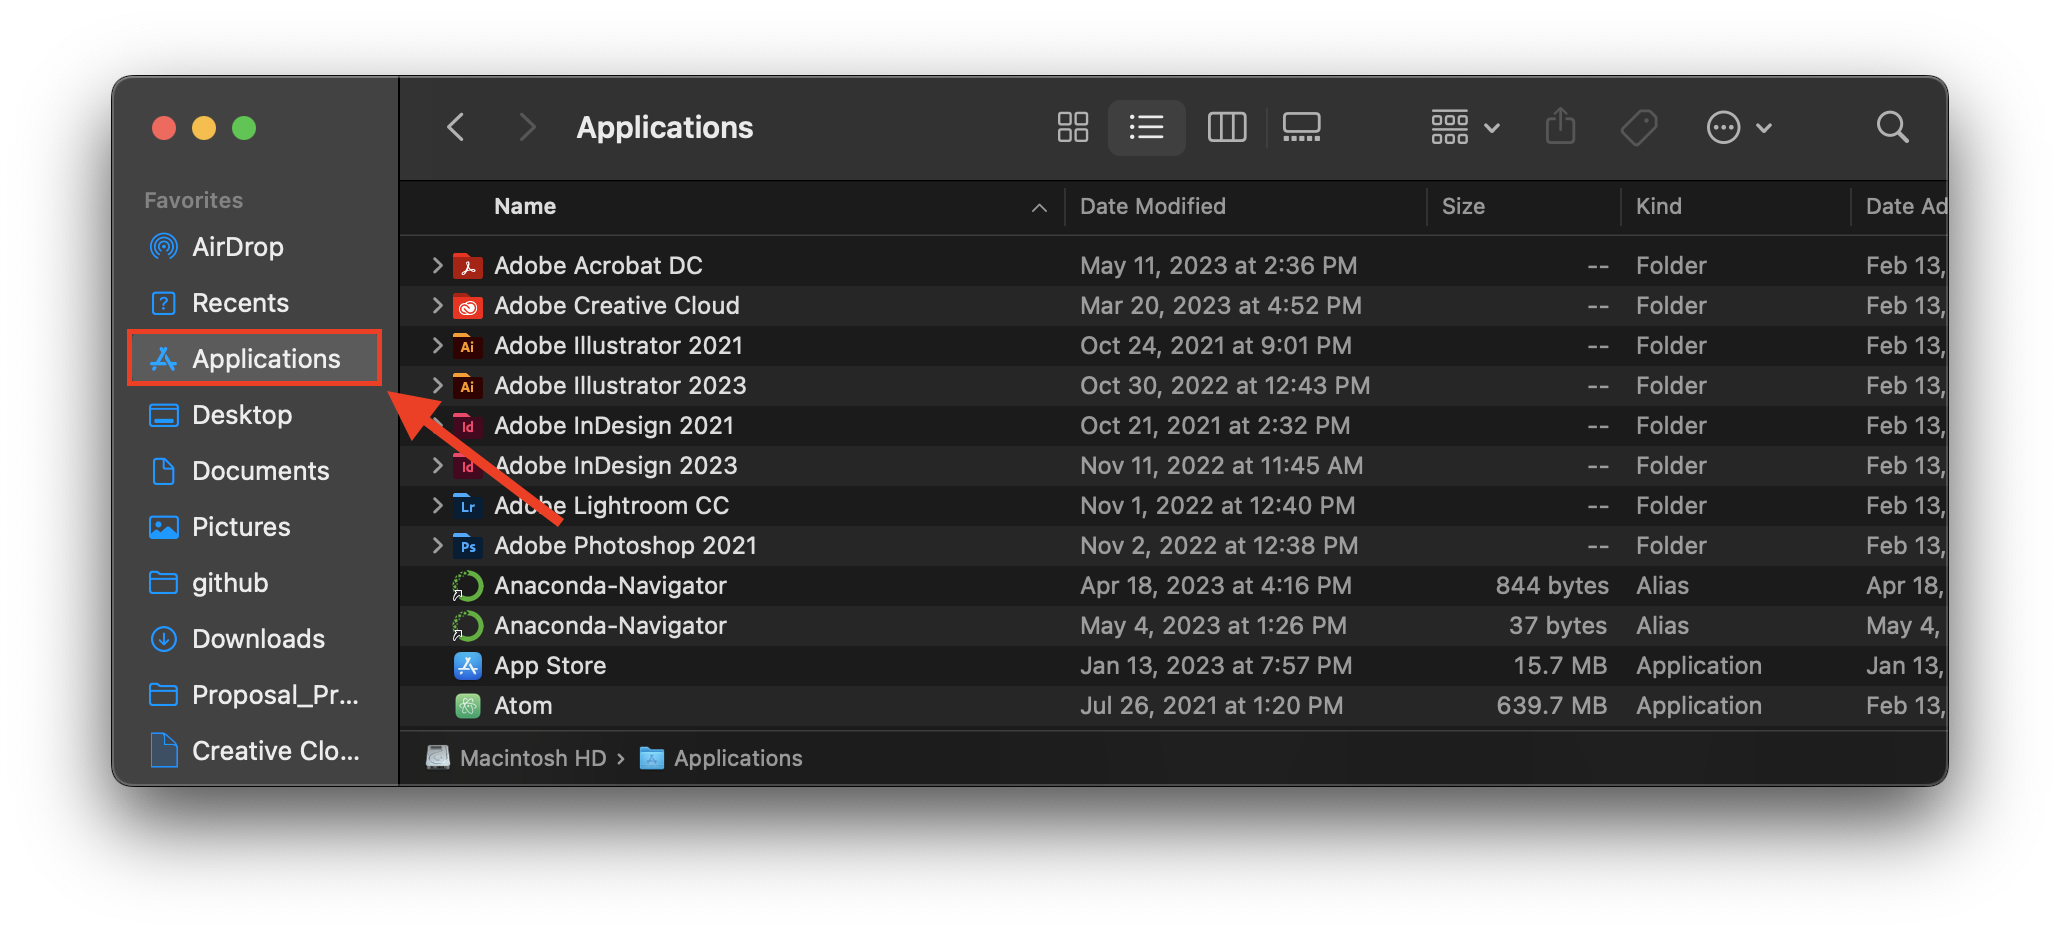
“Favorites” Bar (Quick Access)
-
On the left-hand side of all finder windows, underneath the red, yellow, and green buttons, several “Favorite” directory locations appear in blue text. Users can also access the “Applications” folder by clicking “Applications” from Favorites.
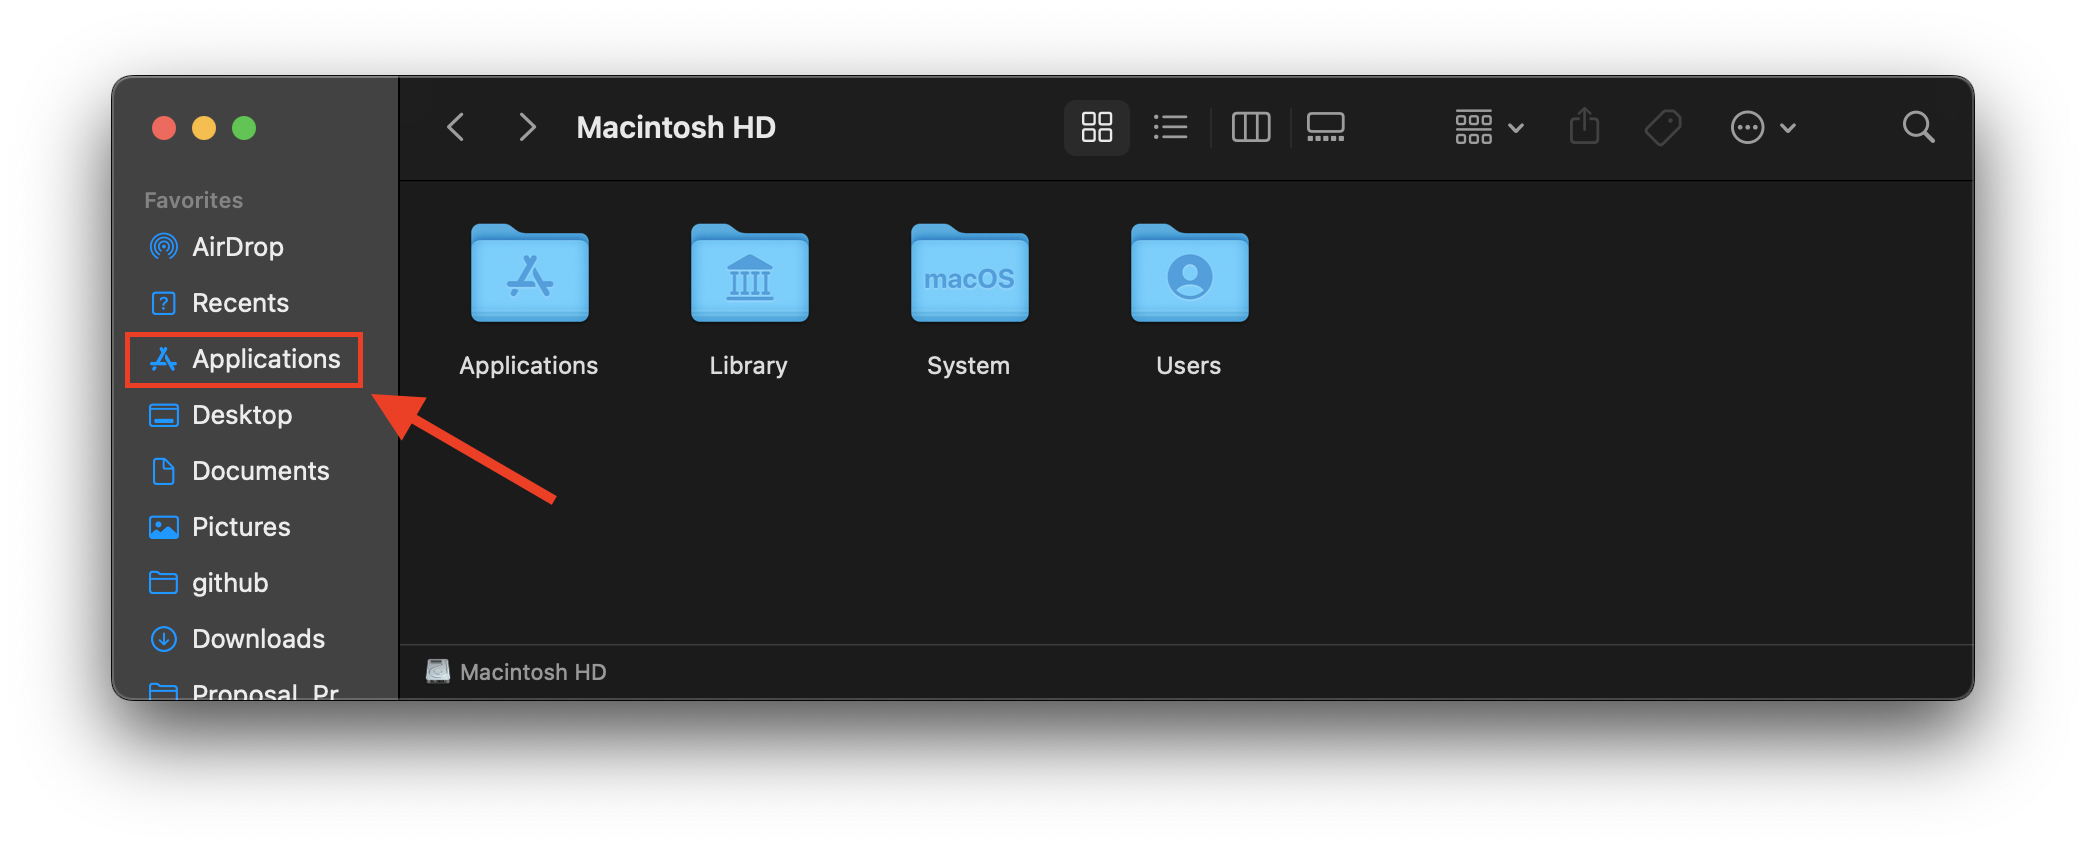
-
Select “Desktop” to show the items present on your desktop and select list view. If you have many items on your desktop (or in any folder, for that matter), this is an excellent view to begin organizing them, because you can quickly toggle between different grouping methods, and file details are available at a glance.

User Domains
With the exception of Applications, the default save location for all files in a Mac environment is within the Users domain. (It is useful to store applications in the “Applications” folder within the system domain; this enables applications to be run from any new/additional user accounts you create). Other than applications, all files should be carefully organized within the User domain.
-
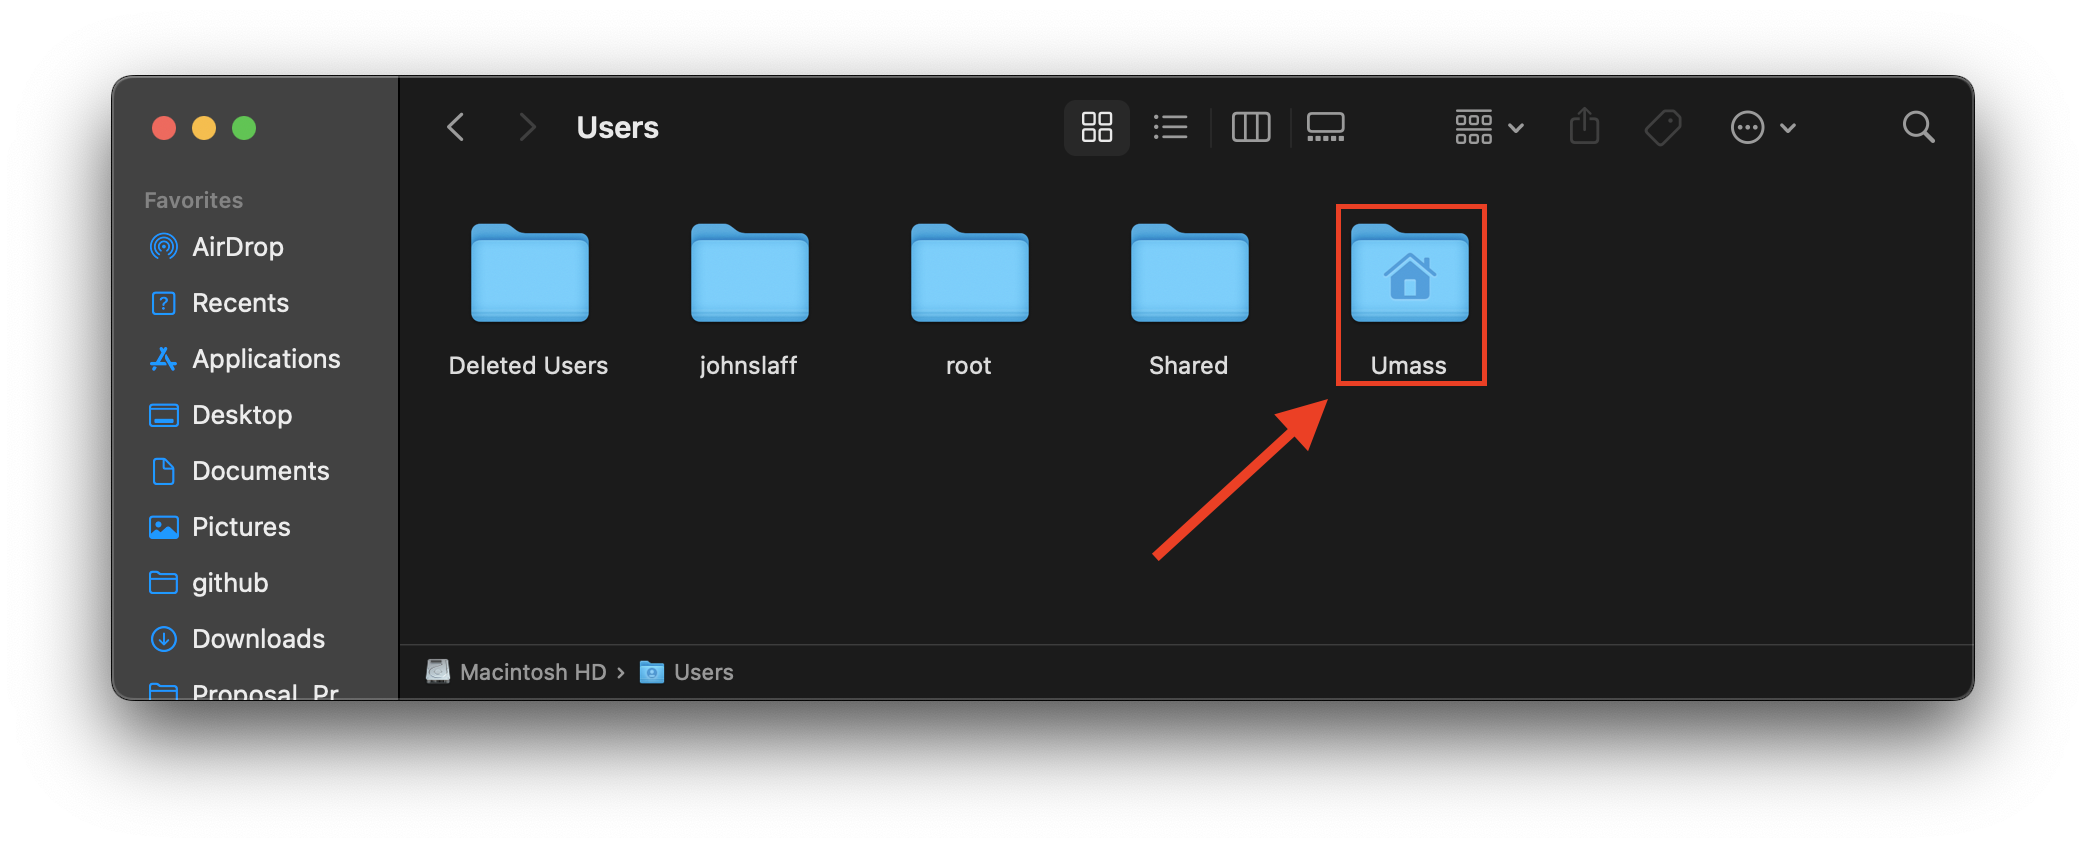
To examine the set of User directories, open Macintosh HD and double-click the folder of the user you are currently logged in to. You will be able to tell which user you are in because the current User folder will have a small “Home” or “House” symbol on it. If you have any doubt about which User account you are currently in, click the apple-shaped icon in the upper left corner of the screen, and look at the bottom “log out of…” text. What follows “log out of…” will be the name of your current user.
-
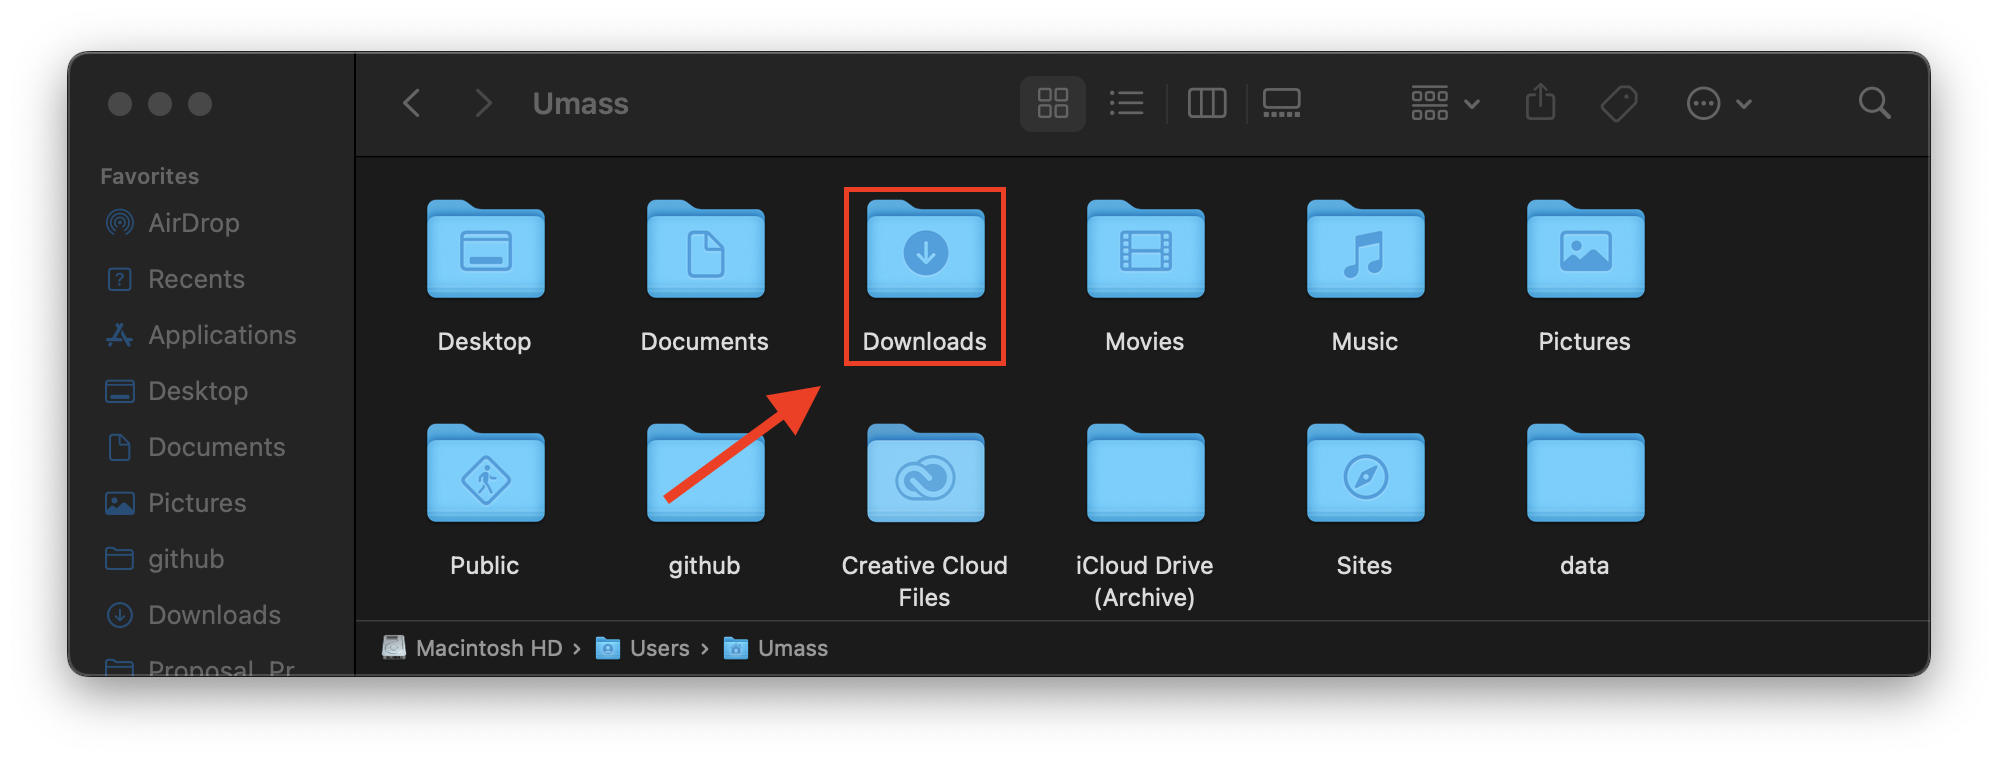
Now that we’re viewing the main User folder, several sub-folders should appear. With the exception of “Zotero” and “test_directory”, all other folders should be present in your User folder. Take note of the “Downloads” folder. This is the default save location for any data, folders, or files downloaded from the internet. If you download a photo, music file, or video file, it is possible (depending on your system settings) that the file will be saved in “Movies”, “Music”, or “Pictures” – this may be a good place to check if a download is not showing up in the “Downloads” folder. Note: it is generally best-practice to avoid leaving items in your downloads folder; ideally they would be filed into some logical system of organization within your directories immediately after download.* See below for more information.
Best Practices in File Management
All files should periodically be backed up (“copied”) to an external hard drive. Particularly important files and folders should also be backed up to the Cloud. In general, weekly updates should suffice. Check out Time Machine, Apple’s native back-up software, to automatically back up all user settings, applications, data, files, and folders, every time you connect your external drive.
In order to simplify file paths and make your directories easier to navigate, we suggest that you use “Documents” as the main folder in which all other files and folders are kept. Double-click “Documents” to view this directory.
<img src="media/29.png" alt="Finder window with Documents icon highlighted" >
If the machine were for Graduate School, Work, and Personal use, one might add the following folders in Documents to begin organizing files (potential subfolders are shown as nested bullets):
- Pictures
- pics_2023 (with subfolders like “Cape Cod Vacation”, or “Dog Pictures”)
- pics_2022
- Videos_2023
- vid_2023
- vid_2022
- workDocuments_2023
- Client_list
- wd_q1
- wd_q2
- wd_q3
- wd_q4
- WorkDocs_archive (with subfolders for previous years)
- PersonalDocuments_2023
- Taxes_2023
- Receipts_2023
- Poems_2023
- Misc
- GradSchool_docs
- Fall_2023 (Could include subfolders such as “Econ101”, “Assignments”, etc.)
- Winter_2023
- Spring_2023
- GradSchool_data
- Modeling_data
- Data_Documentation
Ensure that your directory structures makes sense for you and how you plan to use your computer. For example, someone using advanced softwares with large volumes of complex data will need a sophisticated set of directories, whereas simple media files like photos, music, and documents, may be stored using more only a few folders. If users neglect to set up directories that align with their computer use, over the weeks and months they may spend many hours sifting through their files to find the one(s) they need. It is generally worth it to spend some time creating a logical directory for yourself, and then to continually tinker with and update it as needed. Use short, descriptive file names, and when the file is important, it doesn’t hurt to include the date in the the name (e.g. “smith_resume_04_28_23” or “sResume_042823”).
Practice: Creating Folder and Files
In this section, users practice creating a new folder and text file, and then save to the recently-created folder. Various methods are discussed, and the each process is described in detail.
Create a New Folder
-
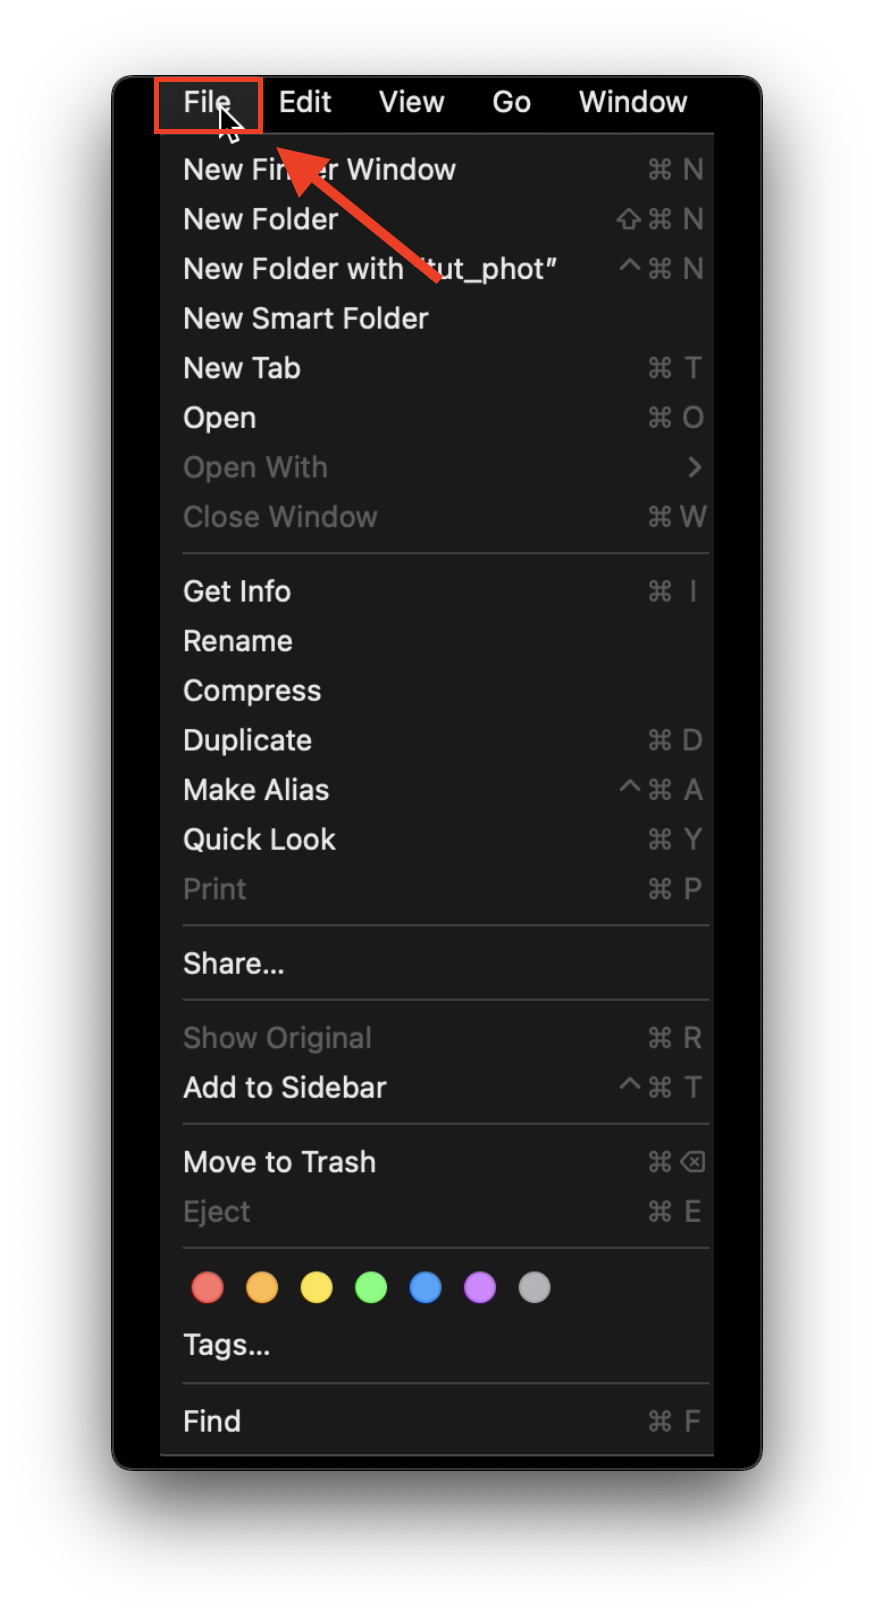
While in the documents folder (or with the Documents folder selected), click “File” from the menu bar.
-
From the dropdown menu, select “New Folder”.
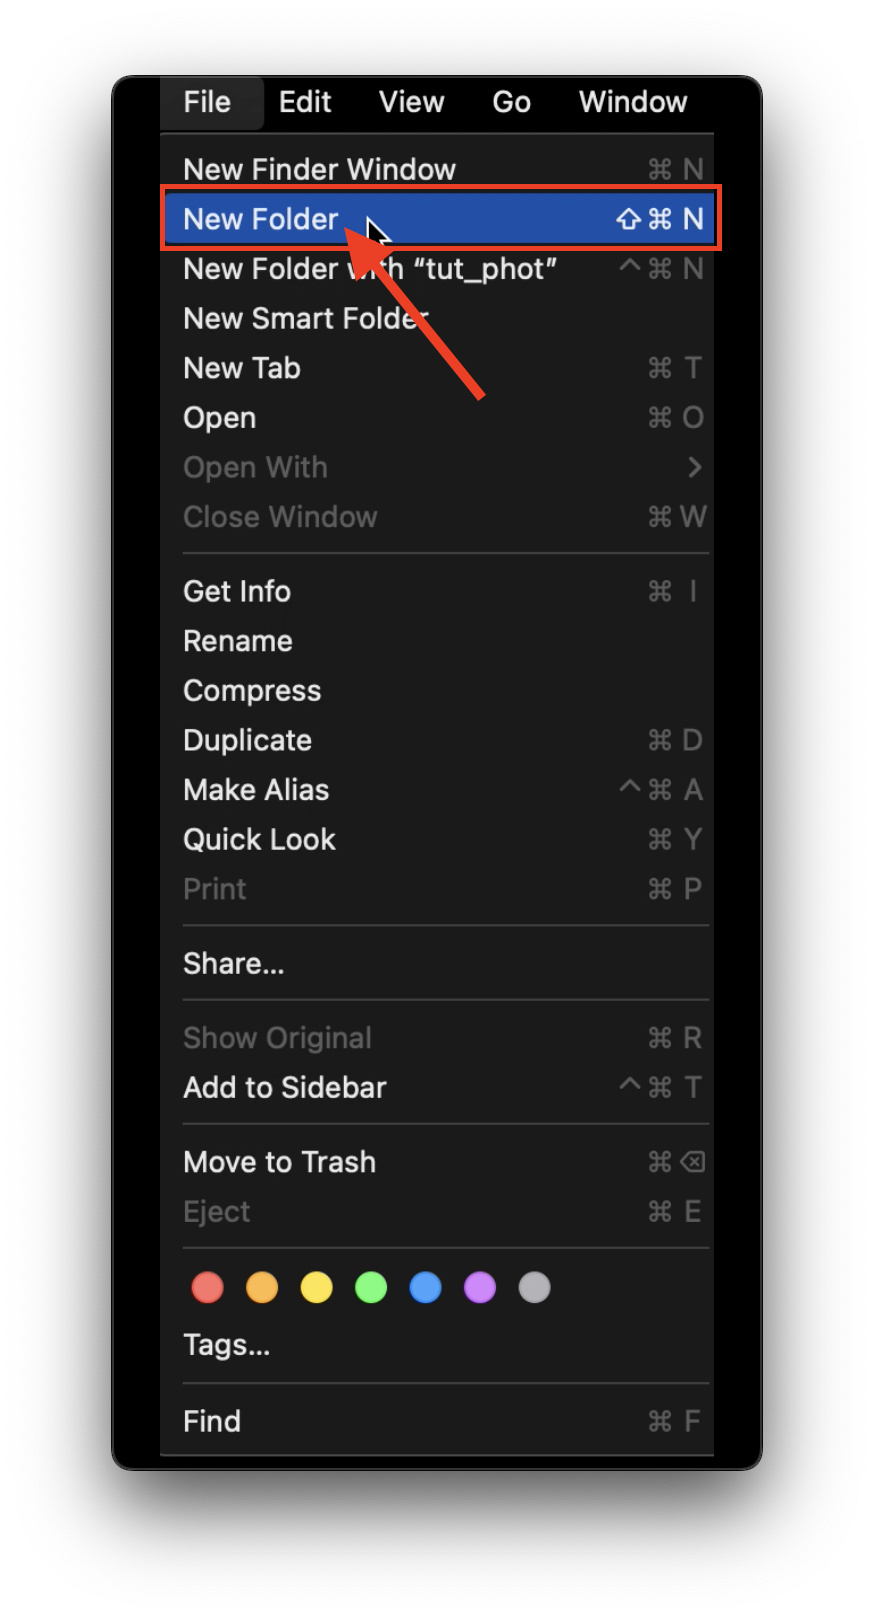
-
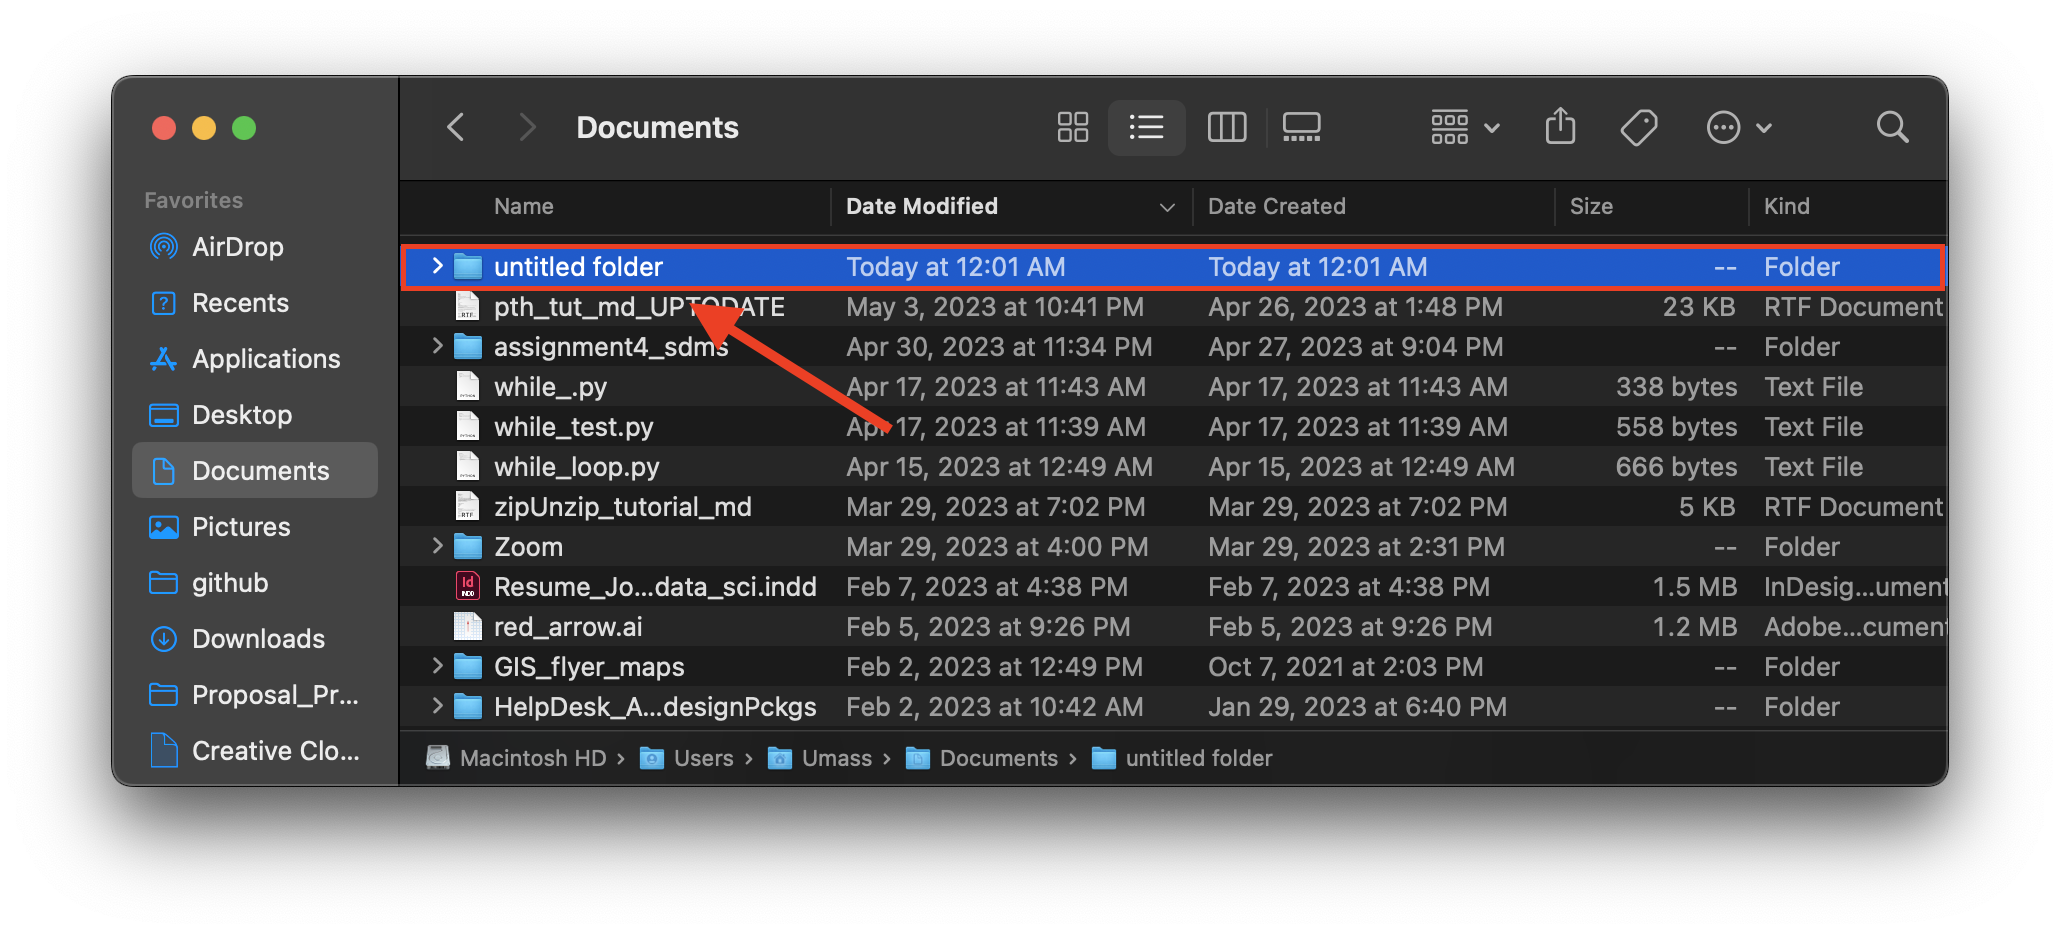
A new folder named “Untitled Folder” will be added to the Documents directory. Single-click “Untitled Folder” to highlight it.
Rename a Folder
-
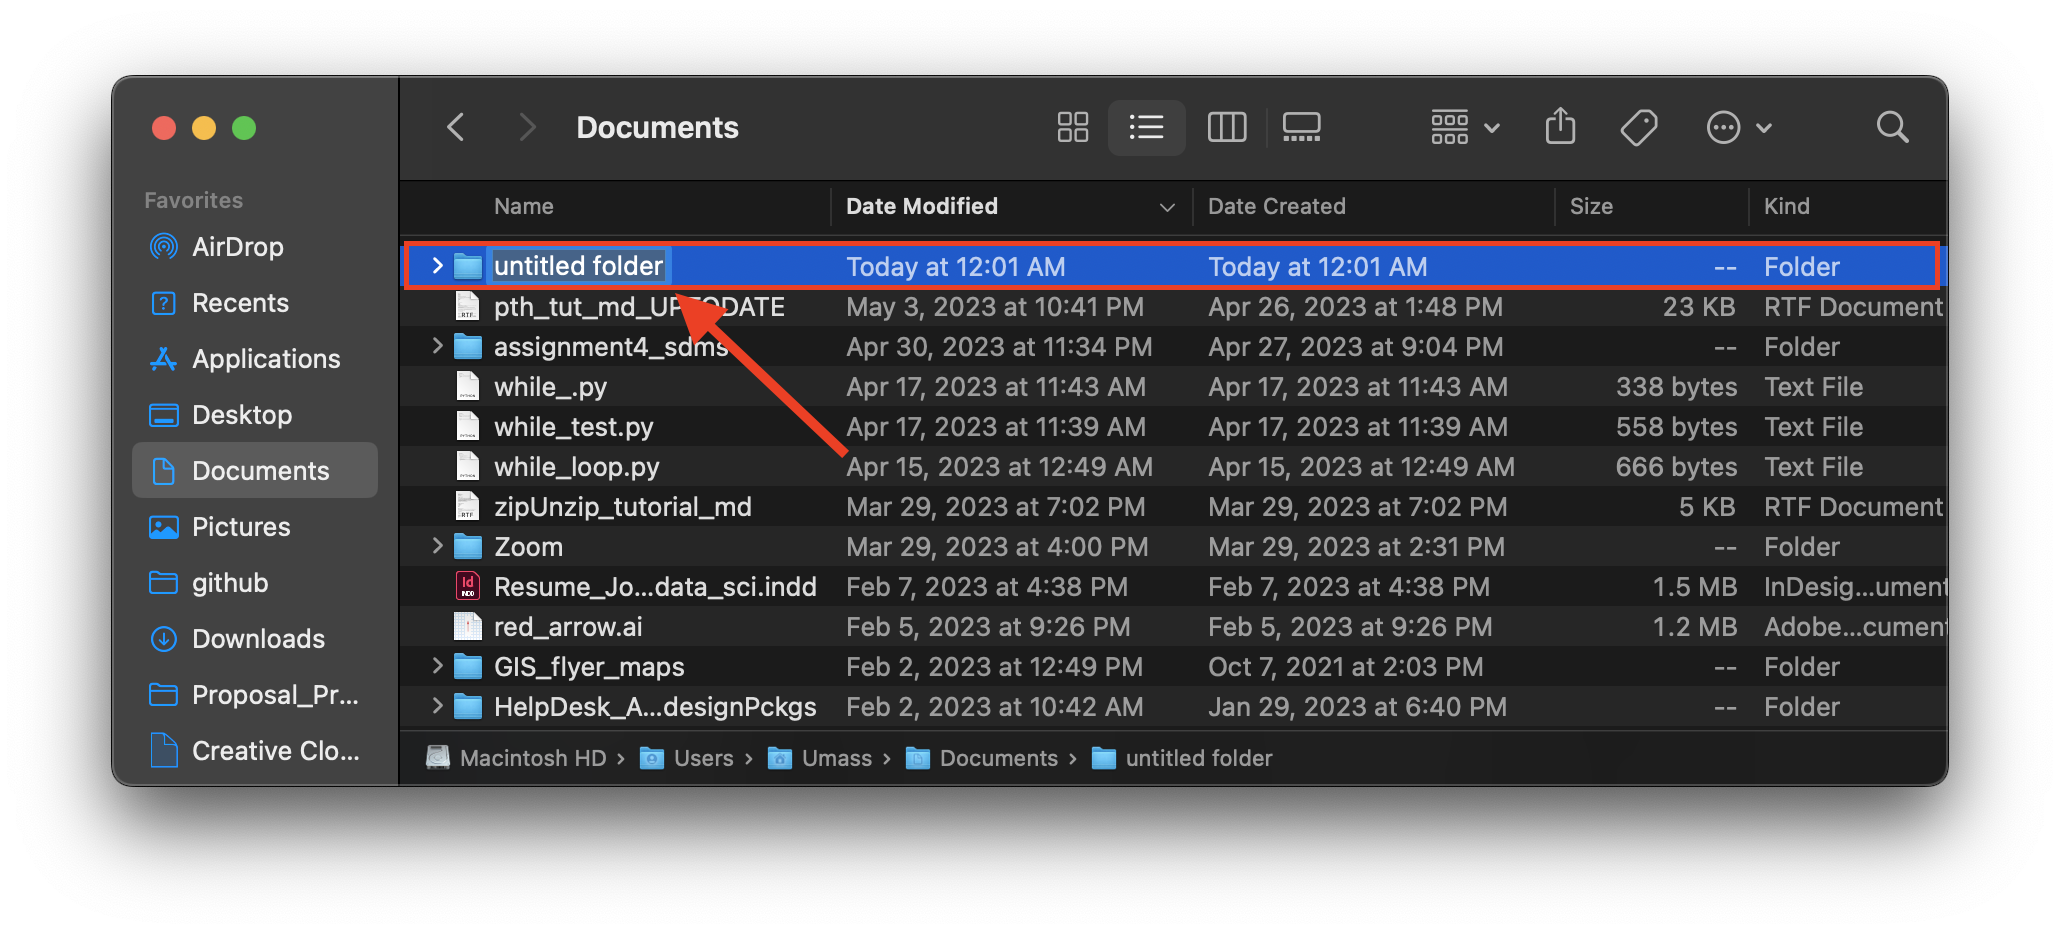
With the Untitled Folder highlighted, press “Enter” on the keyboard to select the text. The text should now appear highlighted. Rename the file to “a_new_folder”, and press enter on the keyboard. It’s best to avoid including spaces in file and folder names, as some applications may have difficulty reading those files. That said, if most of your computer use is media and document-based, and you don’t use advanced software, spaces will likely not be a problem.
-
“a_new_folder” should now appear near the top of the documents folder, depending on how other items in the folder are named.
Create a Text File
-
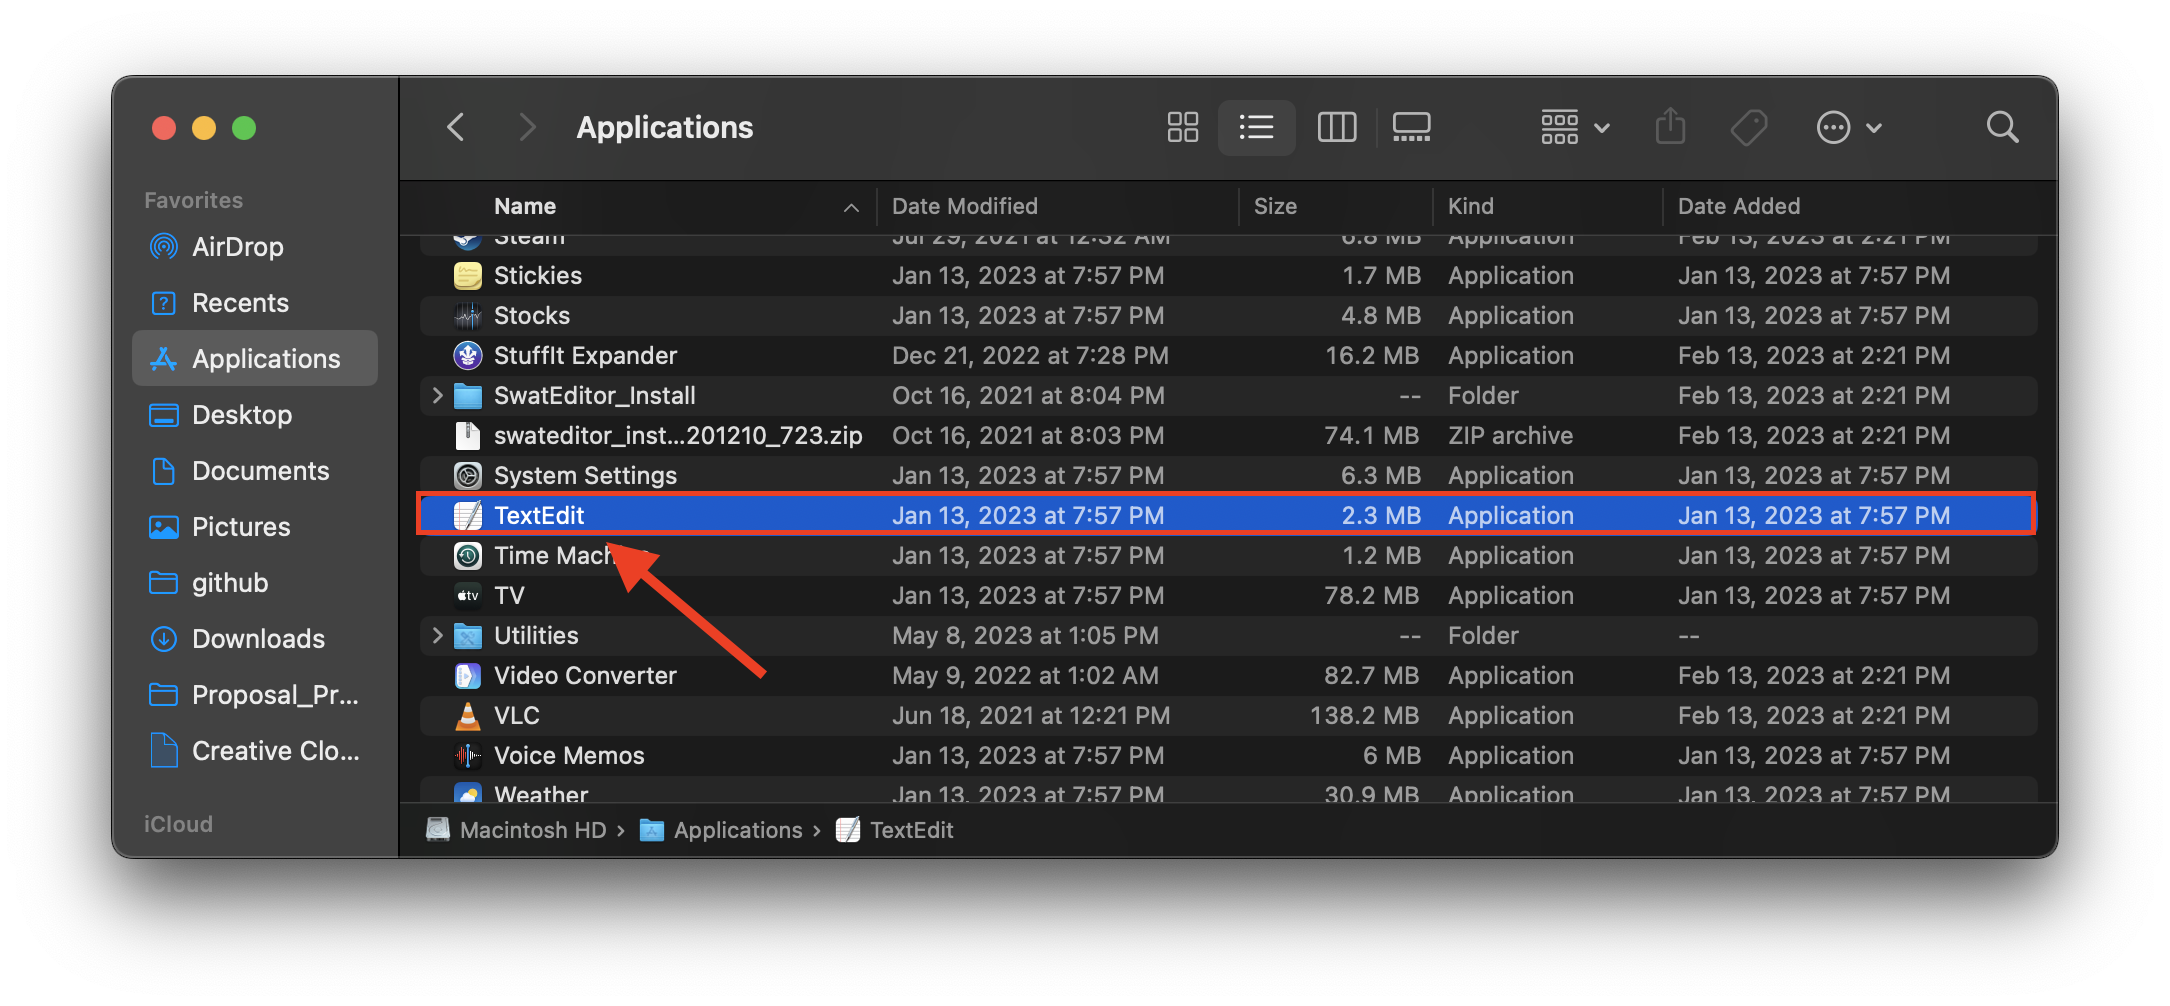
Open “Applications” from Favorites by single-clicking “Applications”.
-
Open “Text Edit” by double-clicking the application. If a new Text Edit window does not open automatically, complete the following two steps, otherwise you may skip them.
-
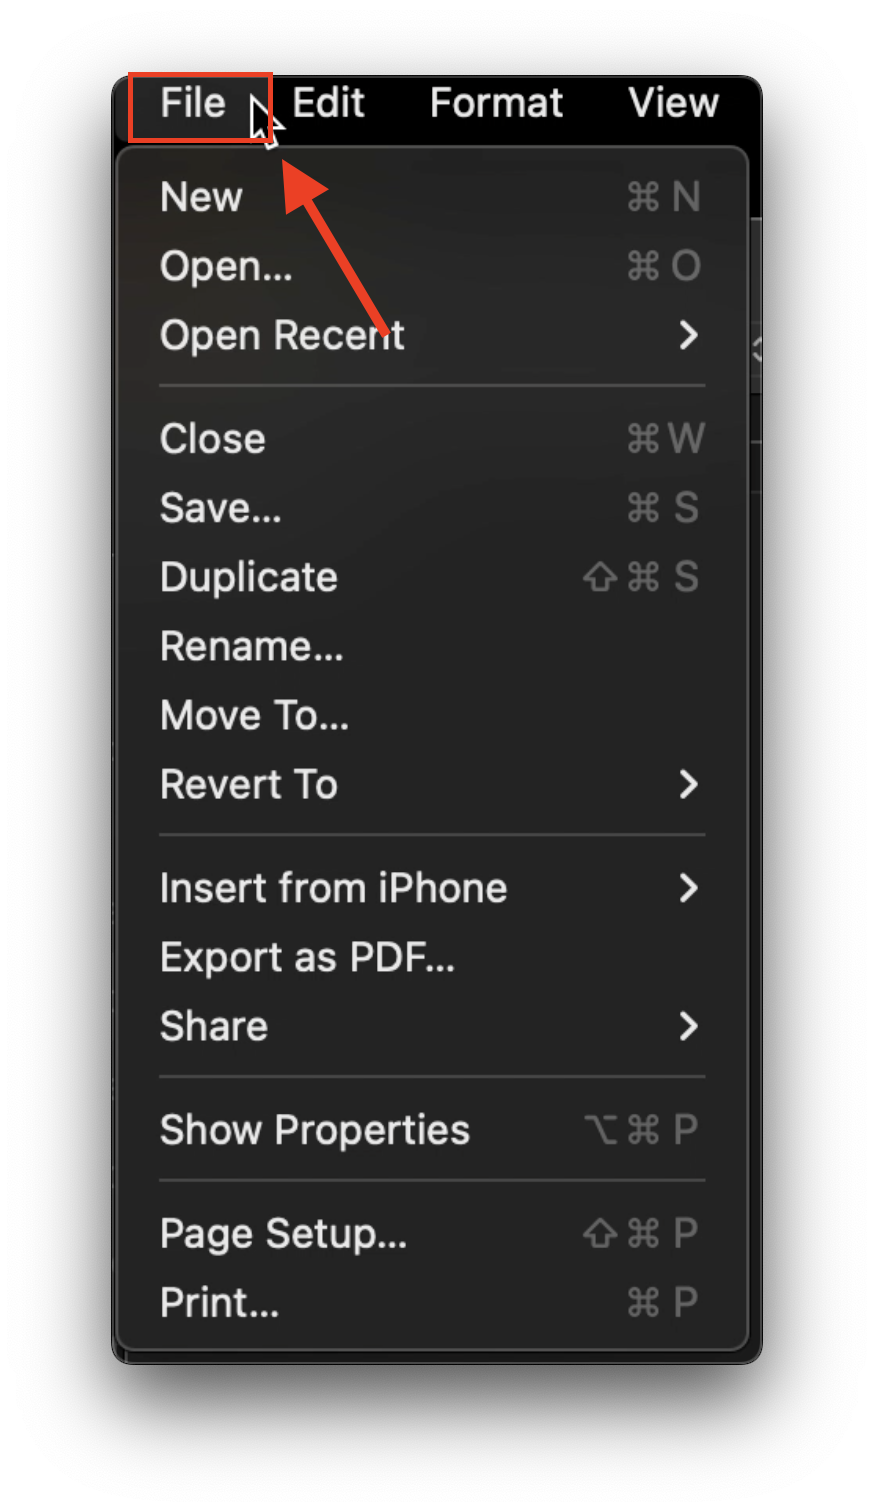
With Text Edit open, select “File” from the menu bar.
-
From the dropdown menu, click “New”.
-
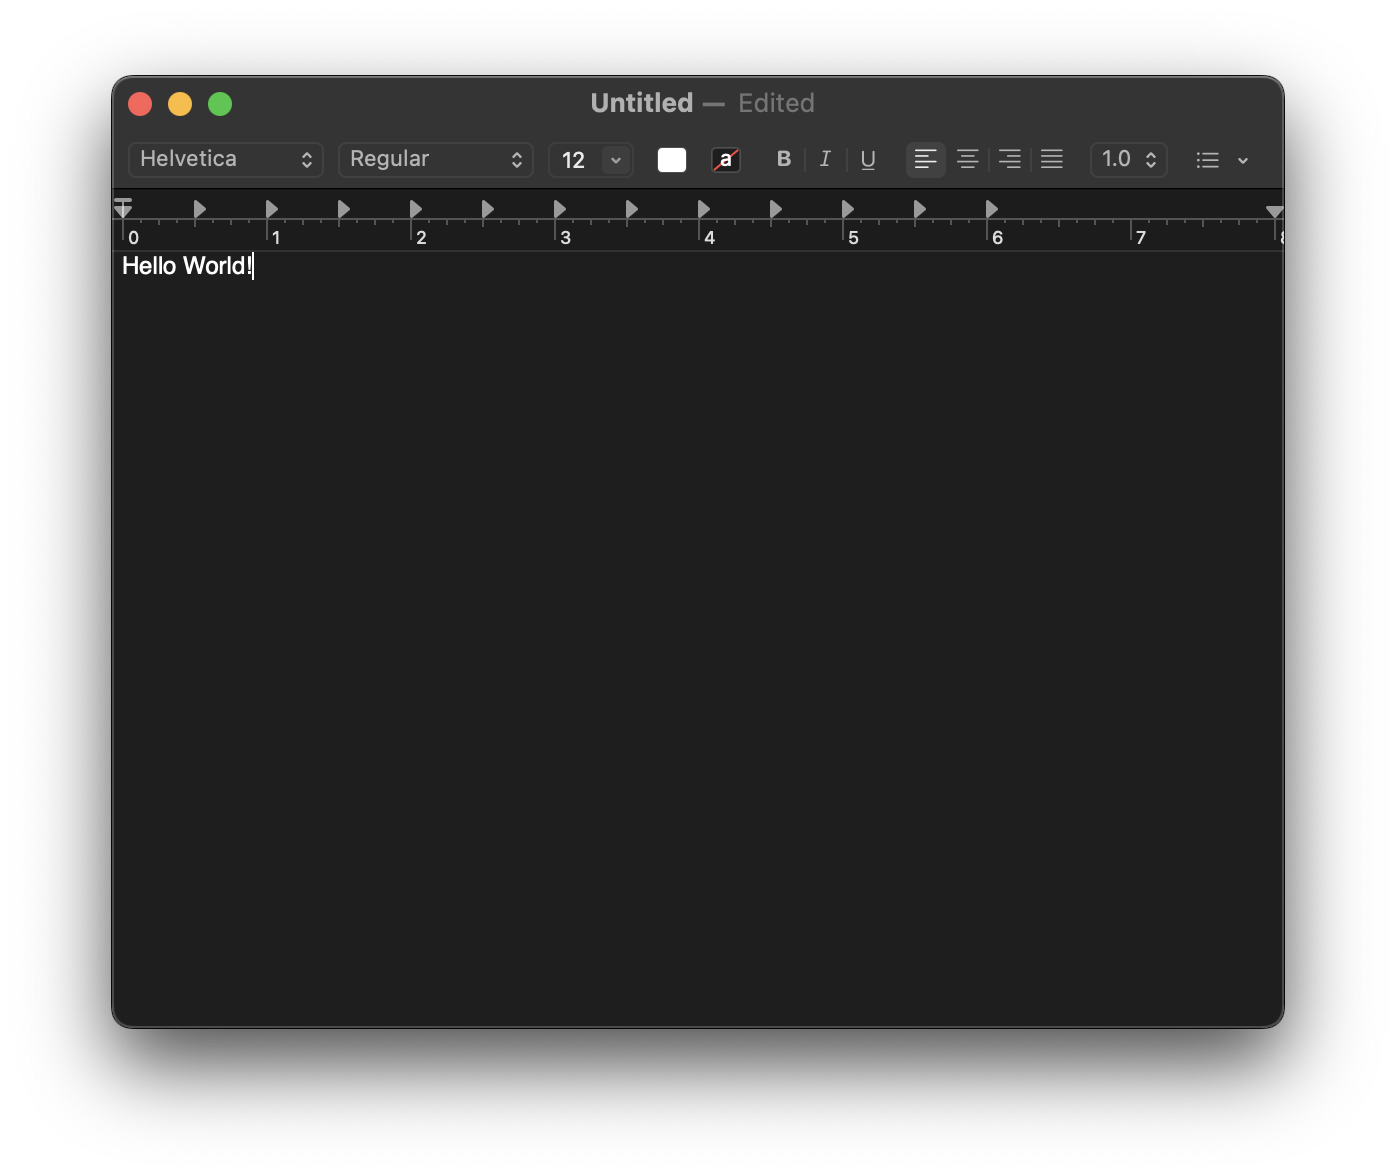
Type something in the new Text Edit window.
Save to a Specific Folder
-
With your altered Text Edit file open, select “File” from the menu bar.
-
From the dropdown menu, click “Save”.
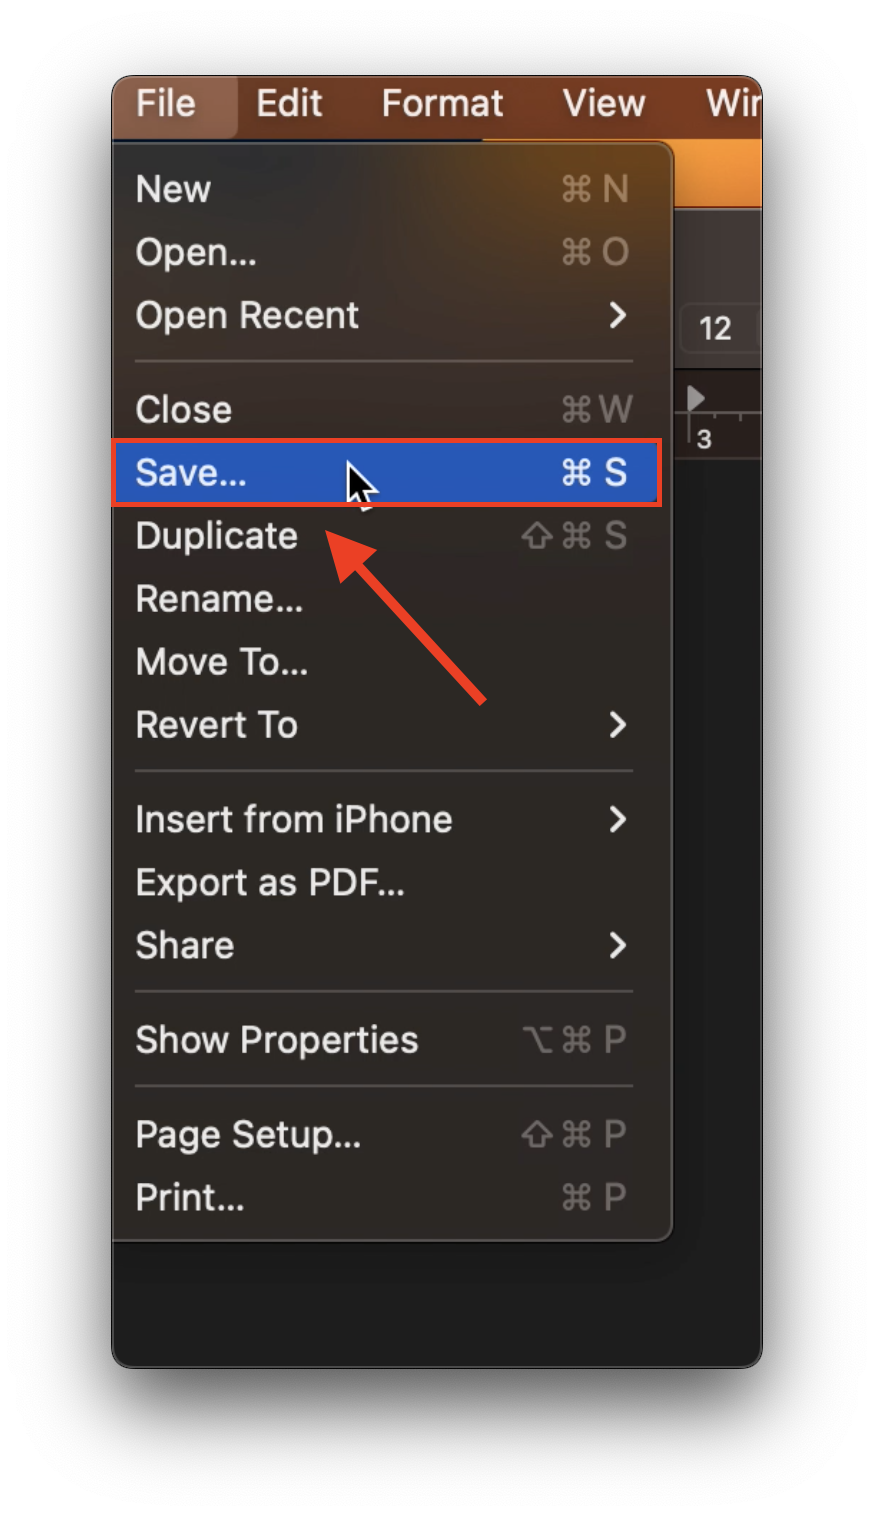
-
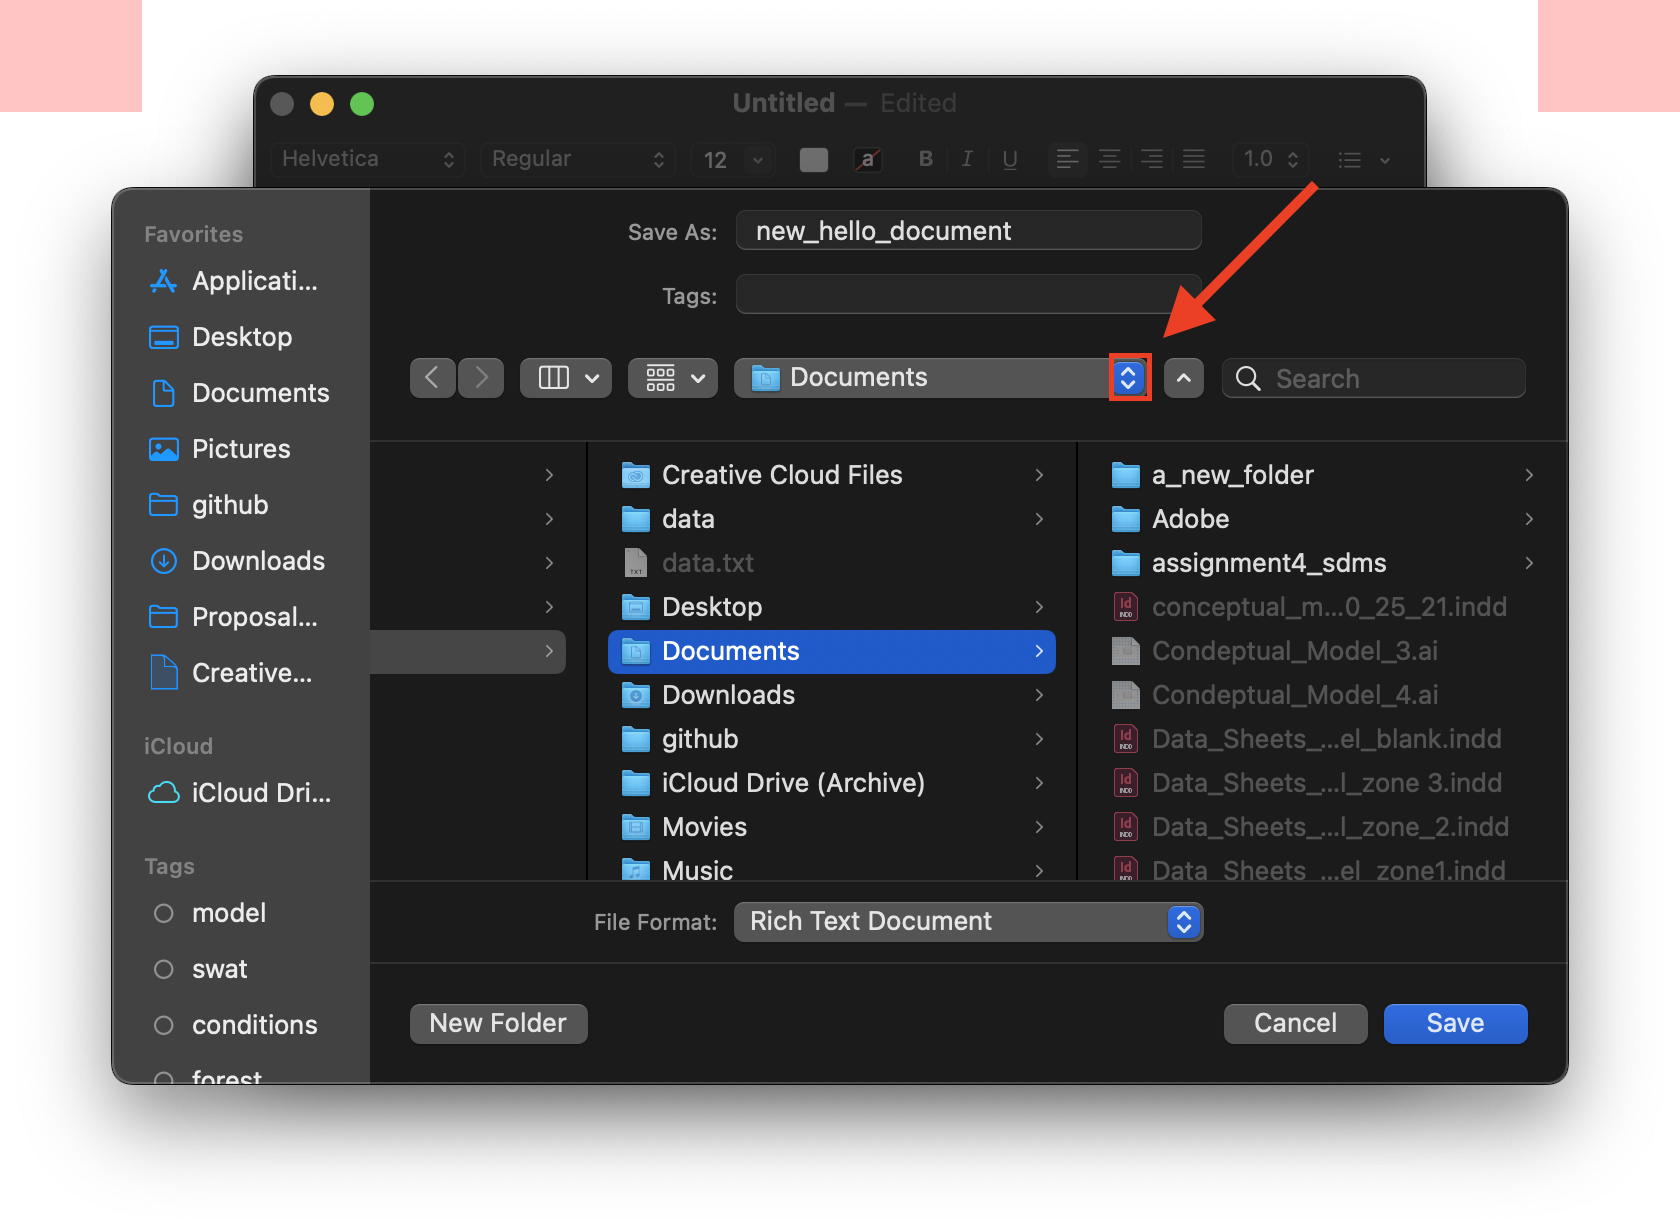
A new Save dialog box should open. The default save location is your most recent save location. For example, if the last place I saved something to was /Users/UMass/Music, “Music” would be selected instead of “Documents”, as shown below. The view options (Icon, List, etc) are available to the left of the currently-selected directory. Rename your file, and click the blue button (with little white arrows) directly next to the save location to show additional directories. The white arrow next to the current directory hides and expands the navigator portion of the dialog box. The search bar allows users to search the current directory.
-
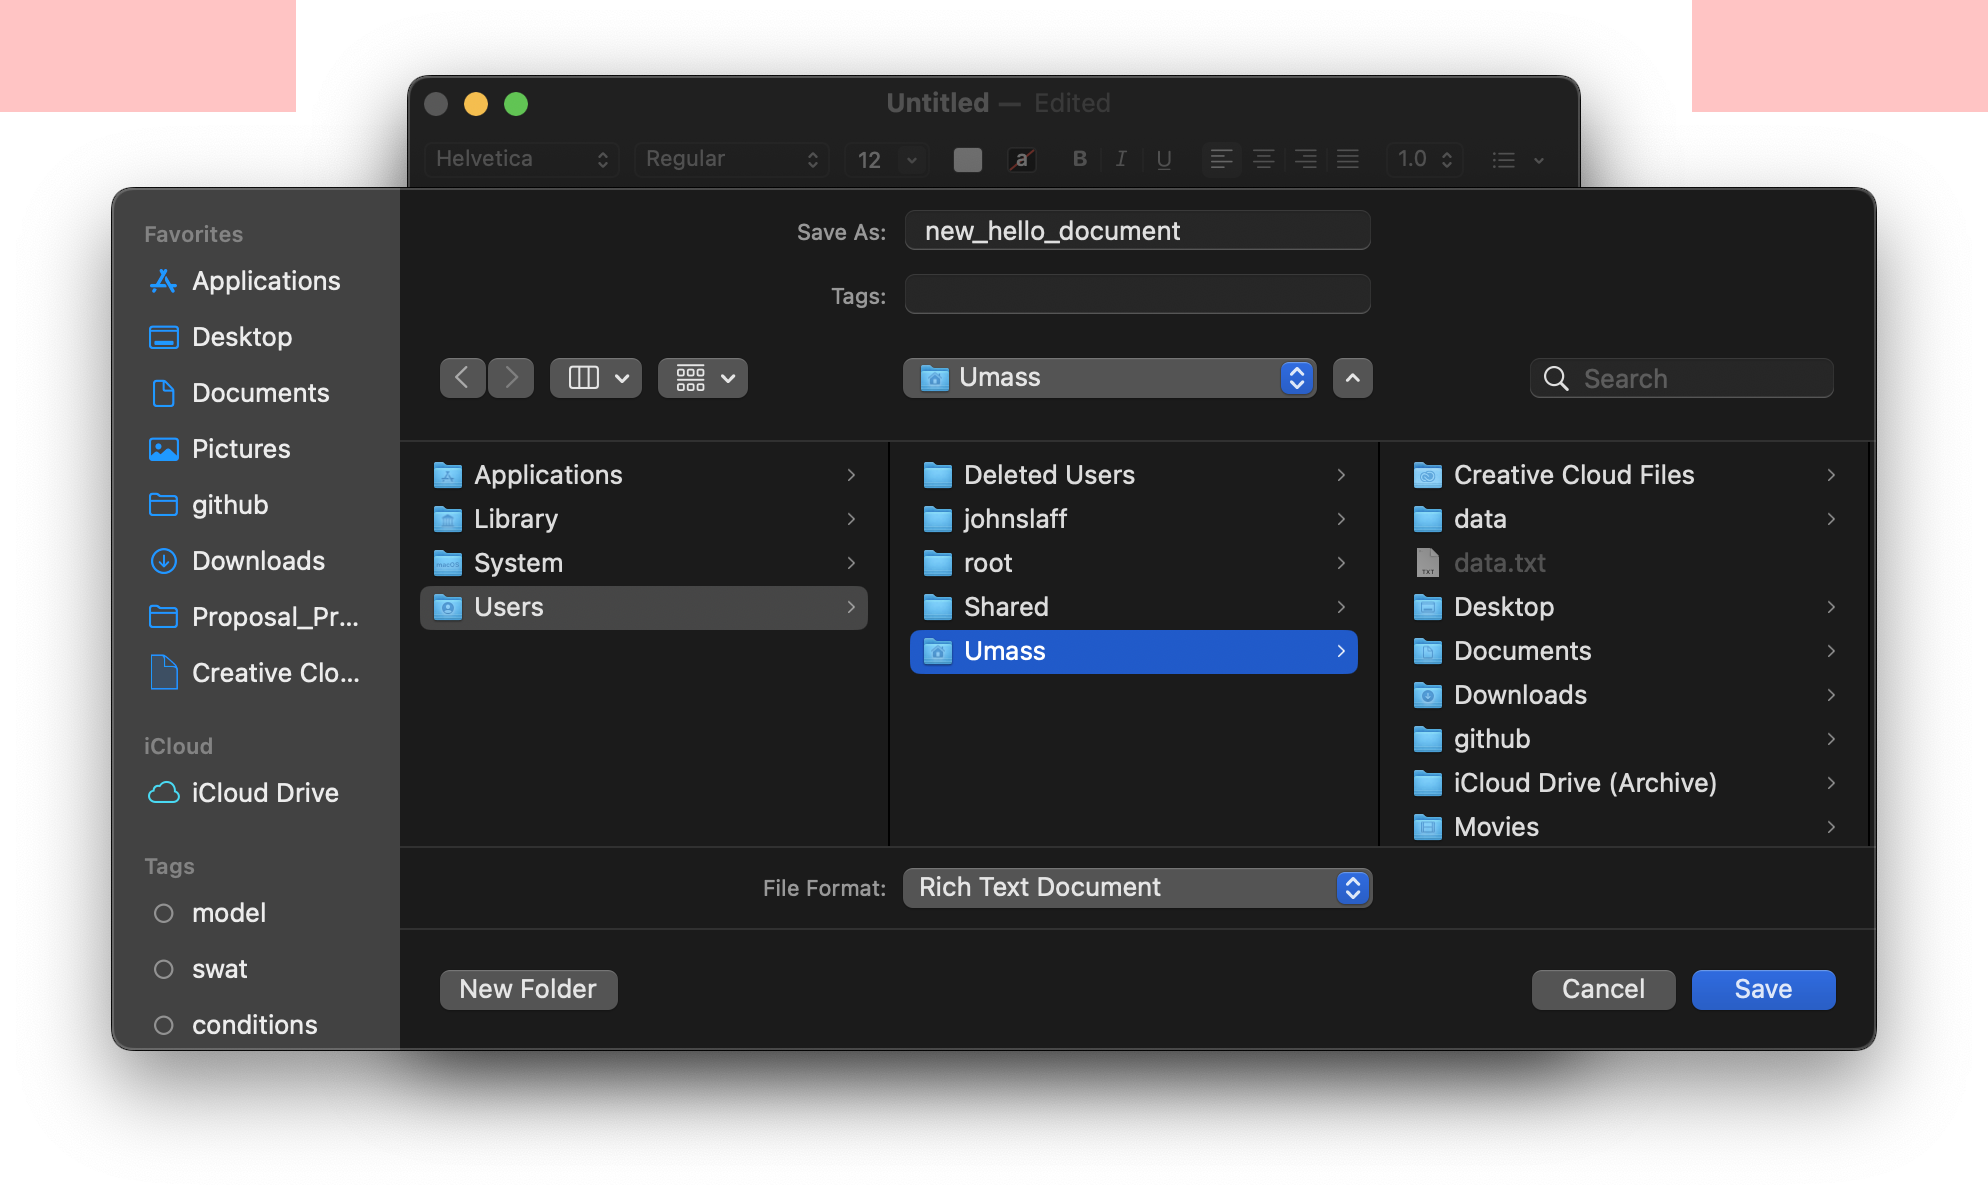
Select your User account.
Your navigation window should now show your User directory and all its subfolders (if in column view).
-
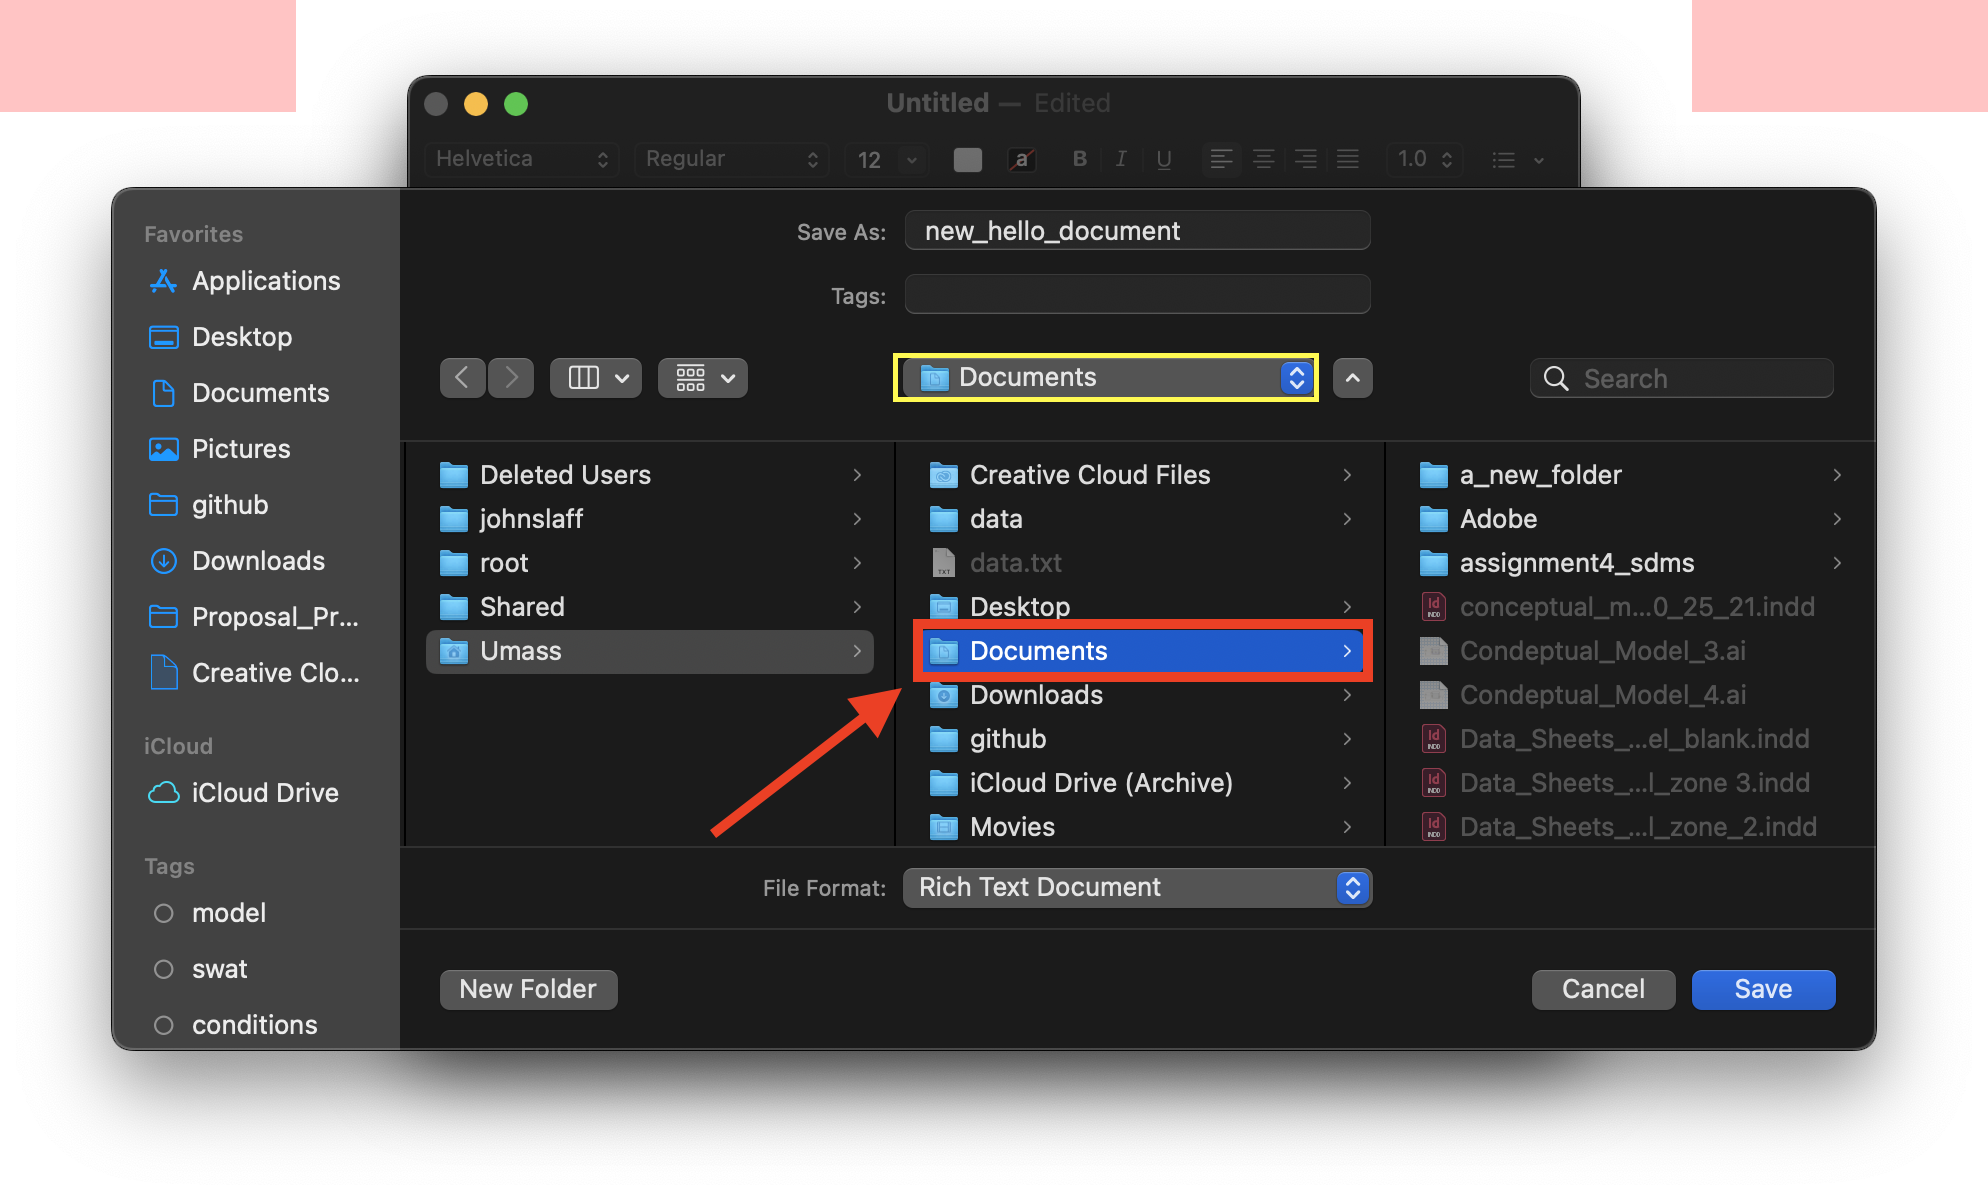
Select documents. Note that each time you select a new folder, the current save location listed at the top of the dialog box changes.
-
Select a_new_folder.
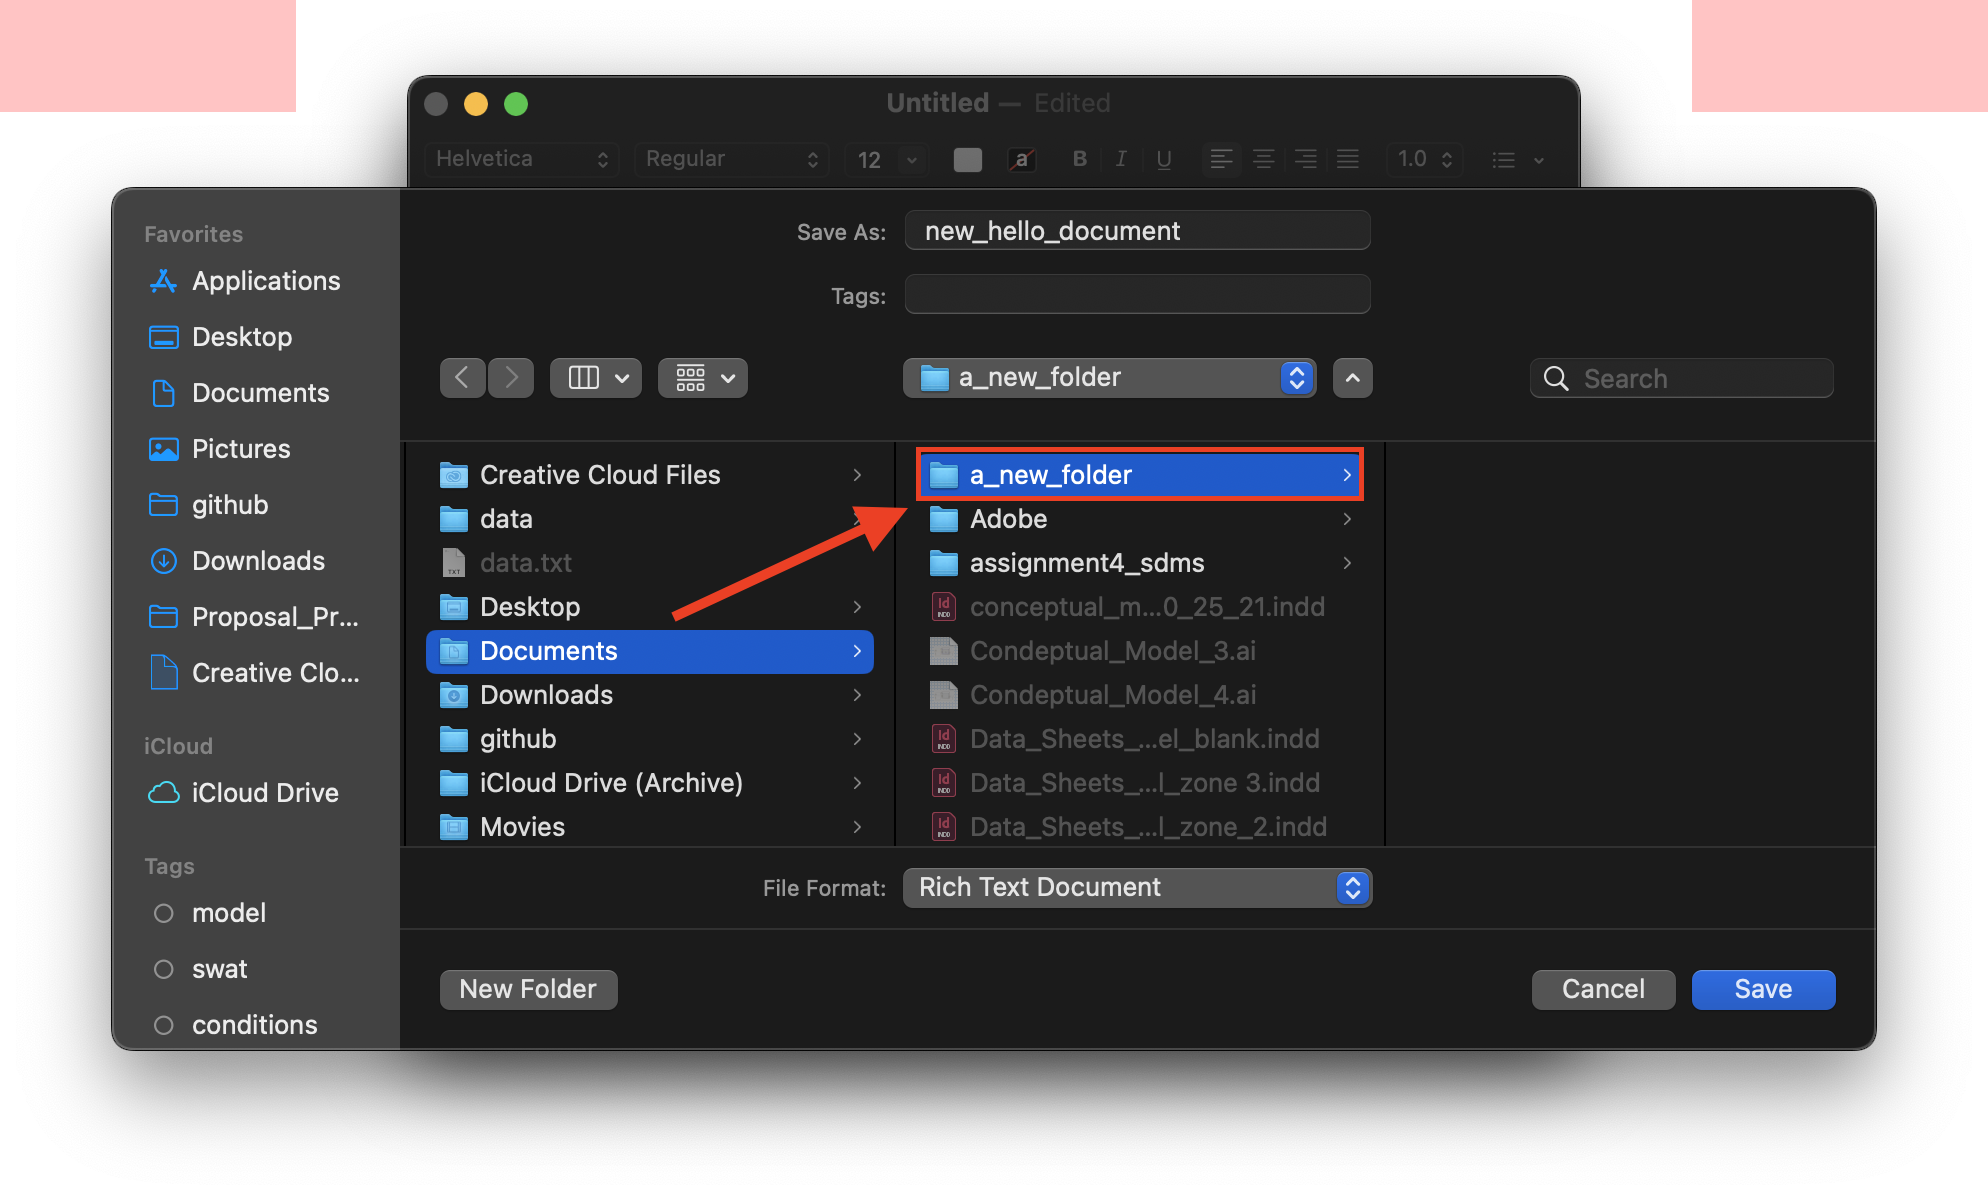
-
Press enter or click the blue “Save” button at the bottom right.

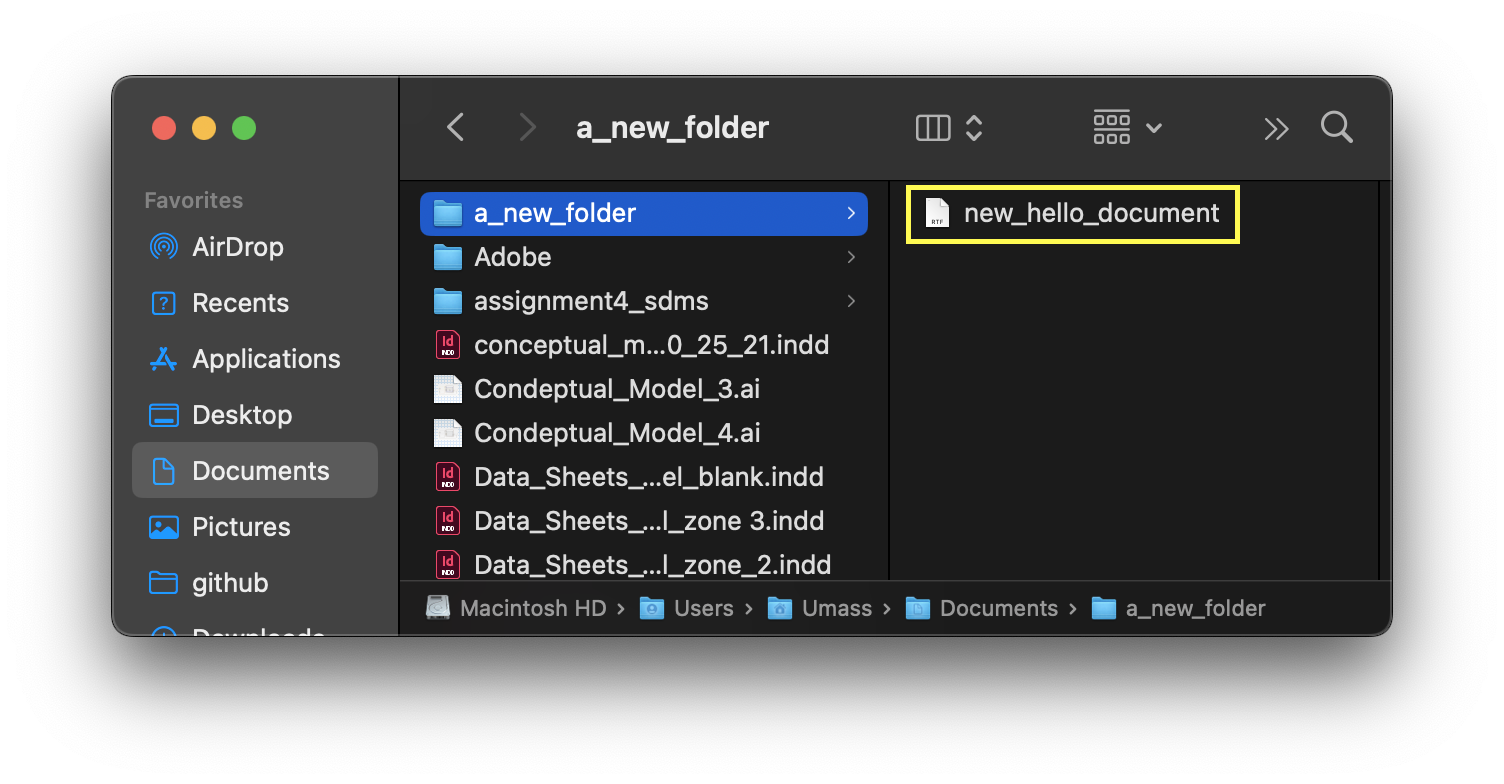
Congratulations, you just created and saved a new file to a new folder!
Practice: Copying, Moving, and Deleting Files
Fundamental computer skills rely on the ability to efficiently move, copy, and remove/delete files. In this section, users gain some practice with these skills, and several different methods are demonstrated.
Selecting Multiple Files
Multiple files may be copied, moved, or deleted at once. To select all files in a directory, hold the “Command” key and press the “a” key on the keyboard.
To select multiple files in list or column view, highlight the first file by single-clicking it, then hold the “Command” key, and select additional files with a single click. Each new file will be added to the selection. Let up on the “Command” key when finished adding files, once you have released the Command key, you may hold it again and click a highlighted file to deselect it. The remaining selected files will remain highlighted/selected. Alternatively, after selecting your the file, holding the “Shift” key instead of the “Command” key will select all files between the first and second selections. This is a convenient way to bulk-select files. In Icon view, use the above methods, or click and drag a rectangle around the items you want to select.
-
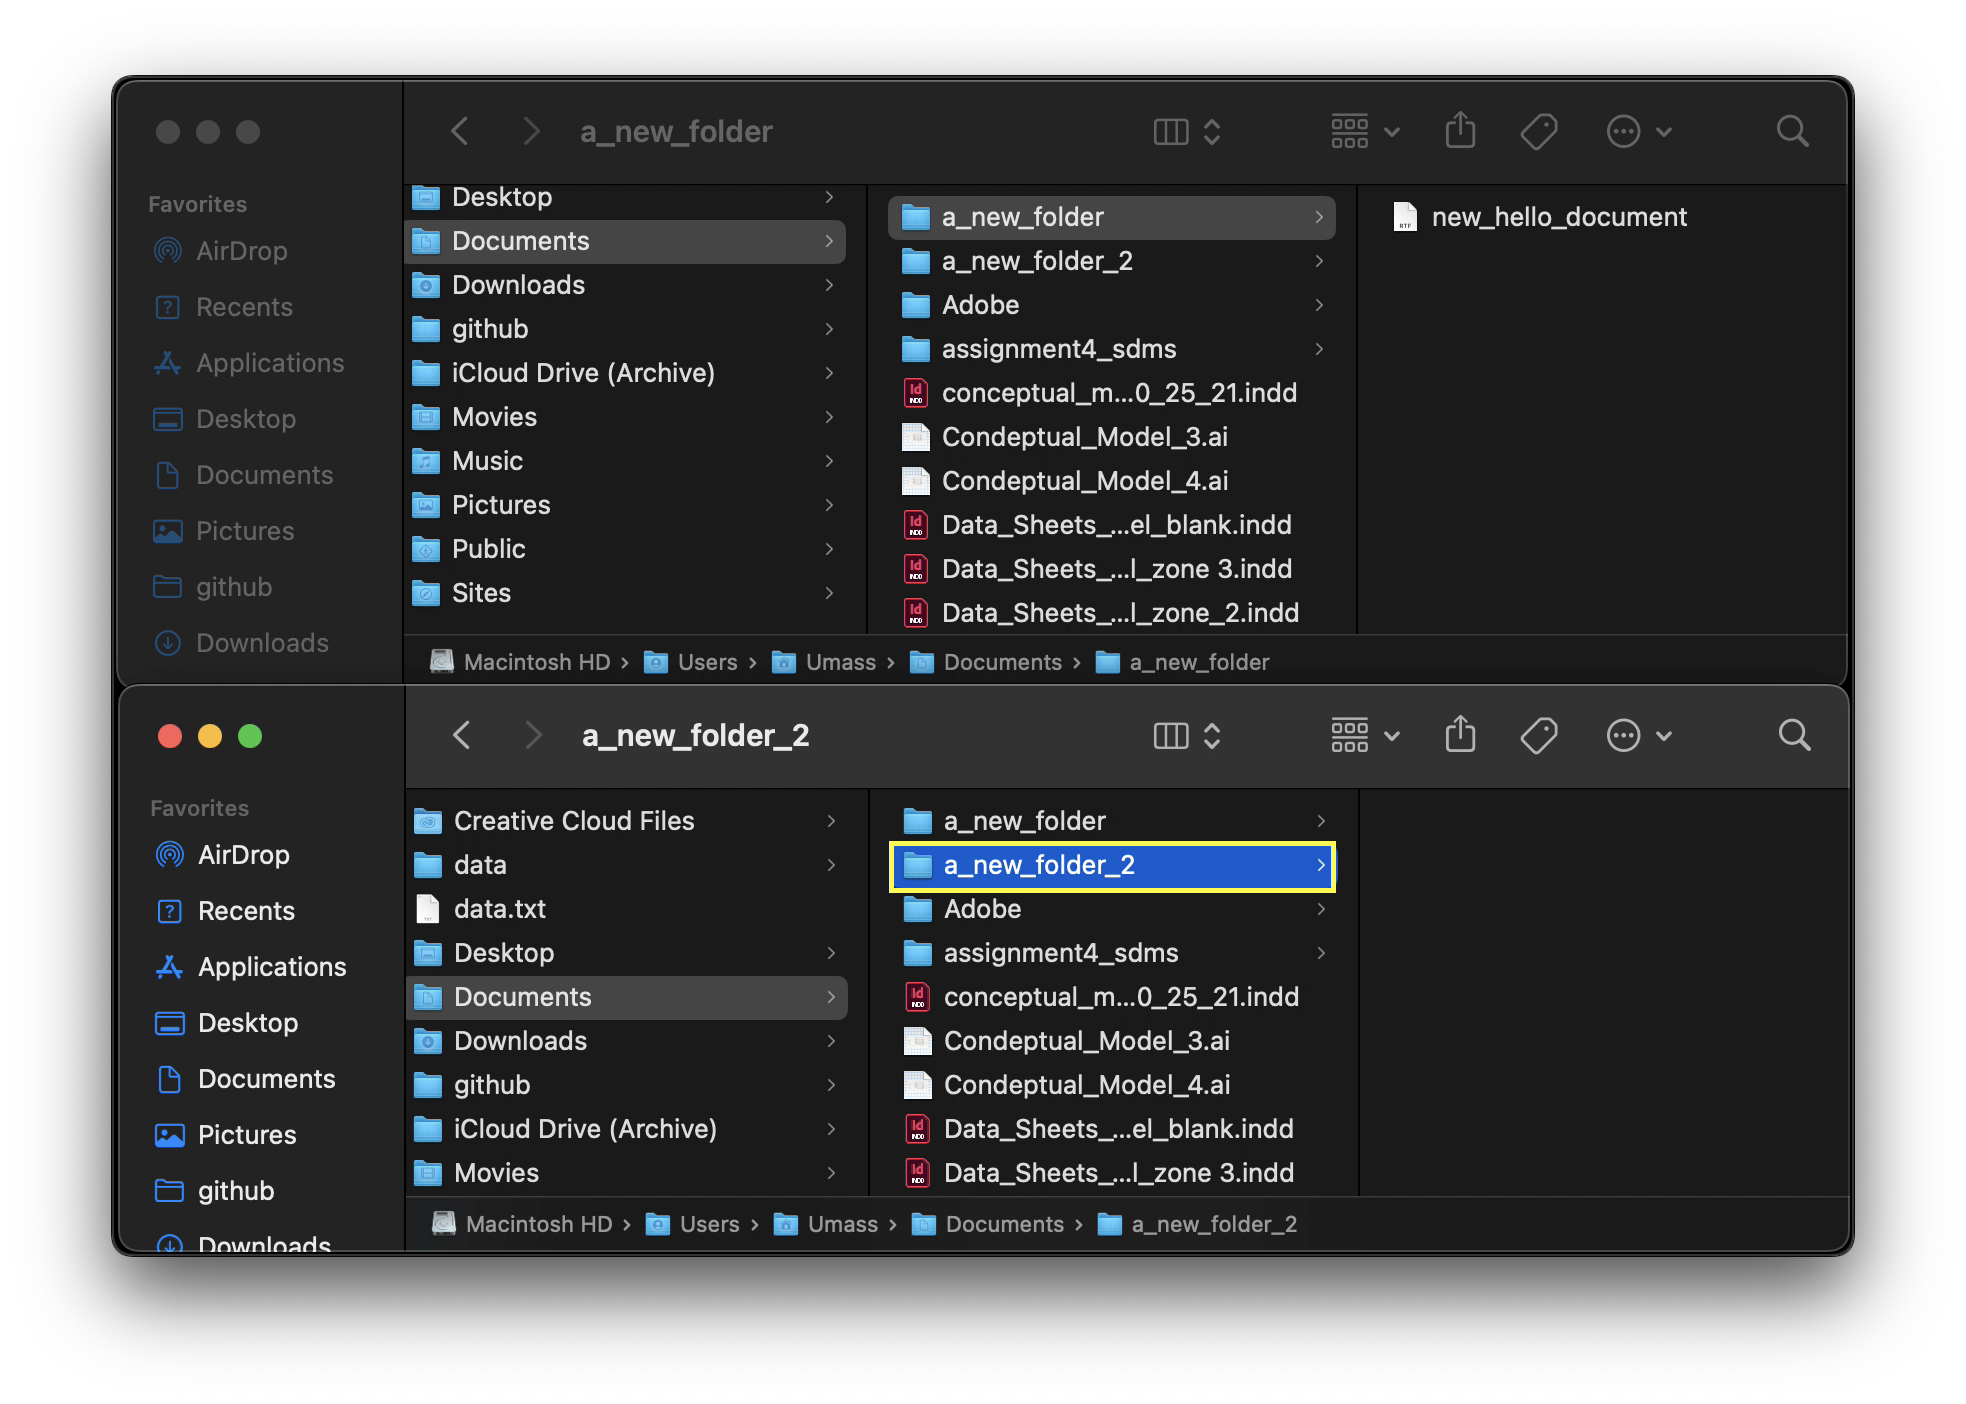
In column view, select your “Documents” folder.
-
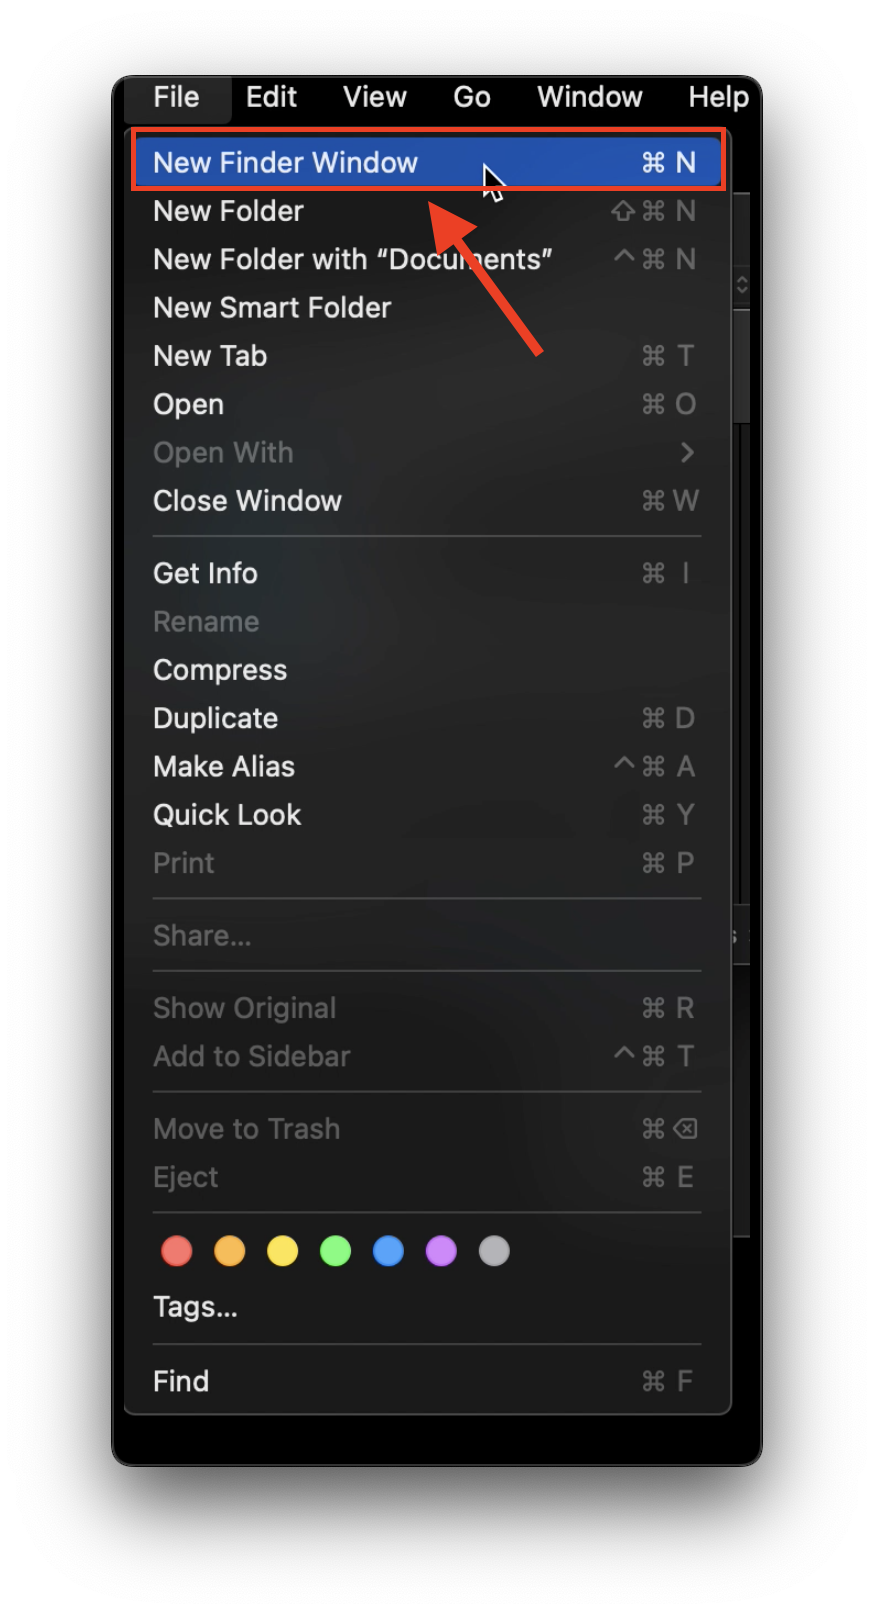
Create a new folder, called “a_new_folder_2” in “Documents”, and then select File from the menu bar. (See “Create a new folder” section above if you need a refresher on how to create a folder.)

-
From the drop down menu, select “New Finder Window”. You may also open a new finder window by holding the “command” key and pressing the “N” key once while Finder is open.
-
A new Finder window should appear. Navigate to your new folder and resize the windows so you can see both at once.
Copying Files
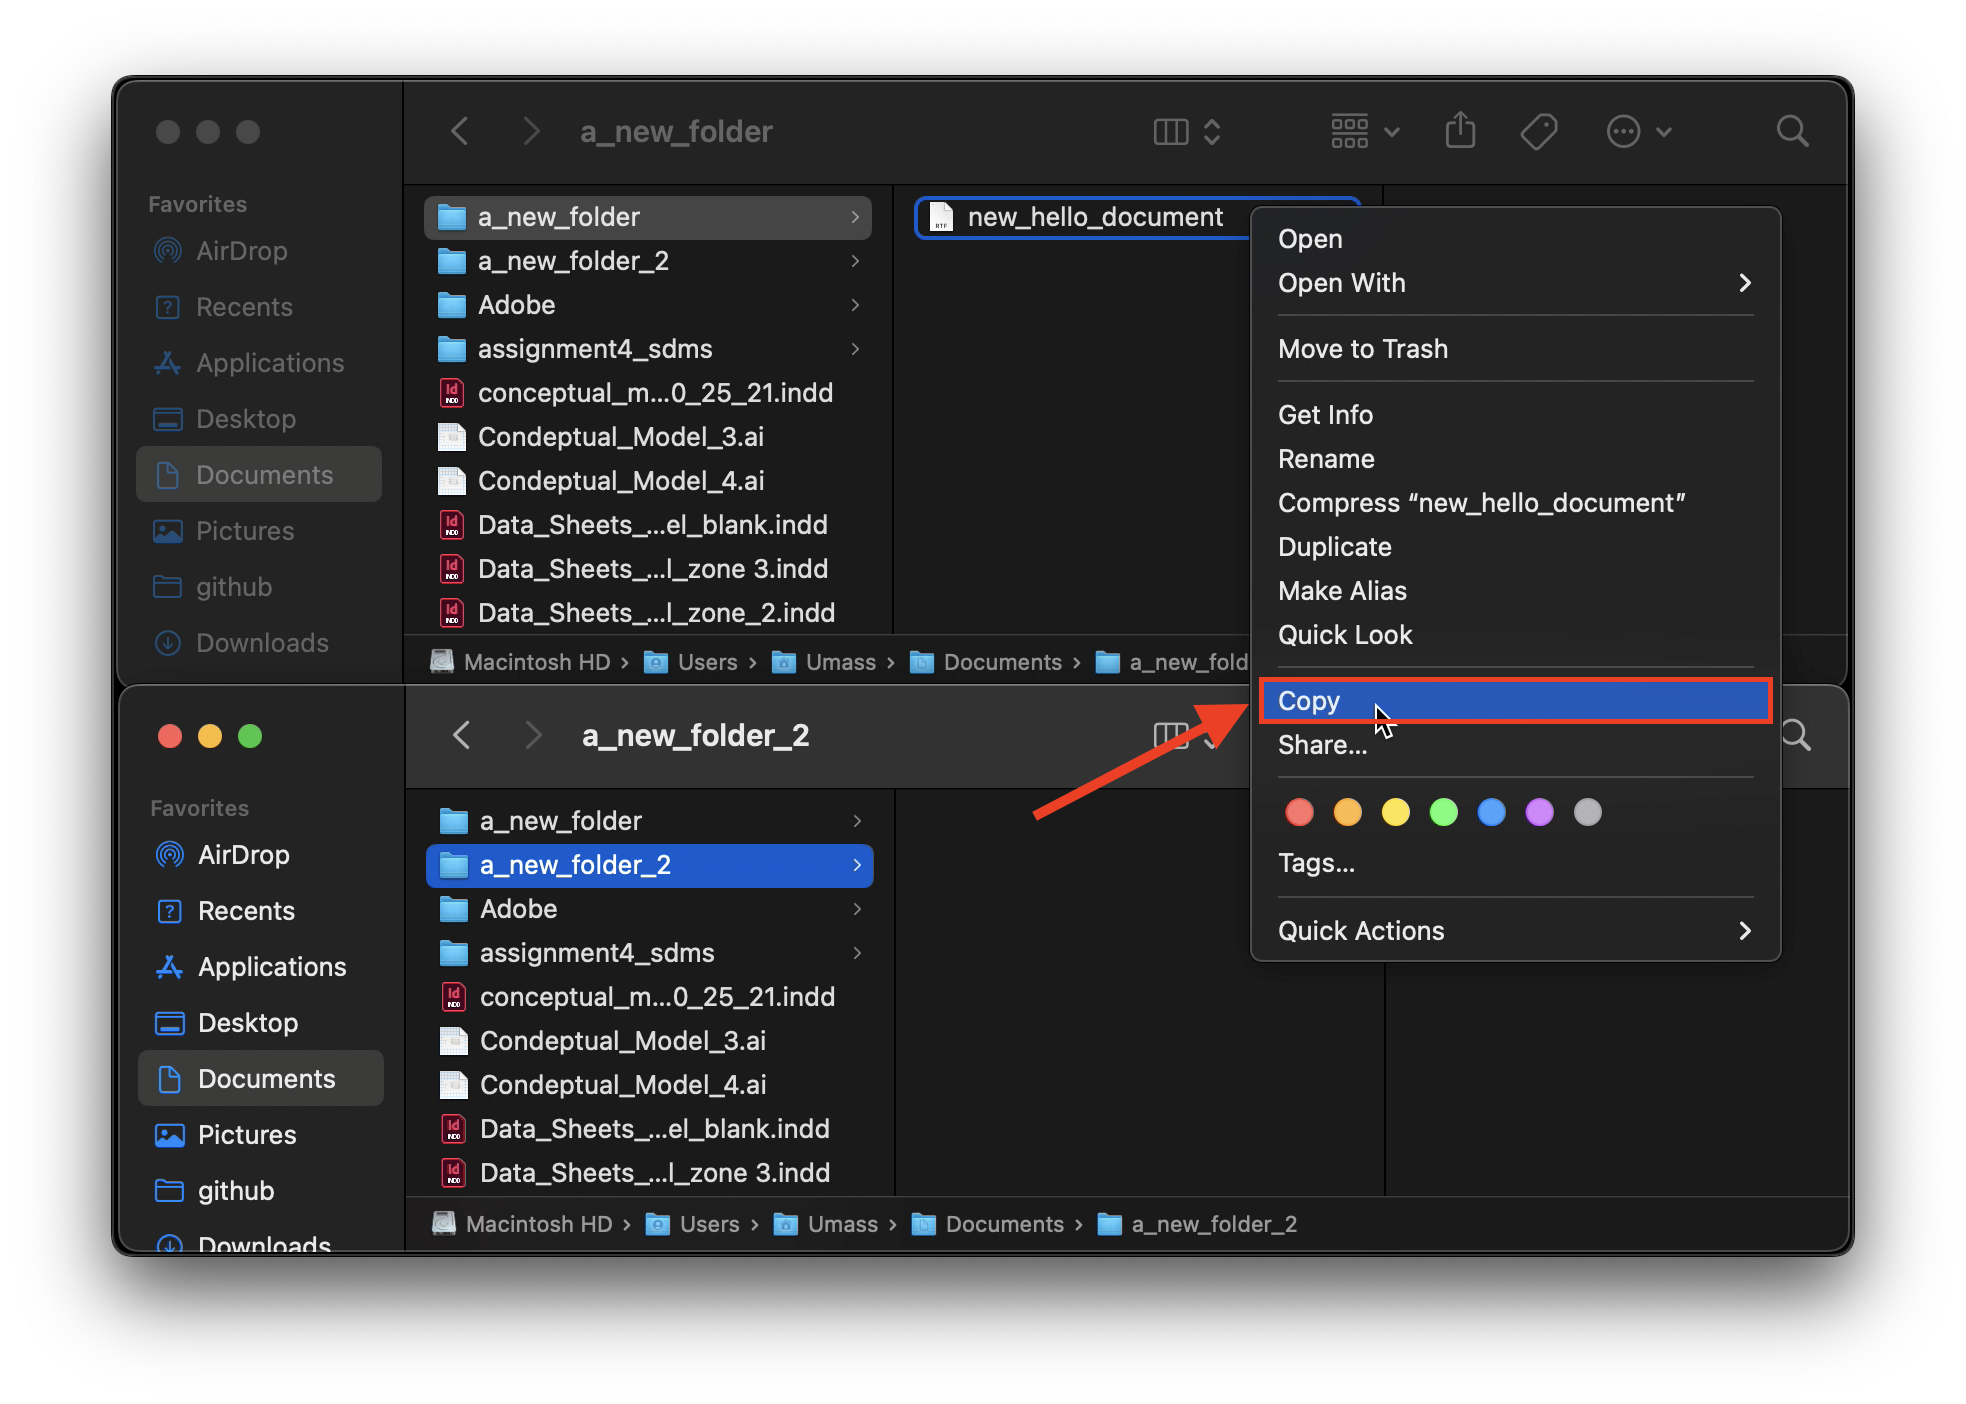
-
Right-click your file and select “Copy” from the dropdown menu.
Alternatively, you may select the file, hold the “Command” key, and press the “C” key (you may then release the “Command” key). Additionally, you may select the file, and then from the menu bar click “File”, and select “Duplicate” from the dropdown menu. Note: “Duplicate” will add a new copy of the file to the directory in which the original file resides, “Copy” adds the file to your clipboard so it may be copied/added to any directory (using “command” “v”, for example).
-
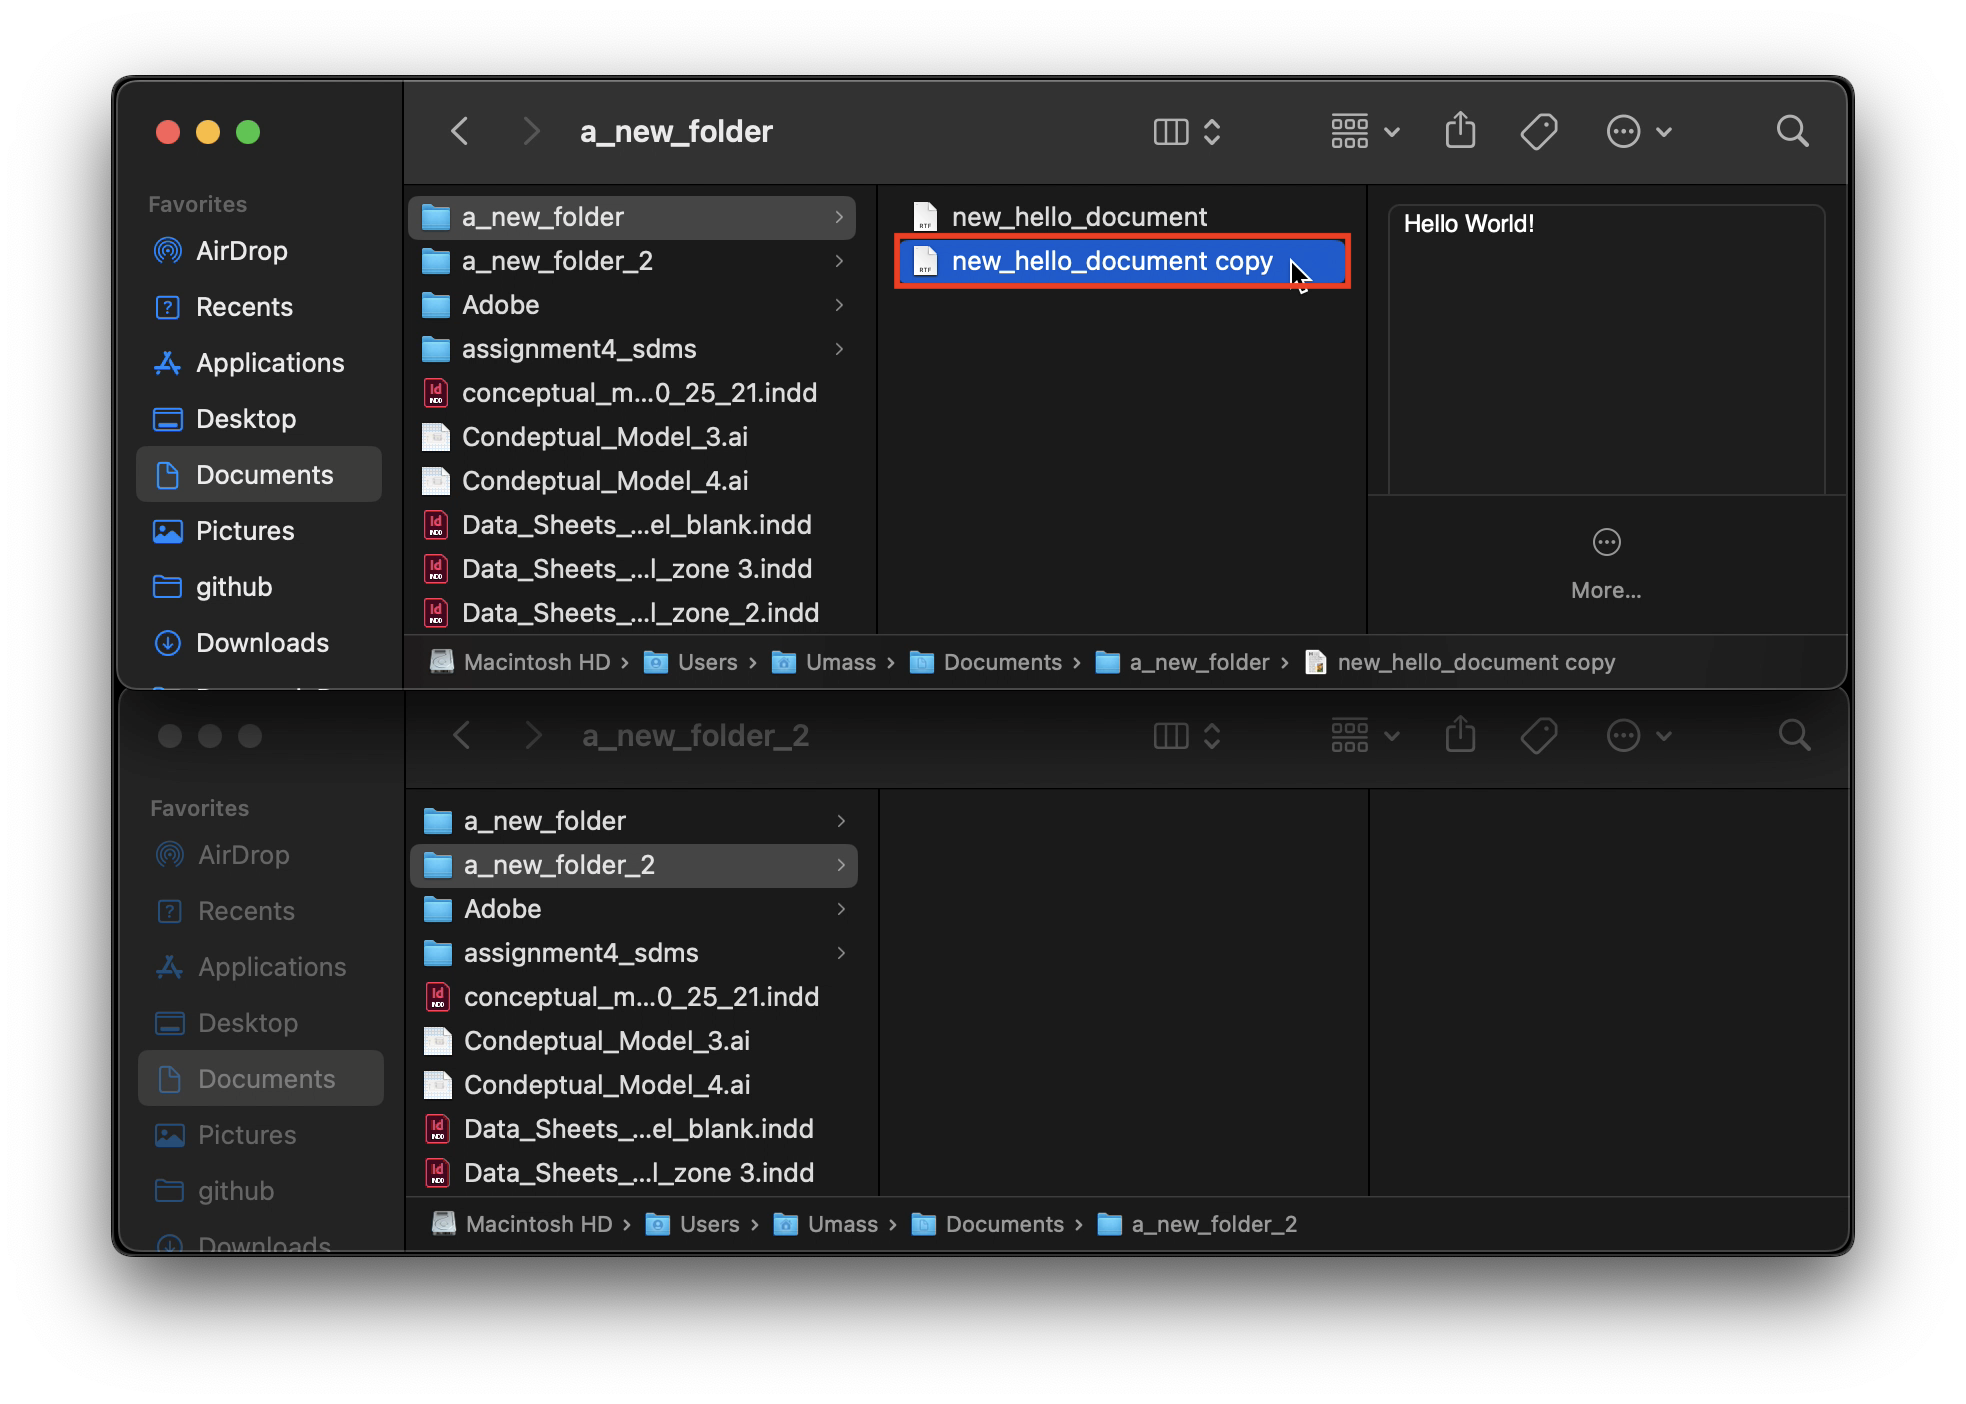
Right-click anywhere in your original folder (the one from which the file came), and select “Paste” from the dropdown menu.
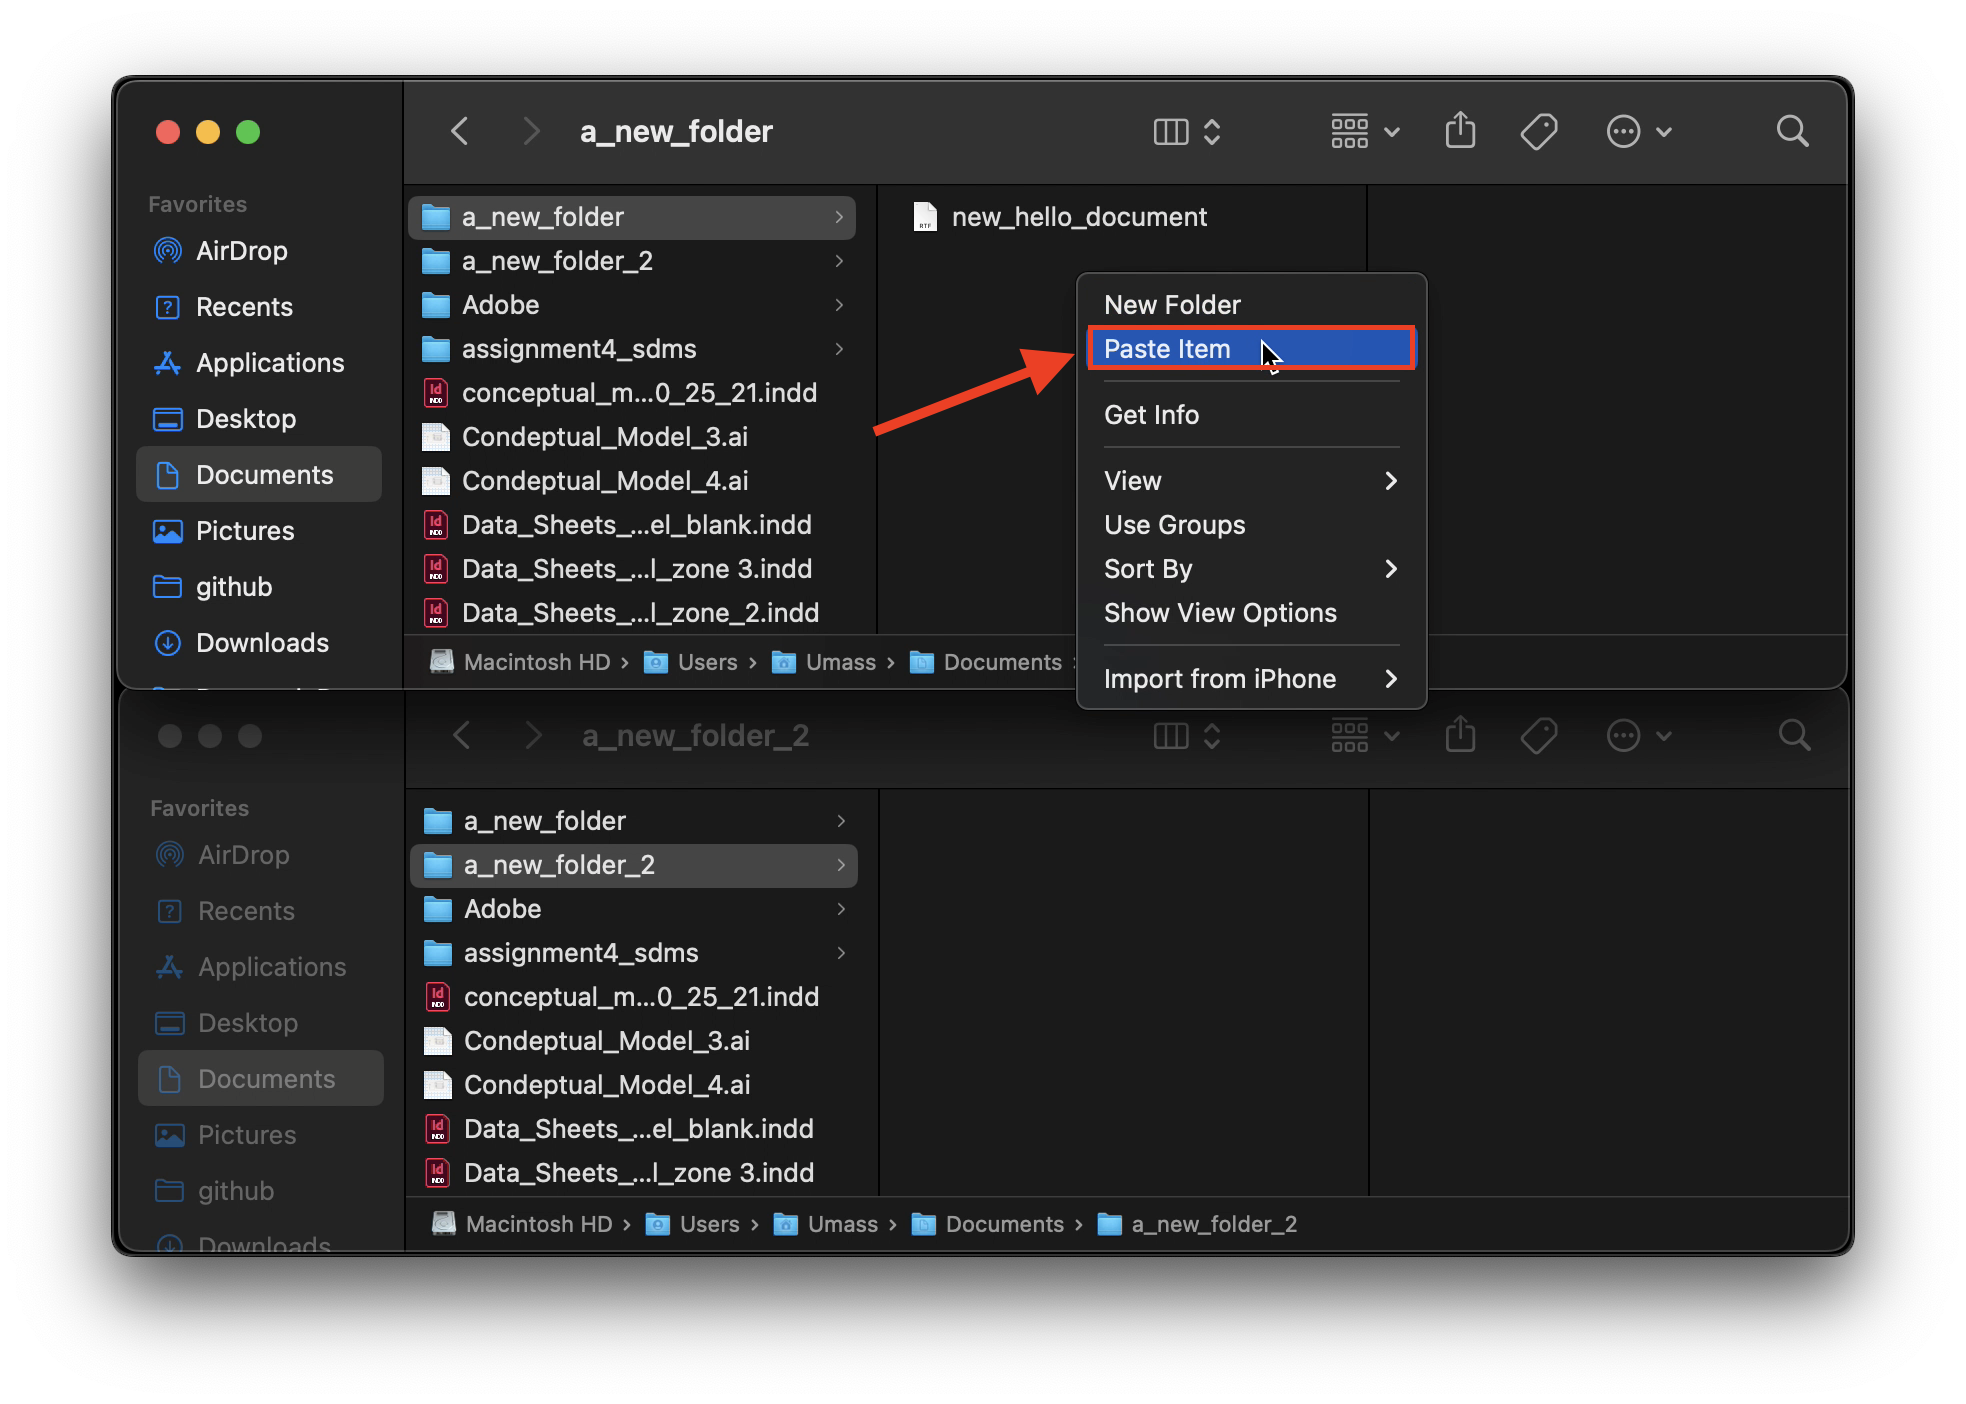
A new copy of your file should be added to the directory.
Moving Files
Click and drag the copied file into the new folder. (To click and drag: Hover over the file of interest, depress the left-click, and then without releasing, move the cursor–the file will move with the cursor–and release the mouse button/trackpad button when you are hovering over the new save location). Note: files may be copied or moved into folders directly, it is not necessary to open a new window with the folder you’d like to save to, you may drop directly into the folder icon and the files will be added to that directory.
<img src="media/69.png" alt="Recently copied file being dragged and dropped to 'a new folder 2'" >
Deleting Files
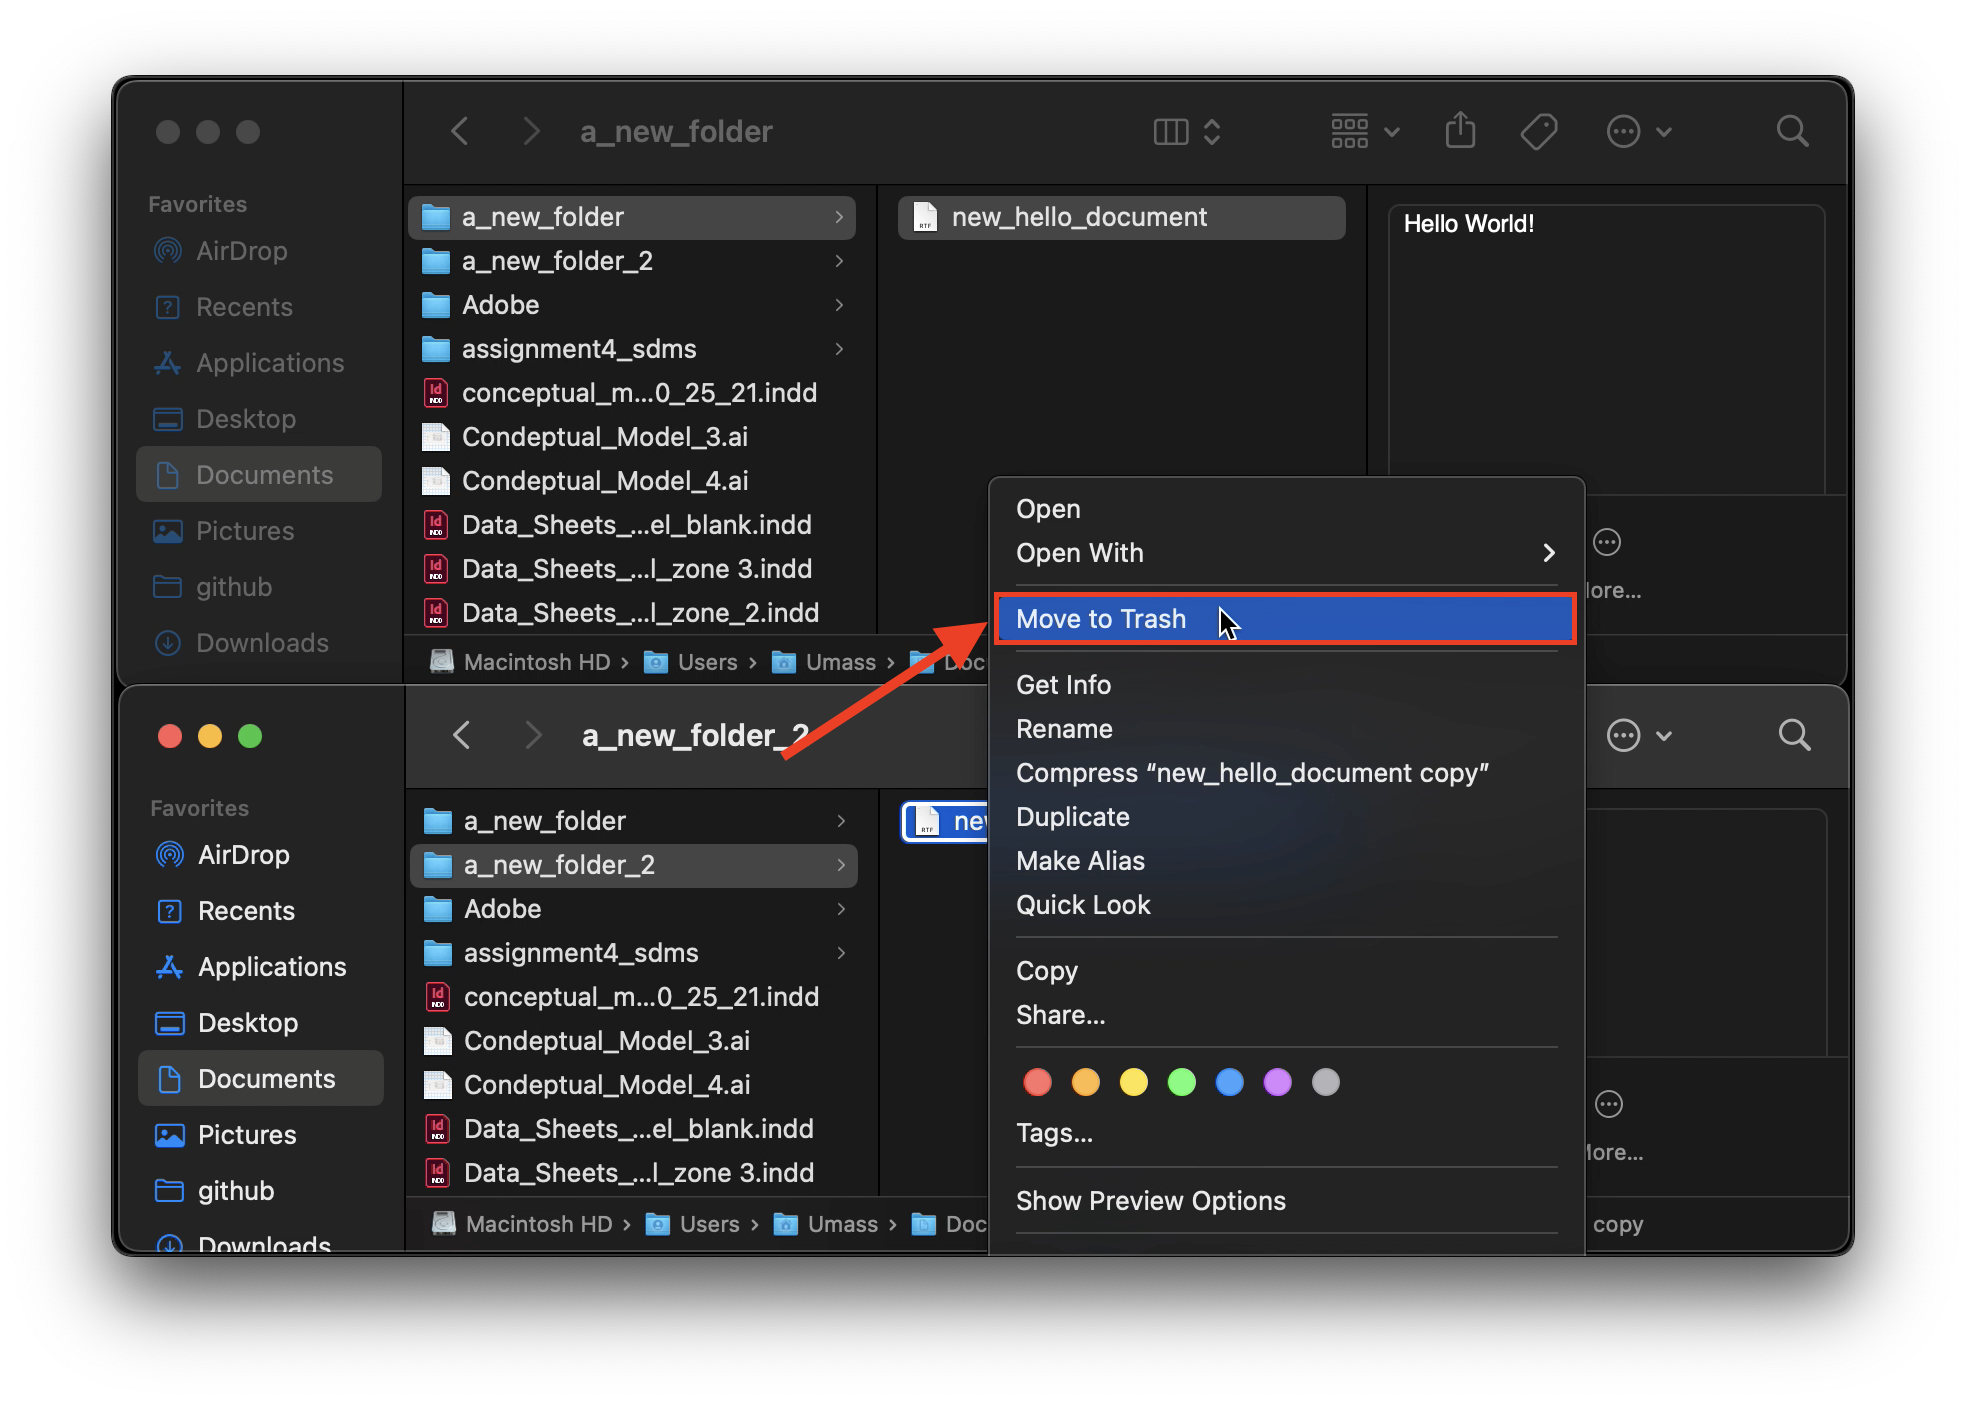
-
Right-click the file you wish to delete, and click “Move to Trash” from the dropdown menu.
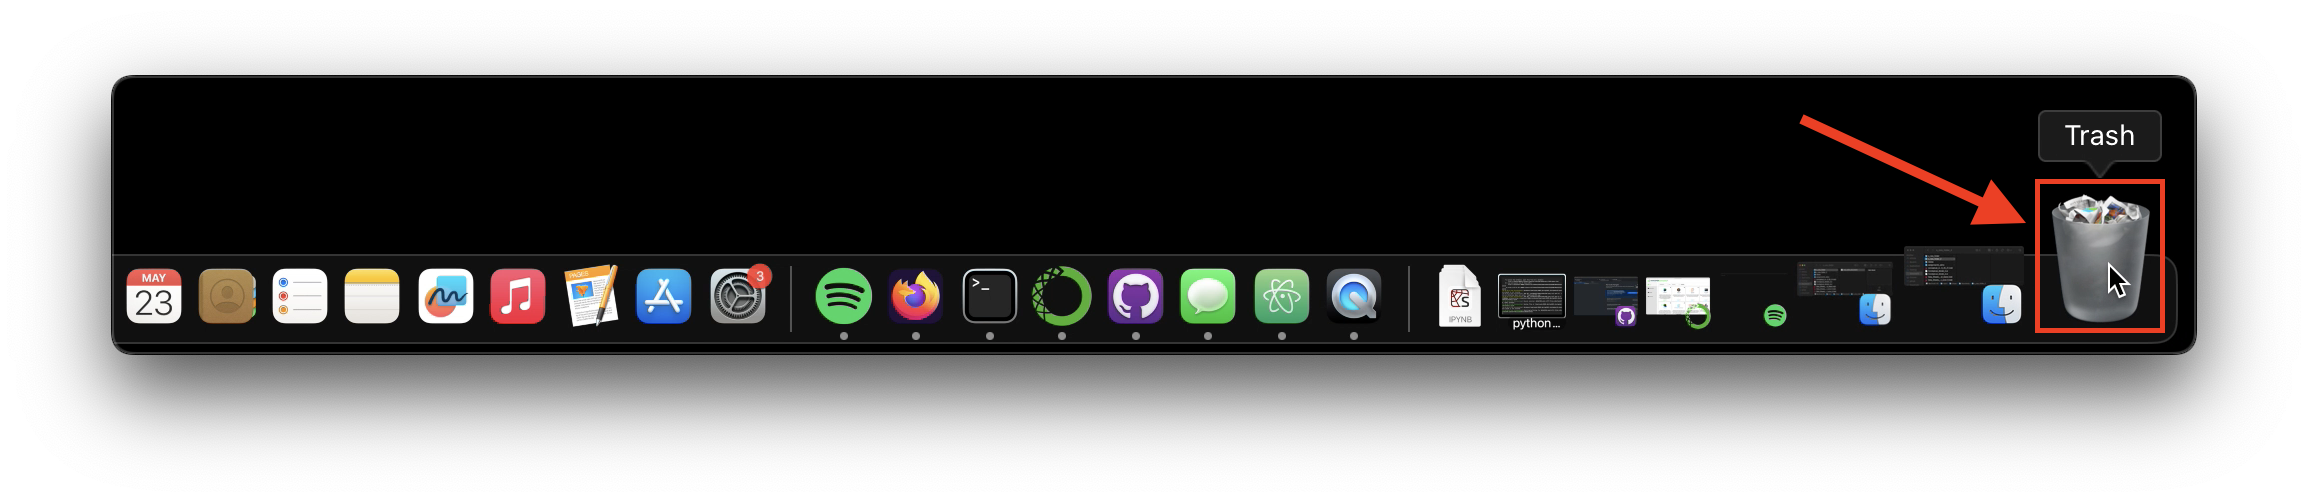
-
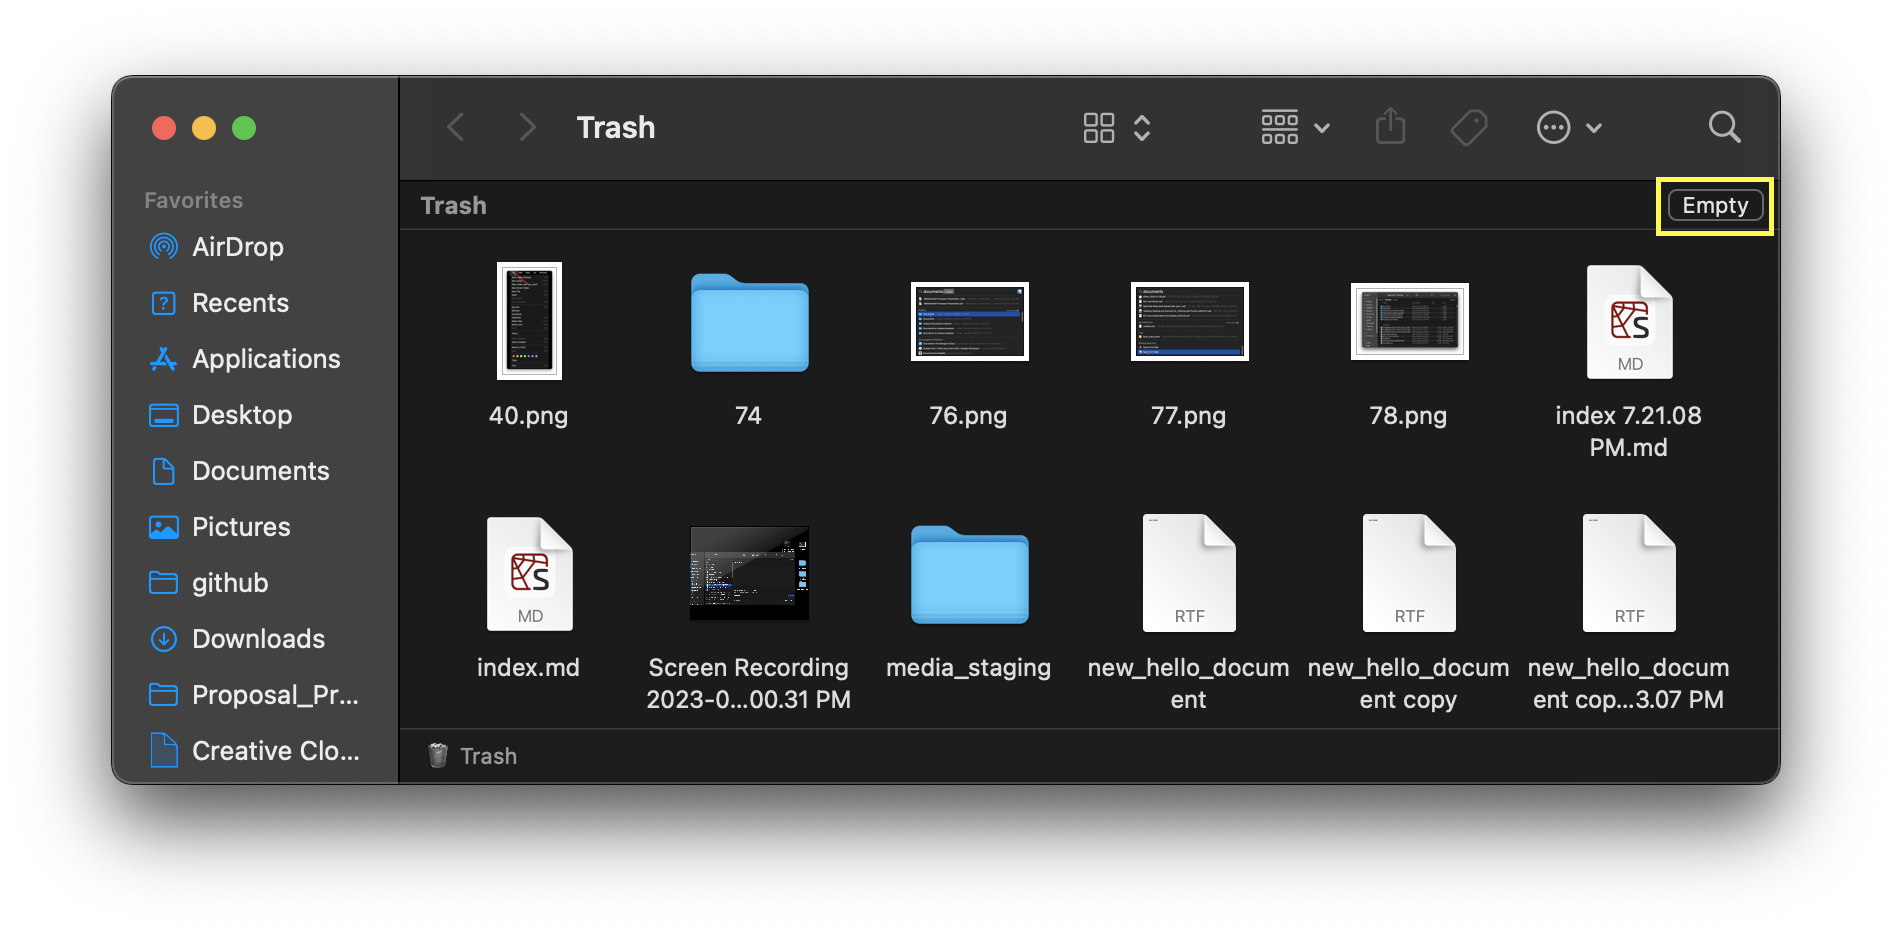
Click the trash can icon to open up the Trash and view its contents. From here, files may be moved and added back to your file system if desired.
-
To empty the trash and permanently delete the enclosed items, click the button labeled “Empty” in the upper right corner of the Trash window.
Tutorial by John Slaff, 2023.